A Dummies Guide to Skiing the Southwest Chutes on Mt. Adams
It's me, I'm the dummy
Updated June 18, 2026
Check out a full length video on the ascent/descent here! (2025)
I have fallen, head over heels, into an annual tradition of finishing my ski season on Mt. Adams. For the past four years I have made the five hour pilgrimage from Seattle, around the mountains, along the Columbia River, and back up the long washboard road into the Gifford Pinchot National Forest where the volcano stands massive over the Trout Lake Valley.
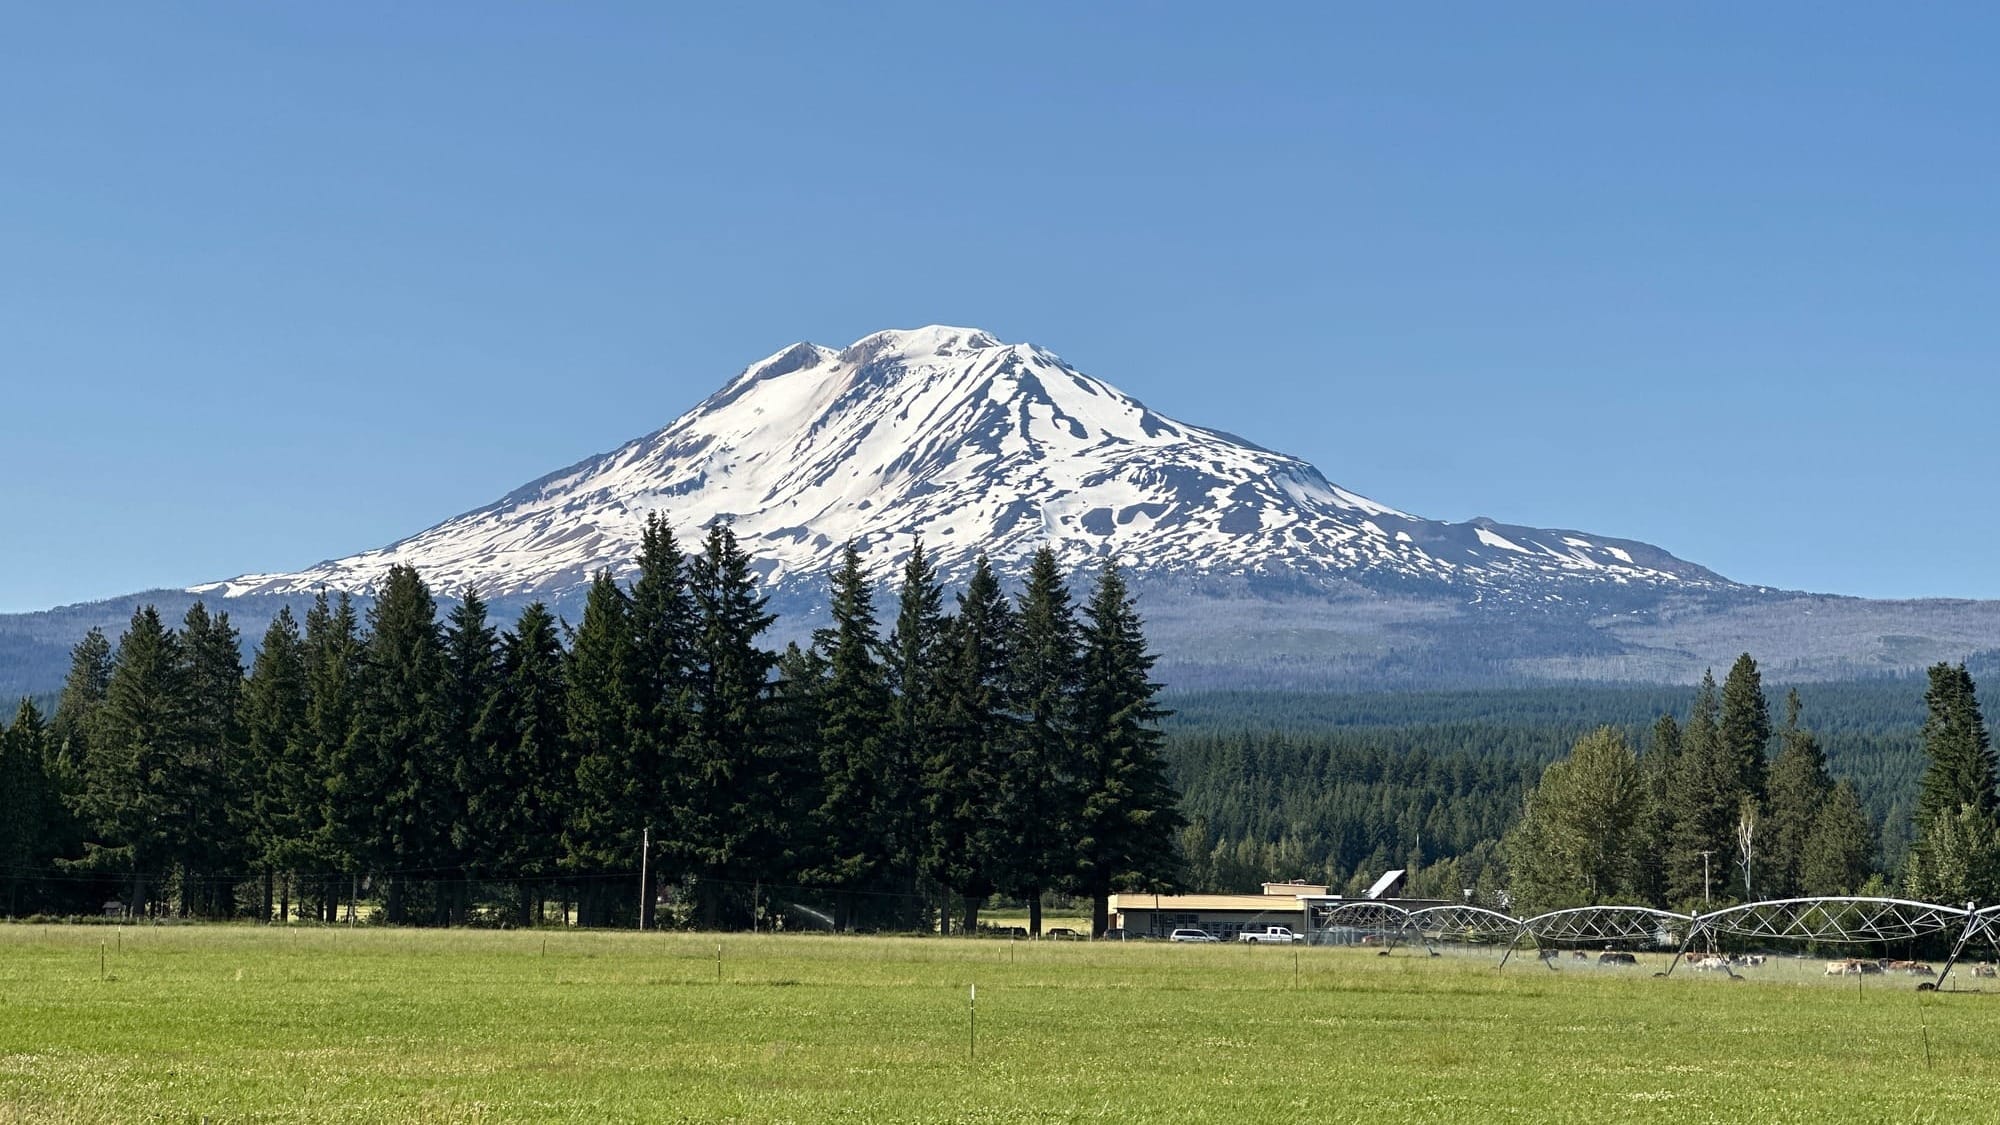
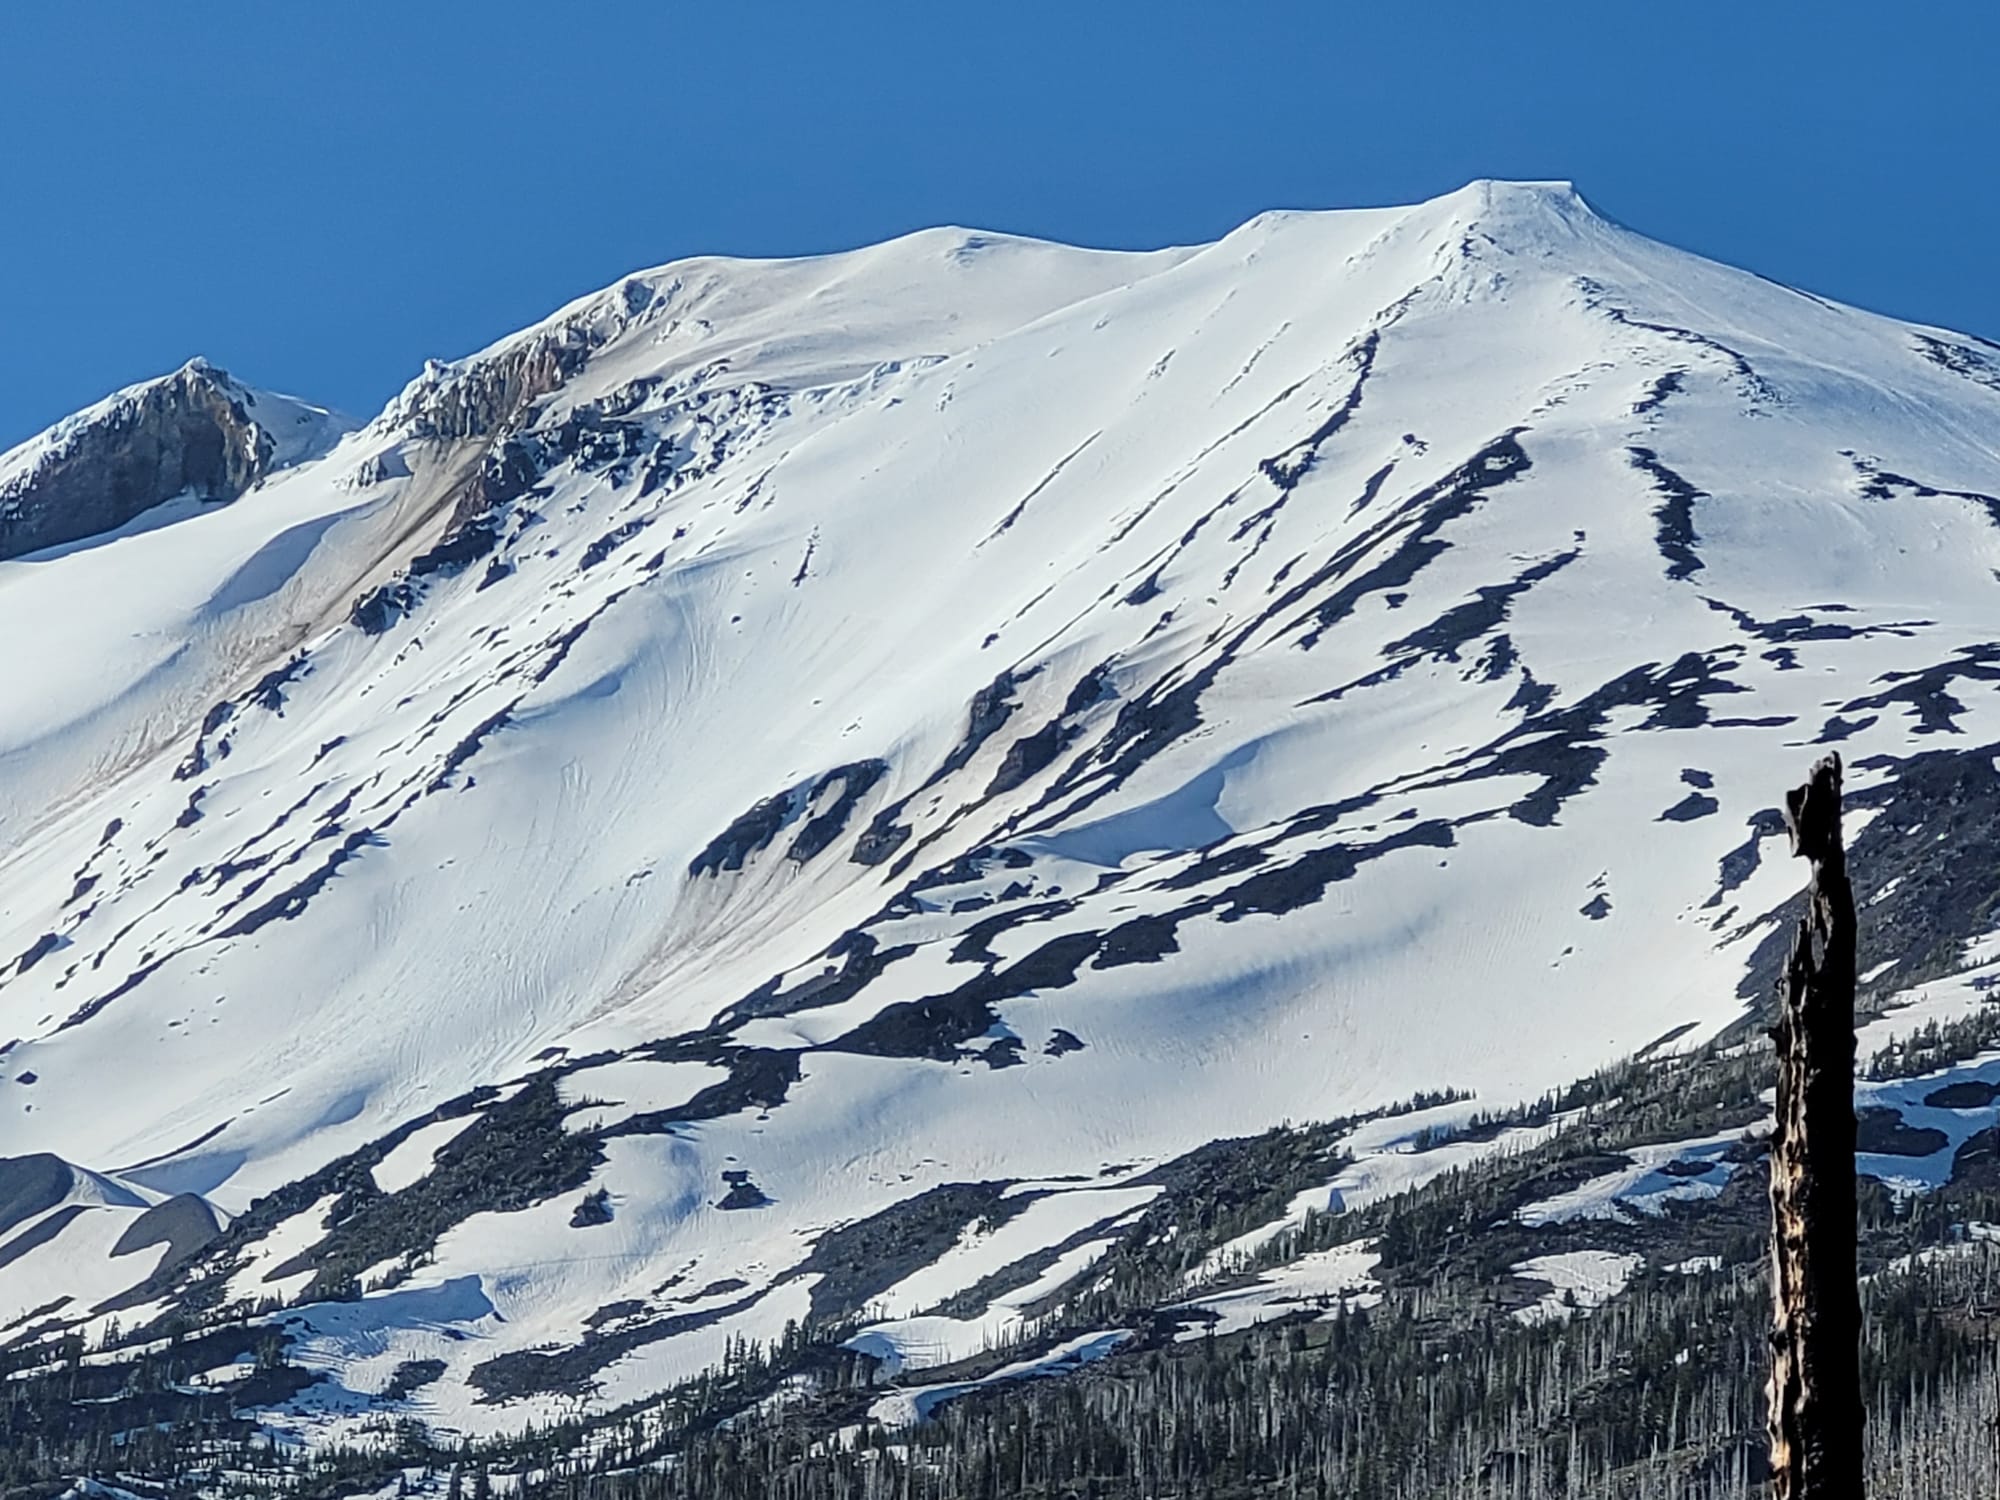
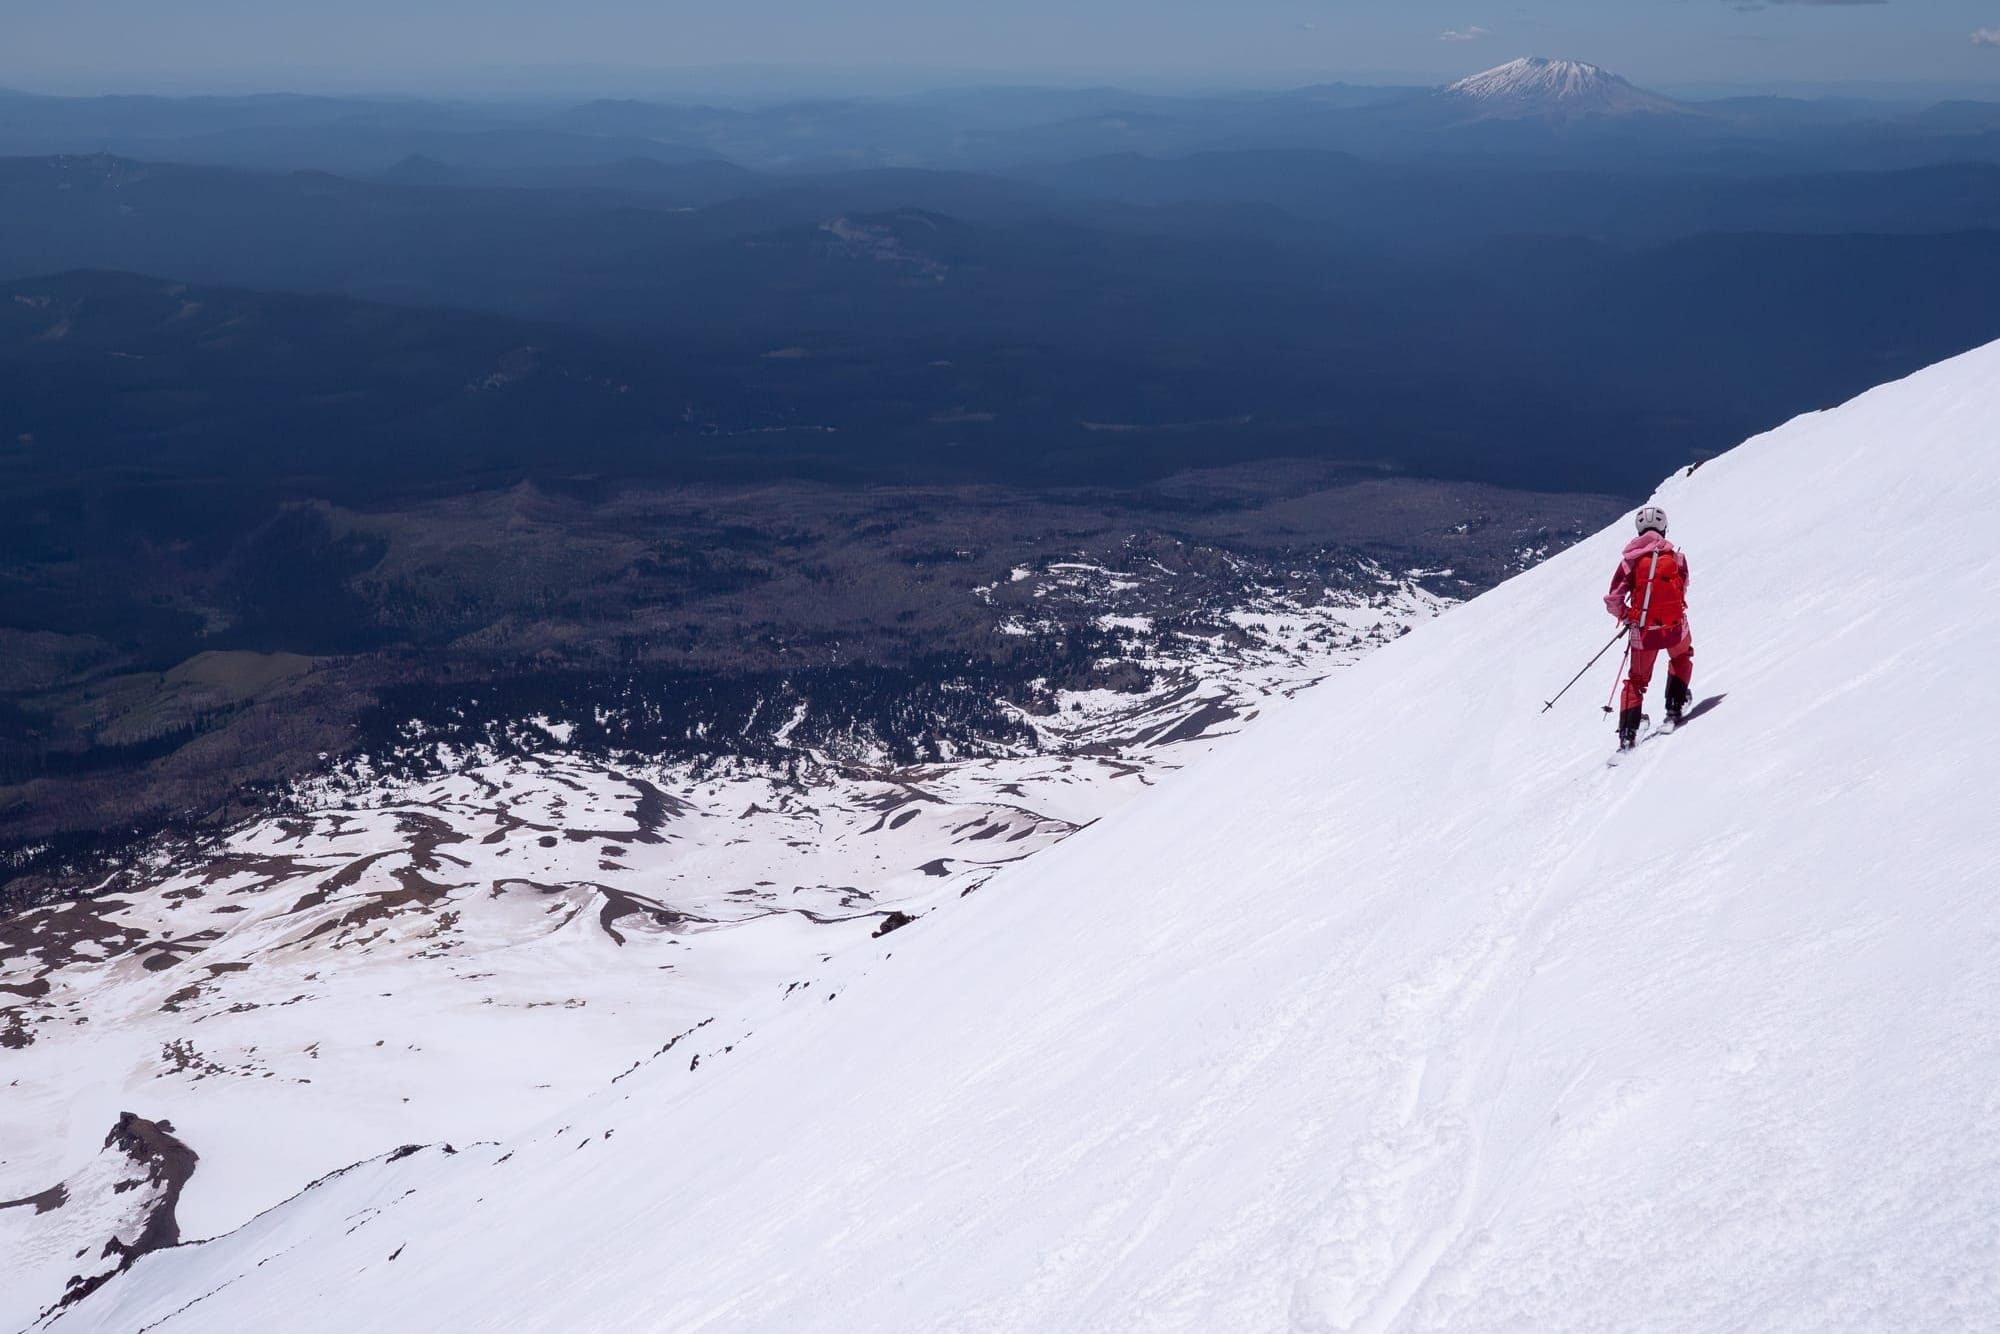
Mt. Adams (or "Pahto") stands at 12,281 ft tall, with an impressive 8,116 ft prominence, making it the second tallest mountain in Washington. There are a handful of named ski descents on the mountain, with the most iconic being the Southwest Chutes, a set of steep snow bands dropping off from Pikers Peak and providing over 3,000 ft of continuous 35°+ skiing. Beyond the jaw dropping stats and beauty of the line, it also holds snow well through the early summer (the SW aspect making for particularly good for "corn" harvesting) and does not require crossing any real glacier hazards like many comparable ski lines on other PNW volcanos.
A Brief Geography Primer
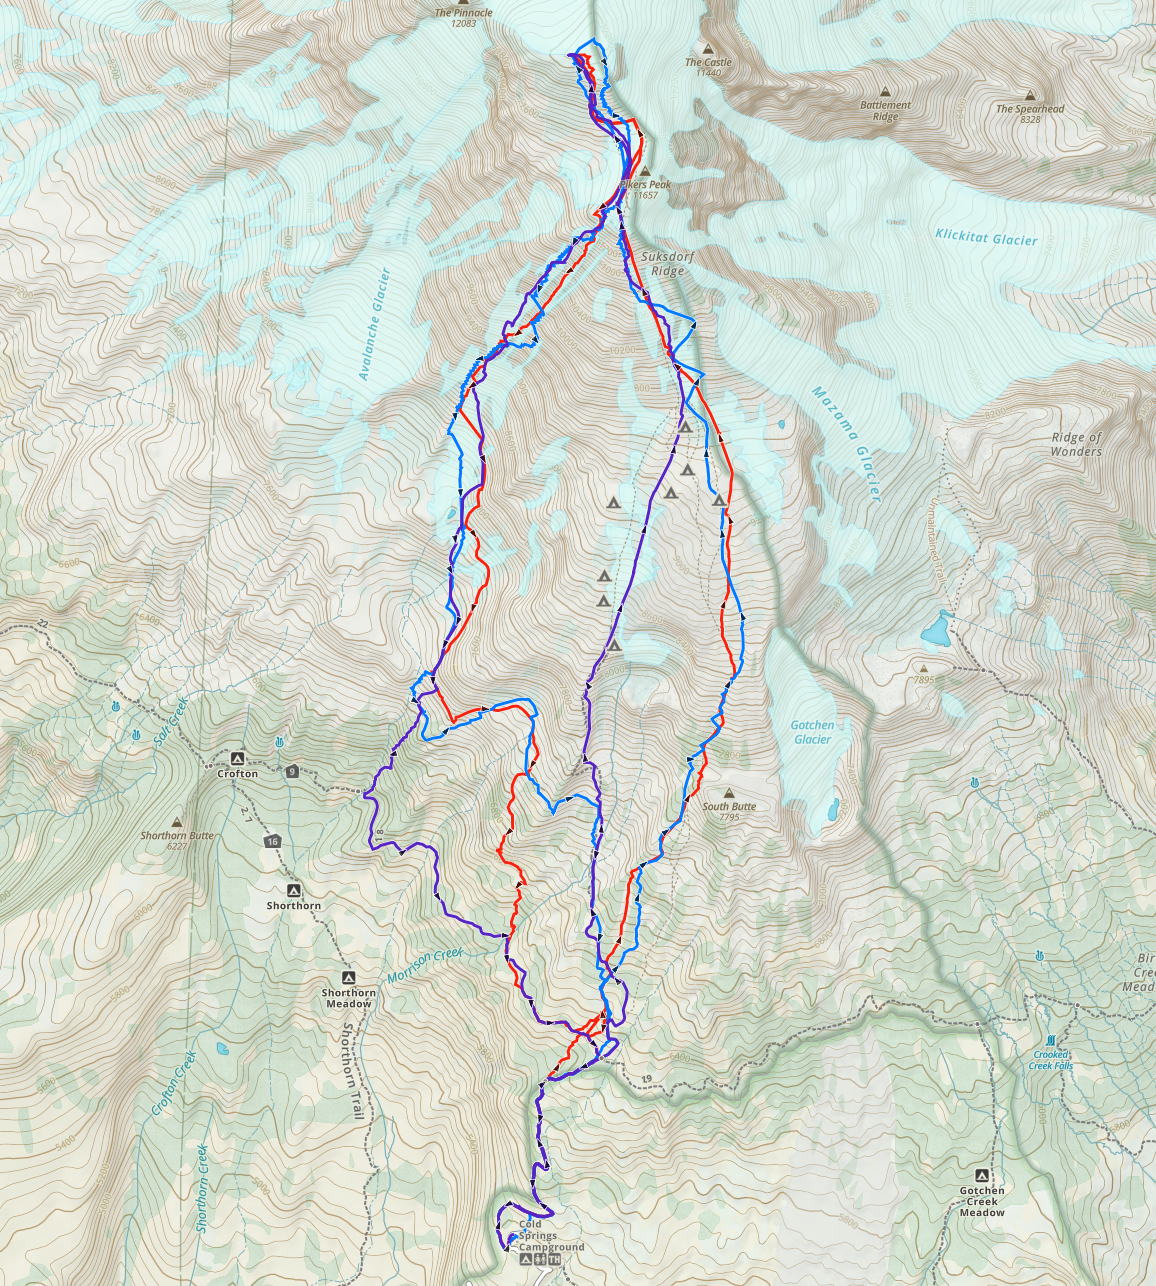
The South Climb is by far the most popular route up the mountain due to easy road access and its direct nature. The ascent takes you past a few key features which should be highlighted to familiarize you with any descriptions of the route.
Cold Springs Campground (5,500 ft)
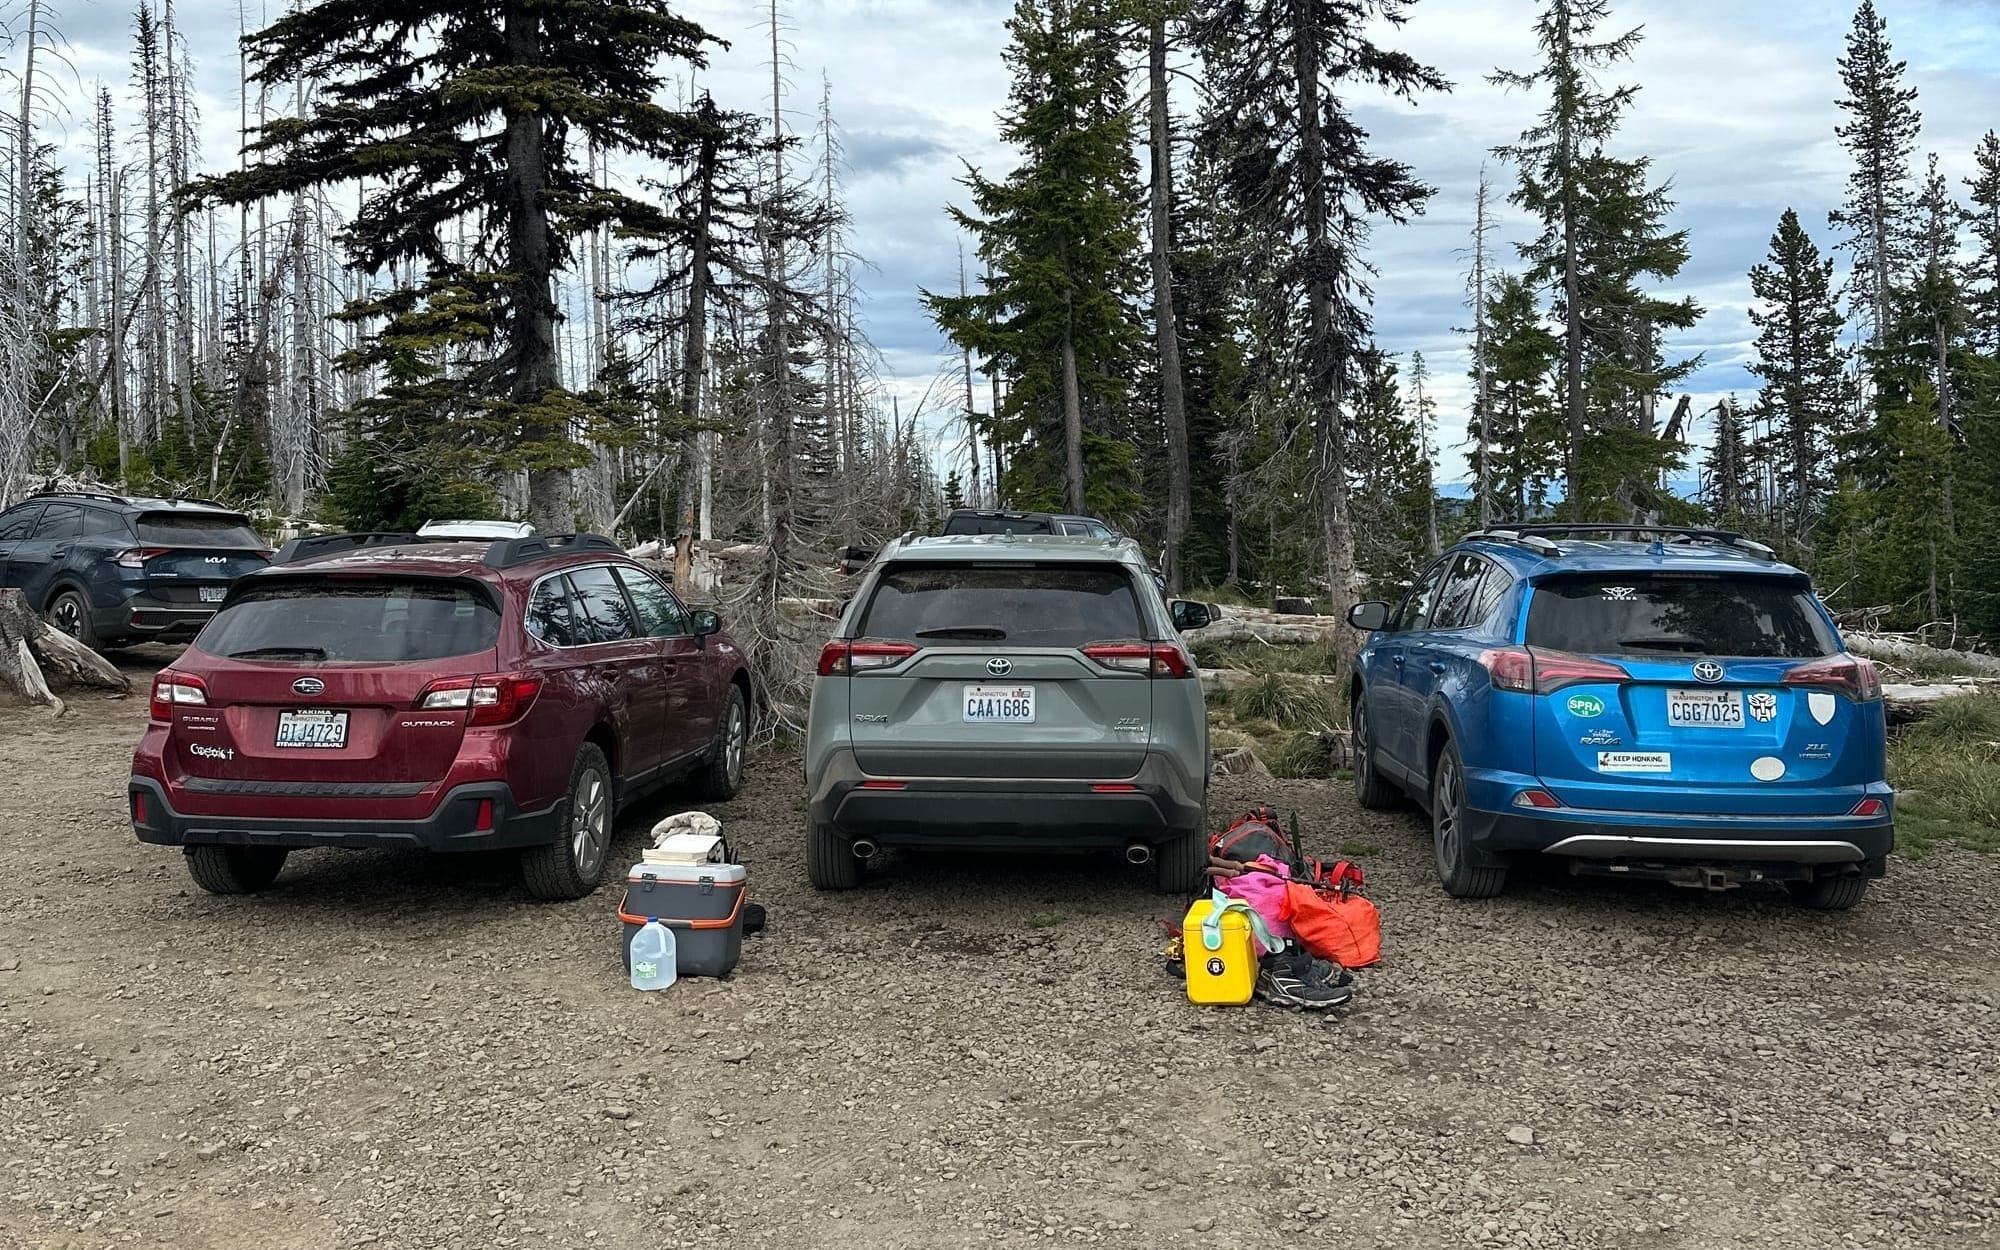
The Cold Springs Campground, or the South Climb Trailhead, is the starting line of every ascent and descent from the south of the mountain. Supplying drivable access to 5,500 ft (1,000 ft higher than any other access point), heaps of camaraderie from other climbers, tons of parking/dispersed camping spots, and well-managed pit toilets.
The drive to here from Trout Lake involves traveling 13 miles on unpaved forest roads, the first 10 miles or so being fairly well graded in recent years, but the last two miles involve sketchy switchbacks up a single-lane road filled with potholes and ruts. Bring your patience and high-clearance vehicle.
Timberline Camp (6,300 ft)
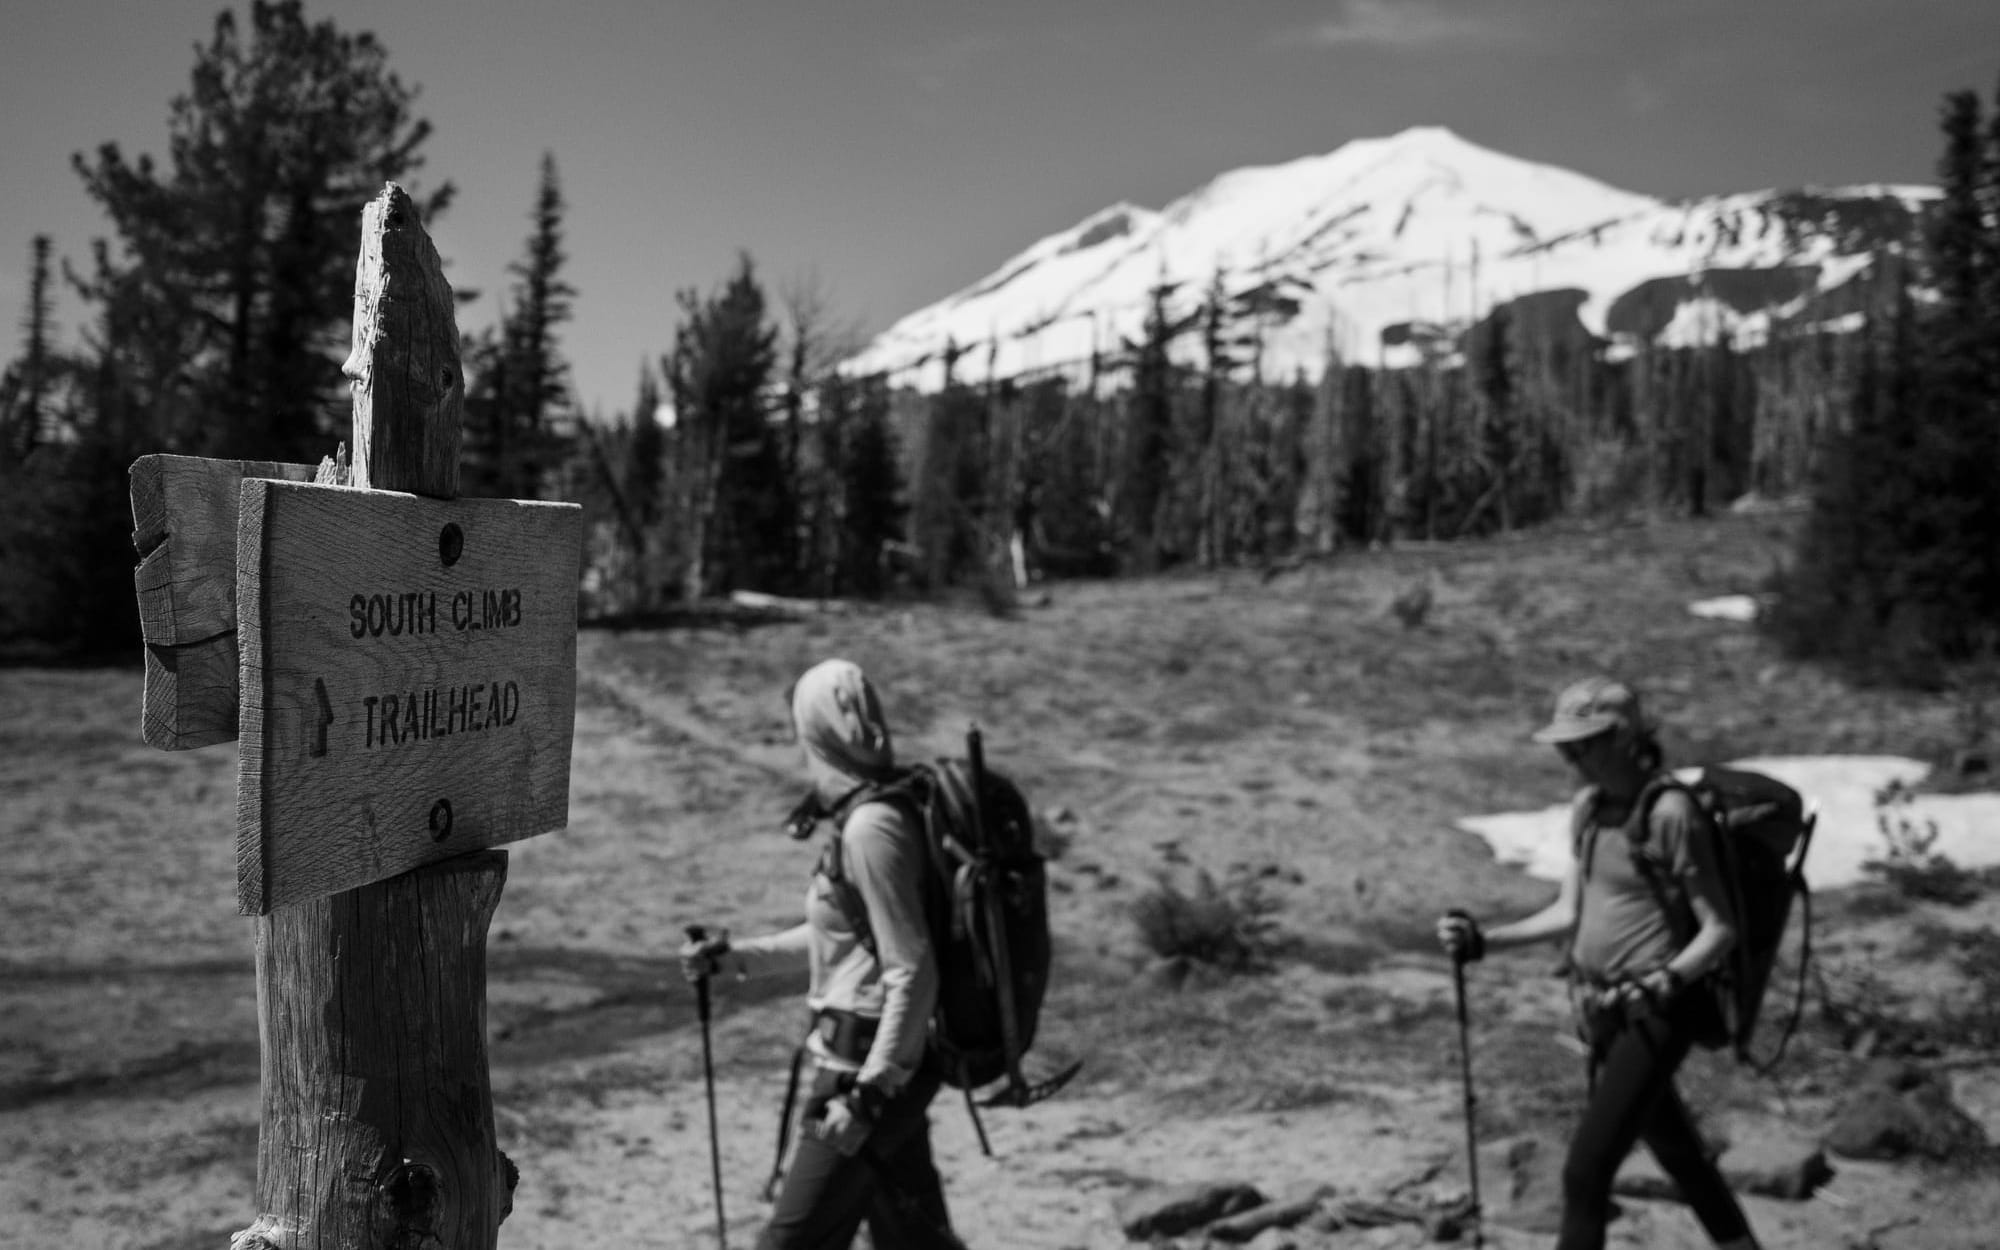
A backcountry camp spot about 1,000 ft above Cold Springs. During the winter and spring there is very little actual camping here, but this is where the Round the Mountain trail intersects with the South Climb trail. The round the mountain is an important checkpoint as it is where you will be returning from if you take the lower exit out of the chutes. Many years, when the snowpack is healthy and the chutes are skiable, continuous snow will begin somewhere around this point. If you are stashing shoes, this is a great place to do since all routes lead back to here.
Morrison Creek Climb / South Butte (7,400 ft)
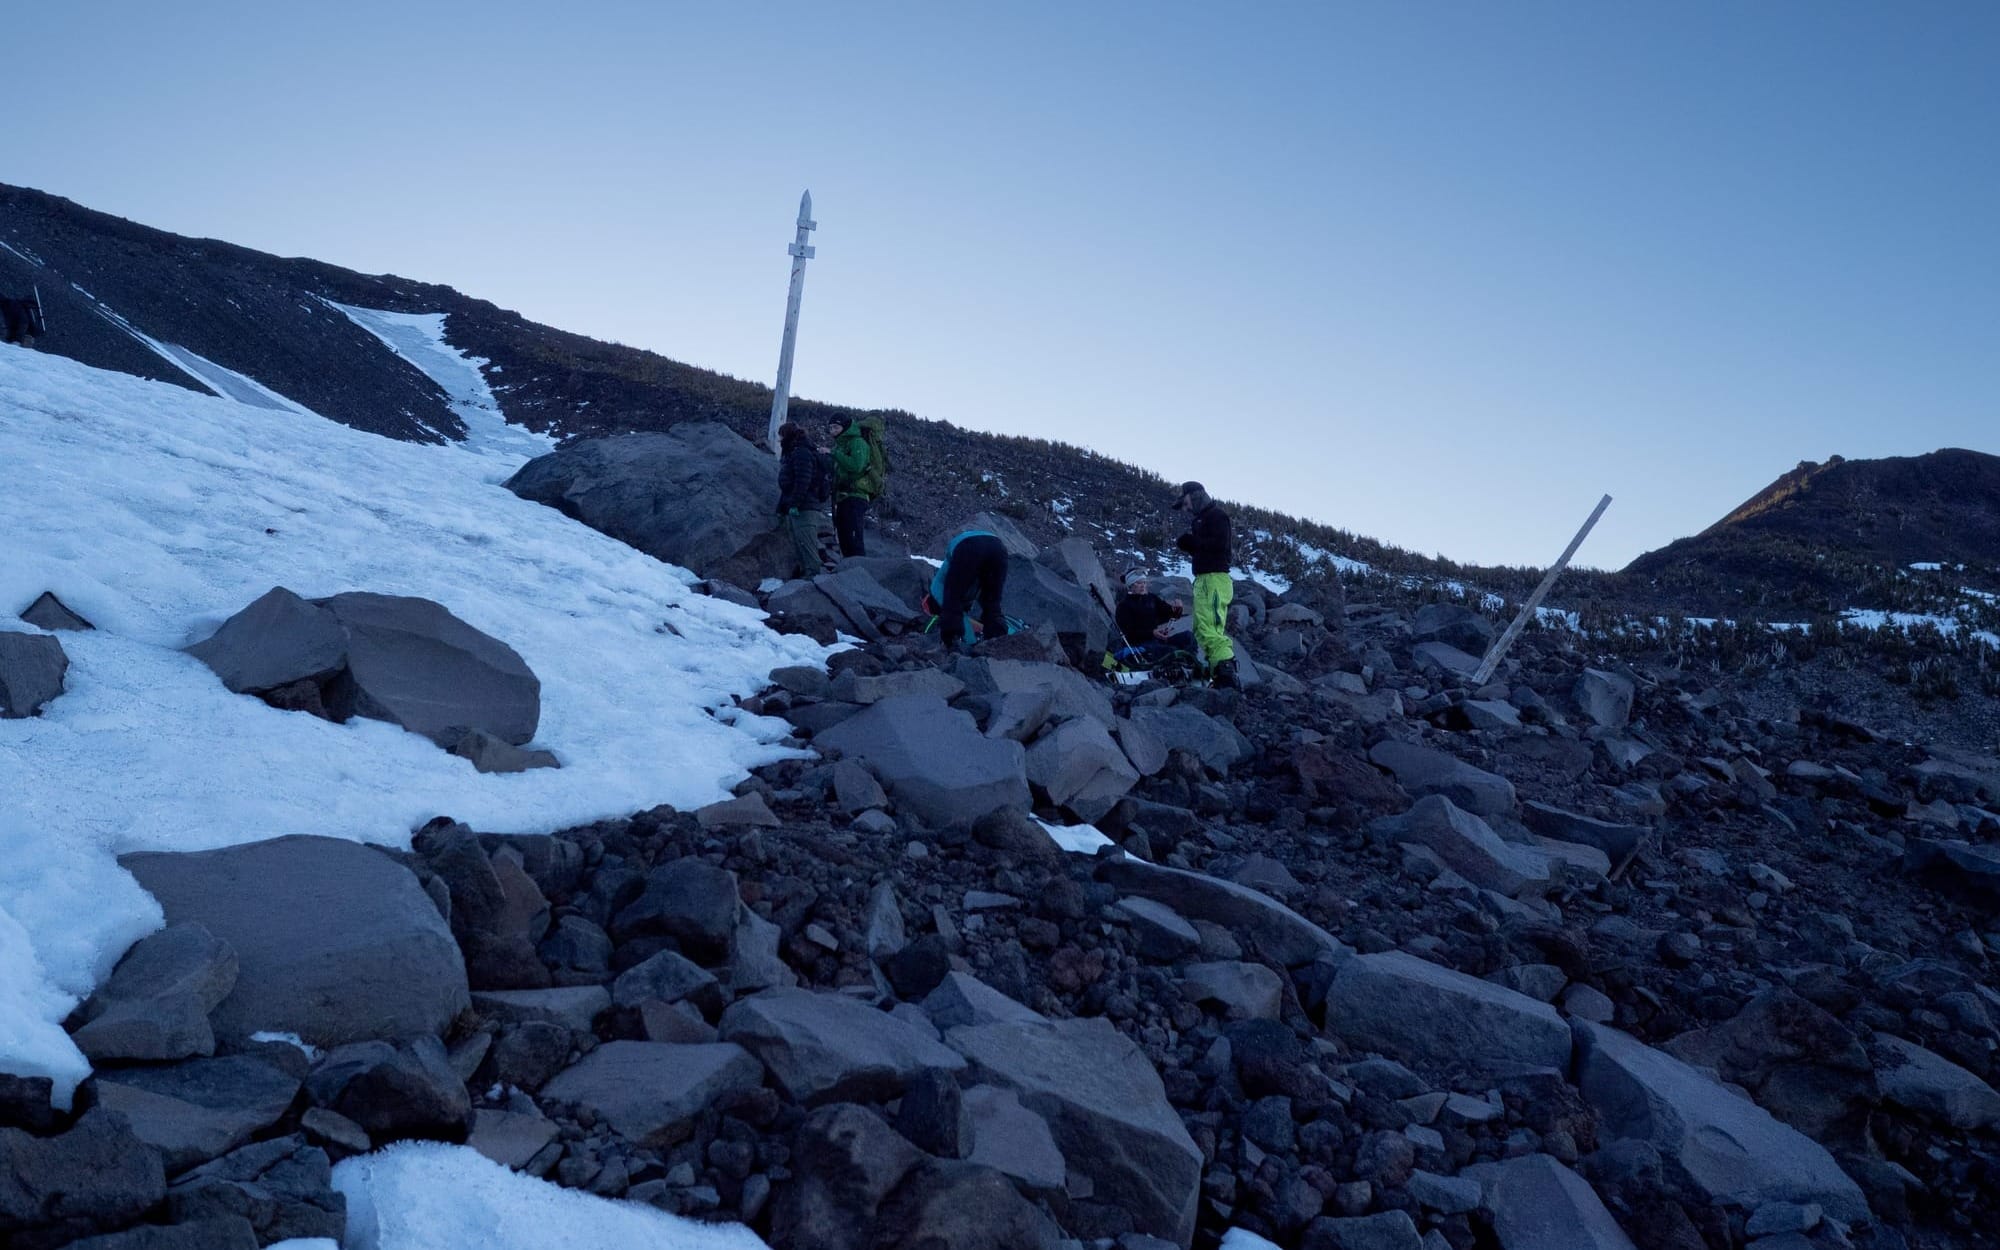
This is the first steep section of the ascent, and while it can be partially avoided by heading east and climbing around the South Butte, many snow years bring exposed rock that make travel on the gentler incline more involved. If you are lucky, or early, there may be continuous snow here that is skinnable for the well-season up-hiller, but most people choose to boot this section, both for safety and speed. The top of this climb (8,000 ft) also marks the beginning of where multi-day climbers will start to set up camps.
The Lunch Counter (9,400 ft)
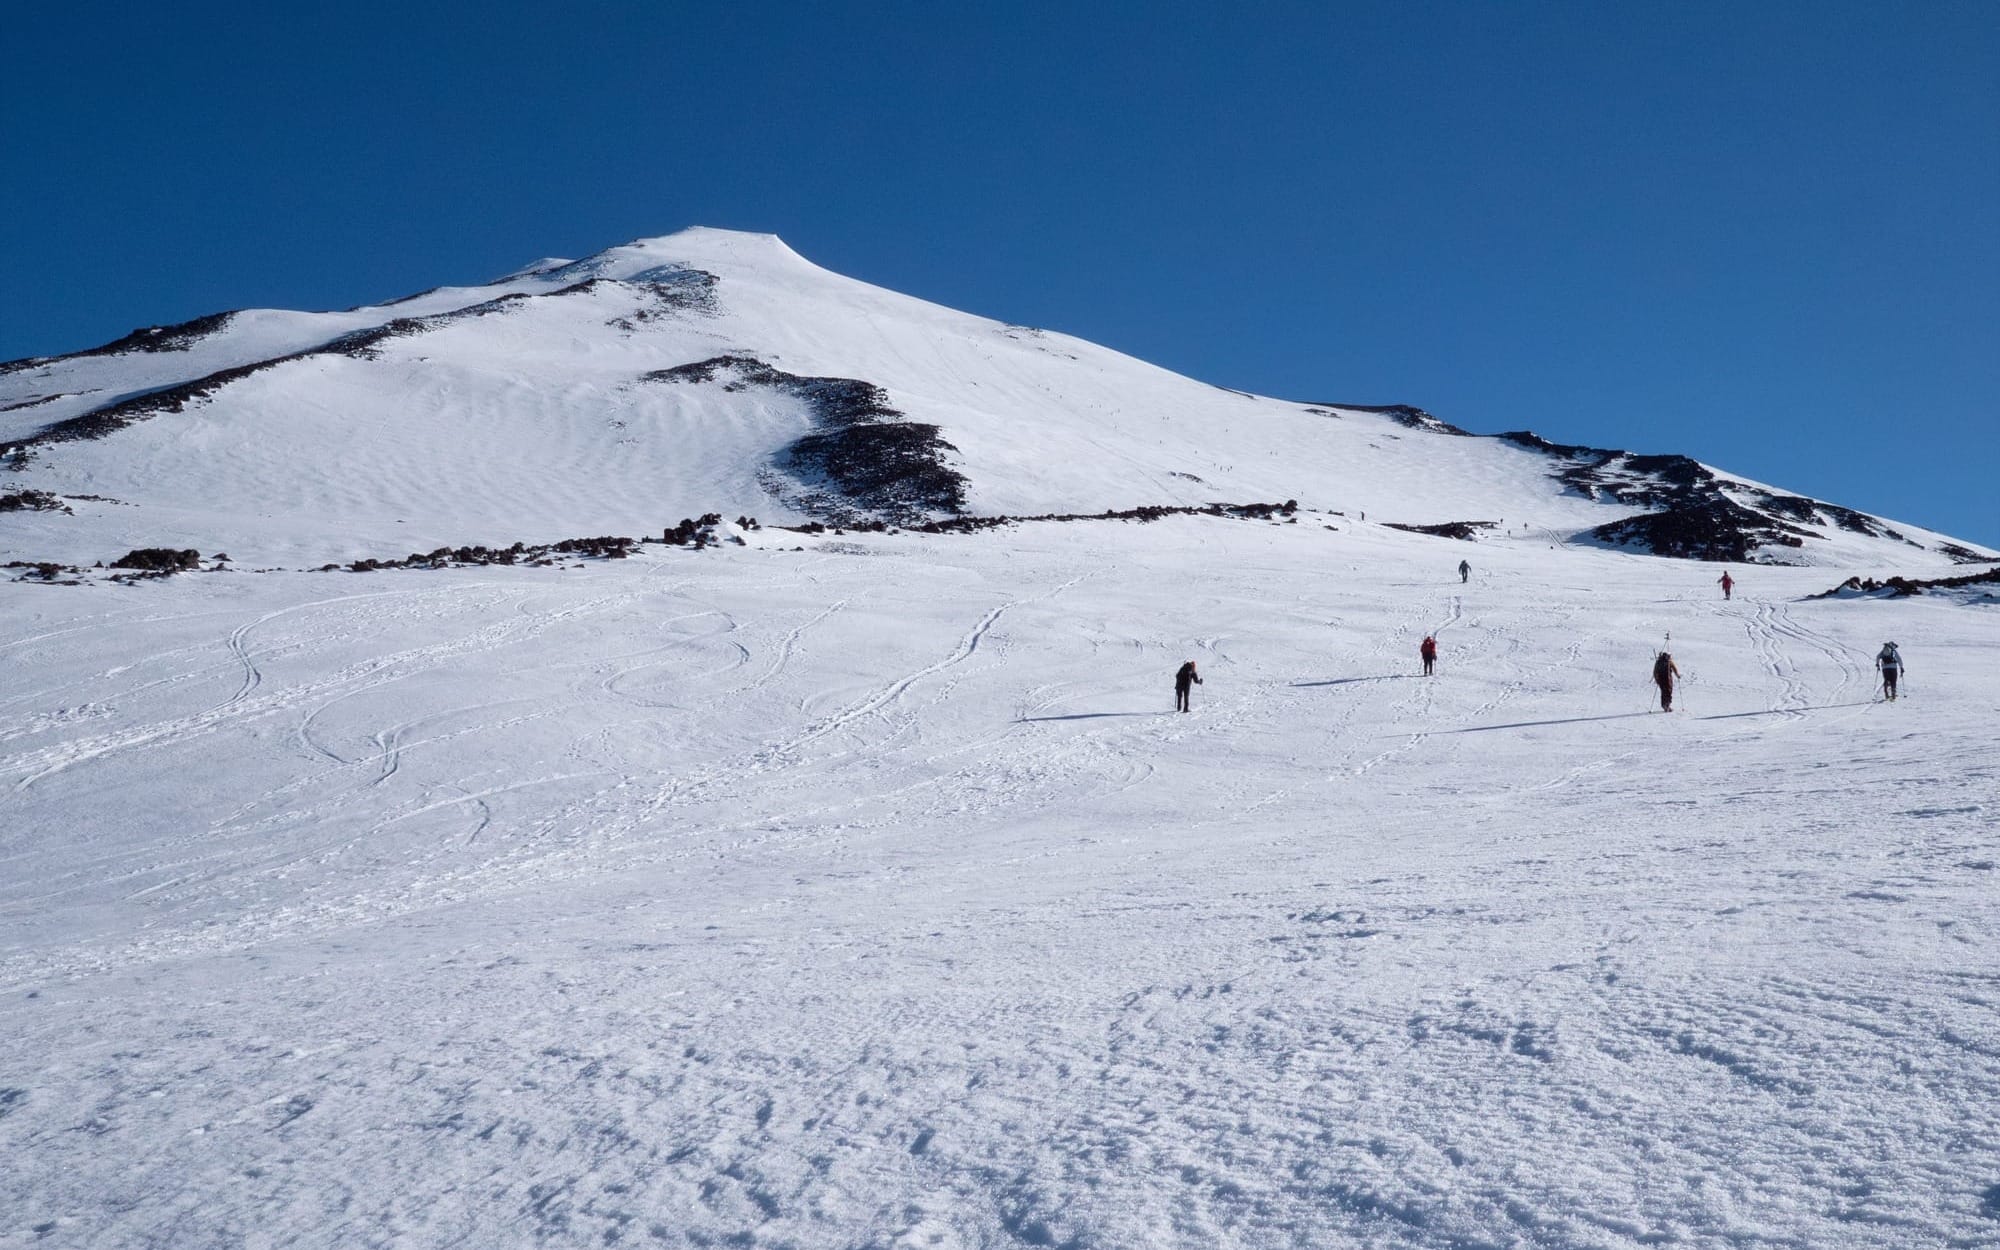
This large flat area just below the steep slope leading up to Pikers Peak is the end of the easy travel. For parties attempting the mountain over multiple days there are plentiful flat and dry spots where you can pitch a tent, and for those doing the trip in a single push you appreciate the well-timed rest area for refueling before the formidable climb.
Pikers Peak (11,657 ft)
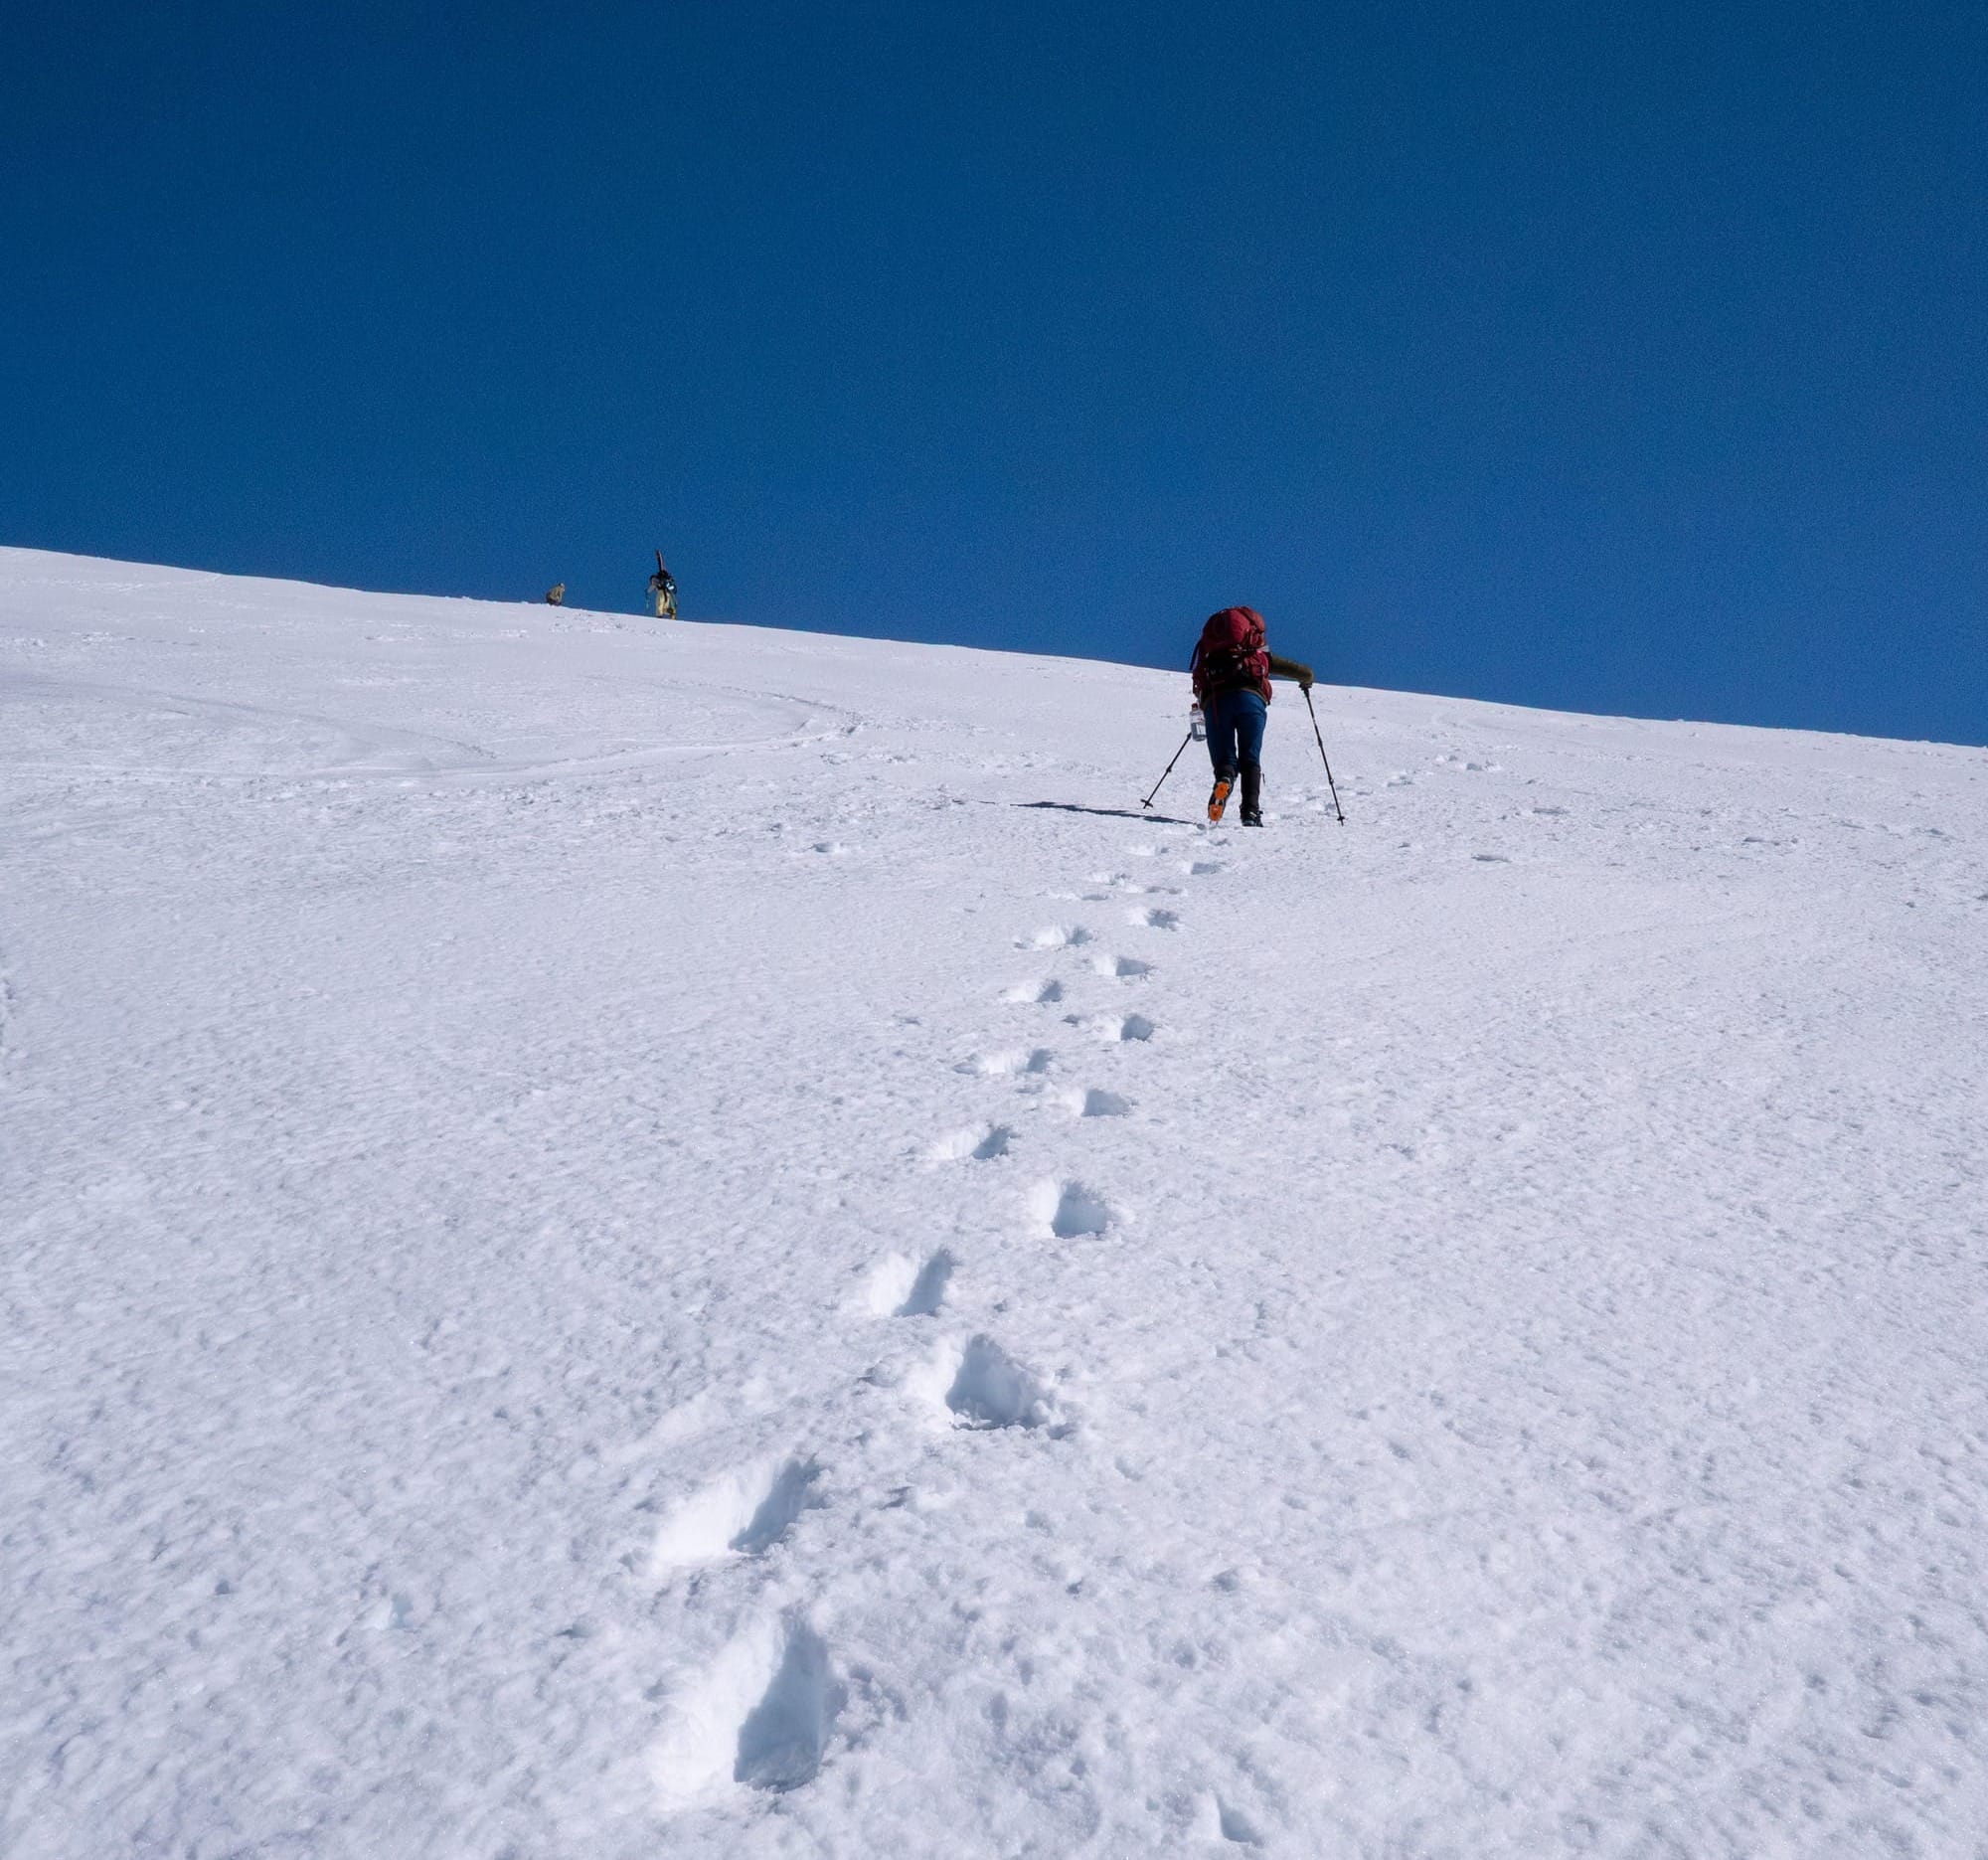
The aforementioned Pikers Peak, a notorious sub peak of Adams, hiding the true summit for much of the day and requiring nearly 2,000 ft of direct upward booting. It can feel quite endless while you are on it, but you will never be alone. On all of my attempts I have seen dozens of other people conga-lined up the booter, all sharing in the suffering. The grade eases off in the middle, which is a common resting place, but you'll only get your full respite on top of Pikers after the steepest part of the headwall. There you will find yourself with a quarter mile of flat walking toward the summit, a gorgeous snowy pyramid standing proudly 1,000 ft from the shoulder of the mountain.
The Summit (12,281 ft)
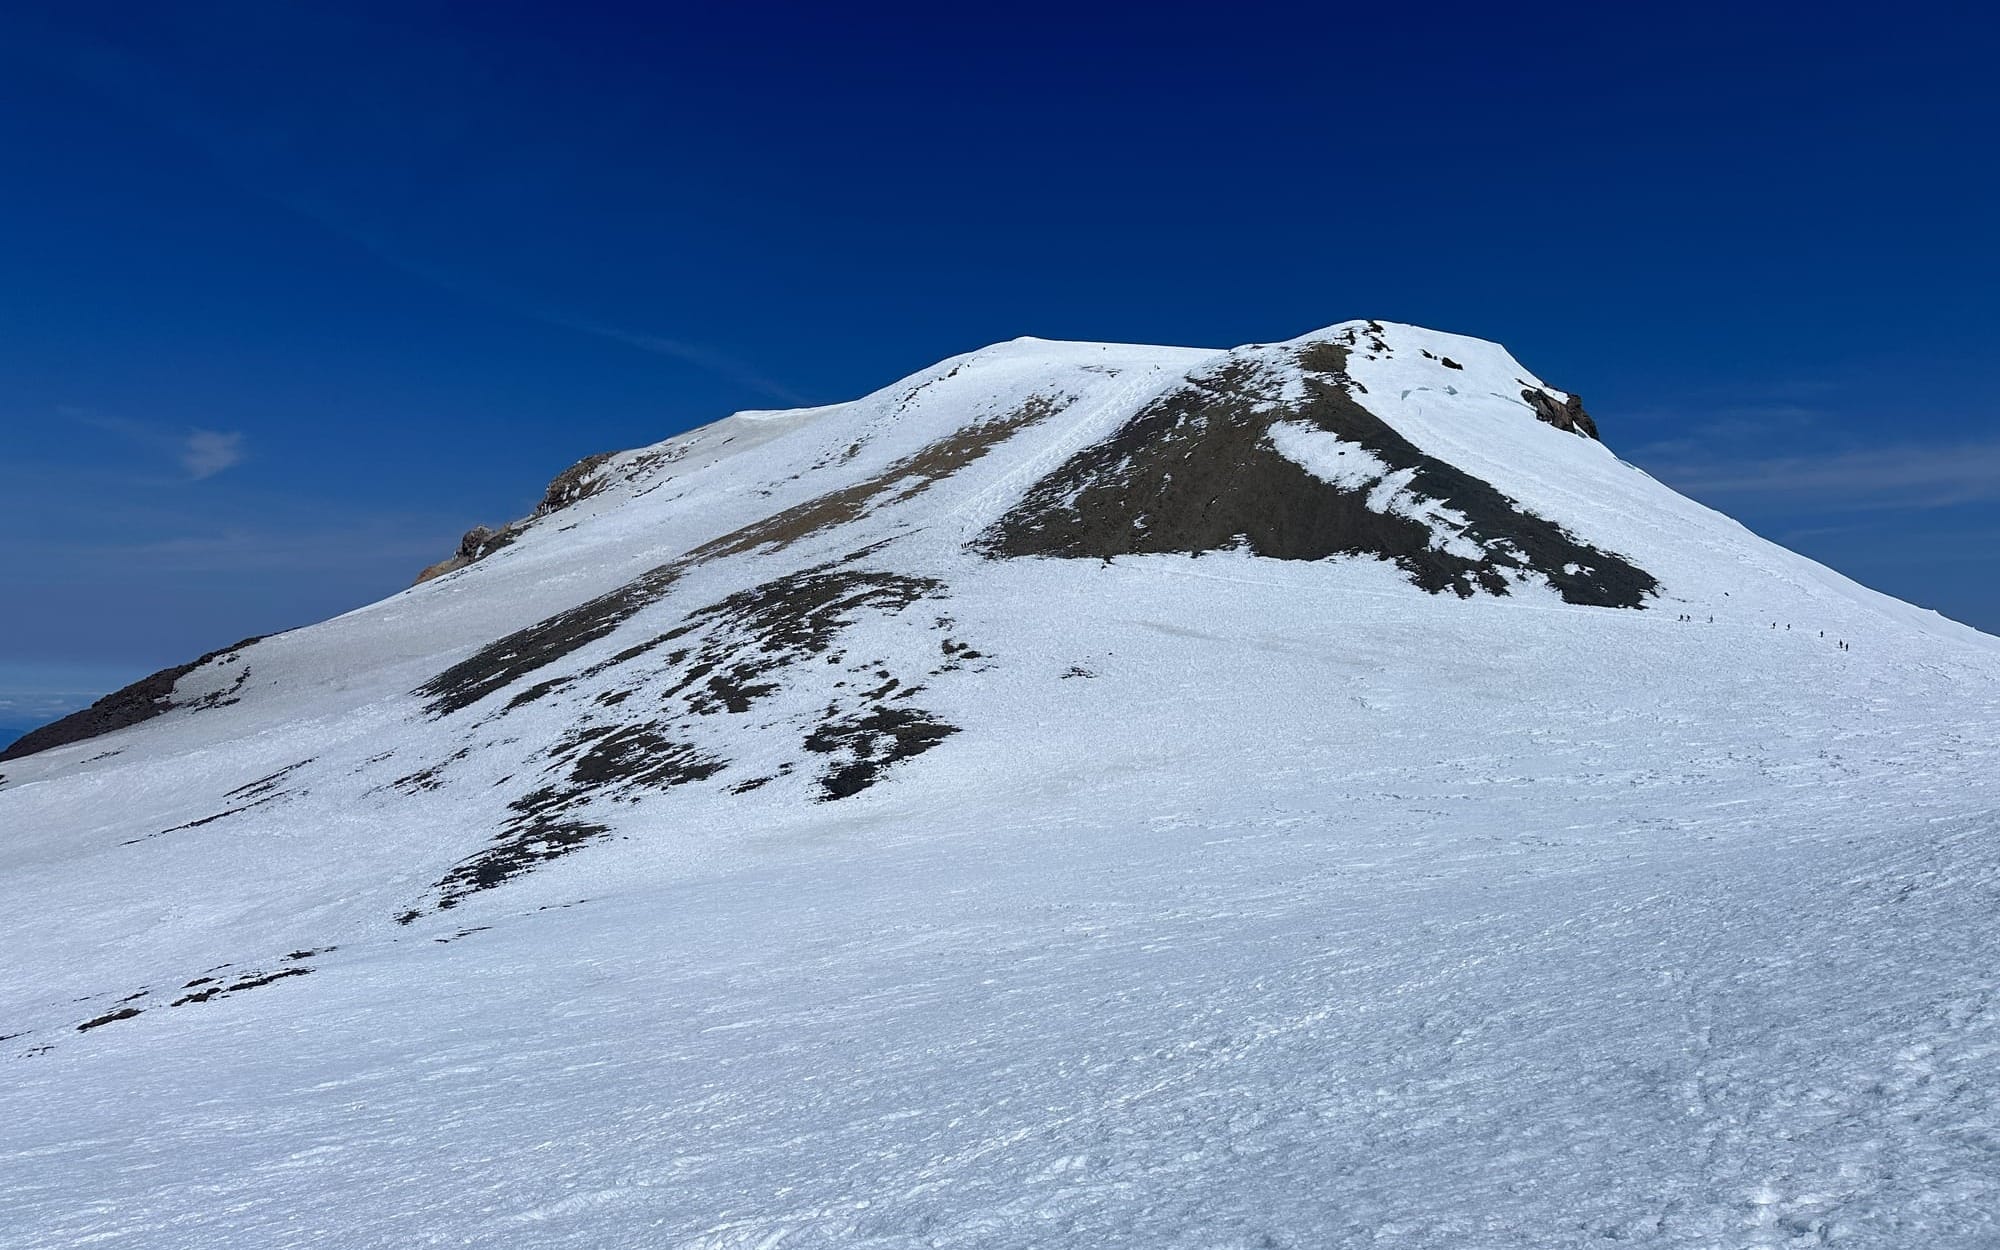
The final point of interest is the summit itself. While most people will congregate where the old fire lookout once stood on the west side of the summit block, the true summit sits a few hundred feet to the east. Make sure to head that way if you are peak-bagging so you can check it off, but the best photographs are taken on the west side, then you can transition to skis for a great ride out.
You can continue with the how-to guide, without the trip reports by skipping to:
A (Personal) History on Mt. Adams
Somewhere on the persistent spectrum between novelty and familiarity, lies a balanced point where the two meet in harmony and an objective goes from completed to perfected. Instinct becomes dominant, and you move in concert with the challenge before you. In climbing this concept is known as "sending". It's deeper than just getting to the top of a climb. More than just putting together the required moves. Your movement is intentional, no question of whether the achievement was a fluke, everything is under your own terms. It is where an athletes "style" comes into play, at what point do they feel their actions matching their taste. While this term has transitioned over the downhill skiing, it is harder to apply in the realm of big mountains. The concept gets more vague, esoteric, as the band of time to which it applies grows. Yet it still has it's place, when everything comes together.
The first time I was on Adams, was during my first proper season of ski touring. Everything about it was new to me; the idea of skiing in June, the sheer size of the line, the prospect of "corn" snow, the idea of traveling on a volcano. It fell completely onto the "novel" side of the spectrum.
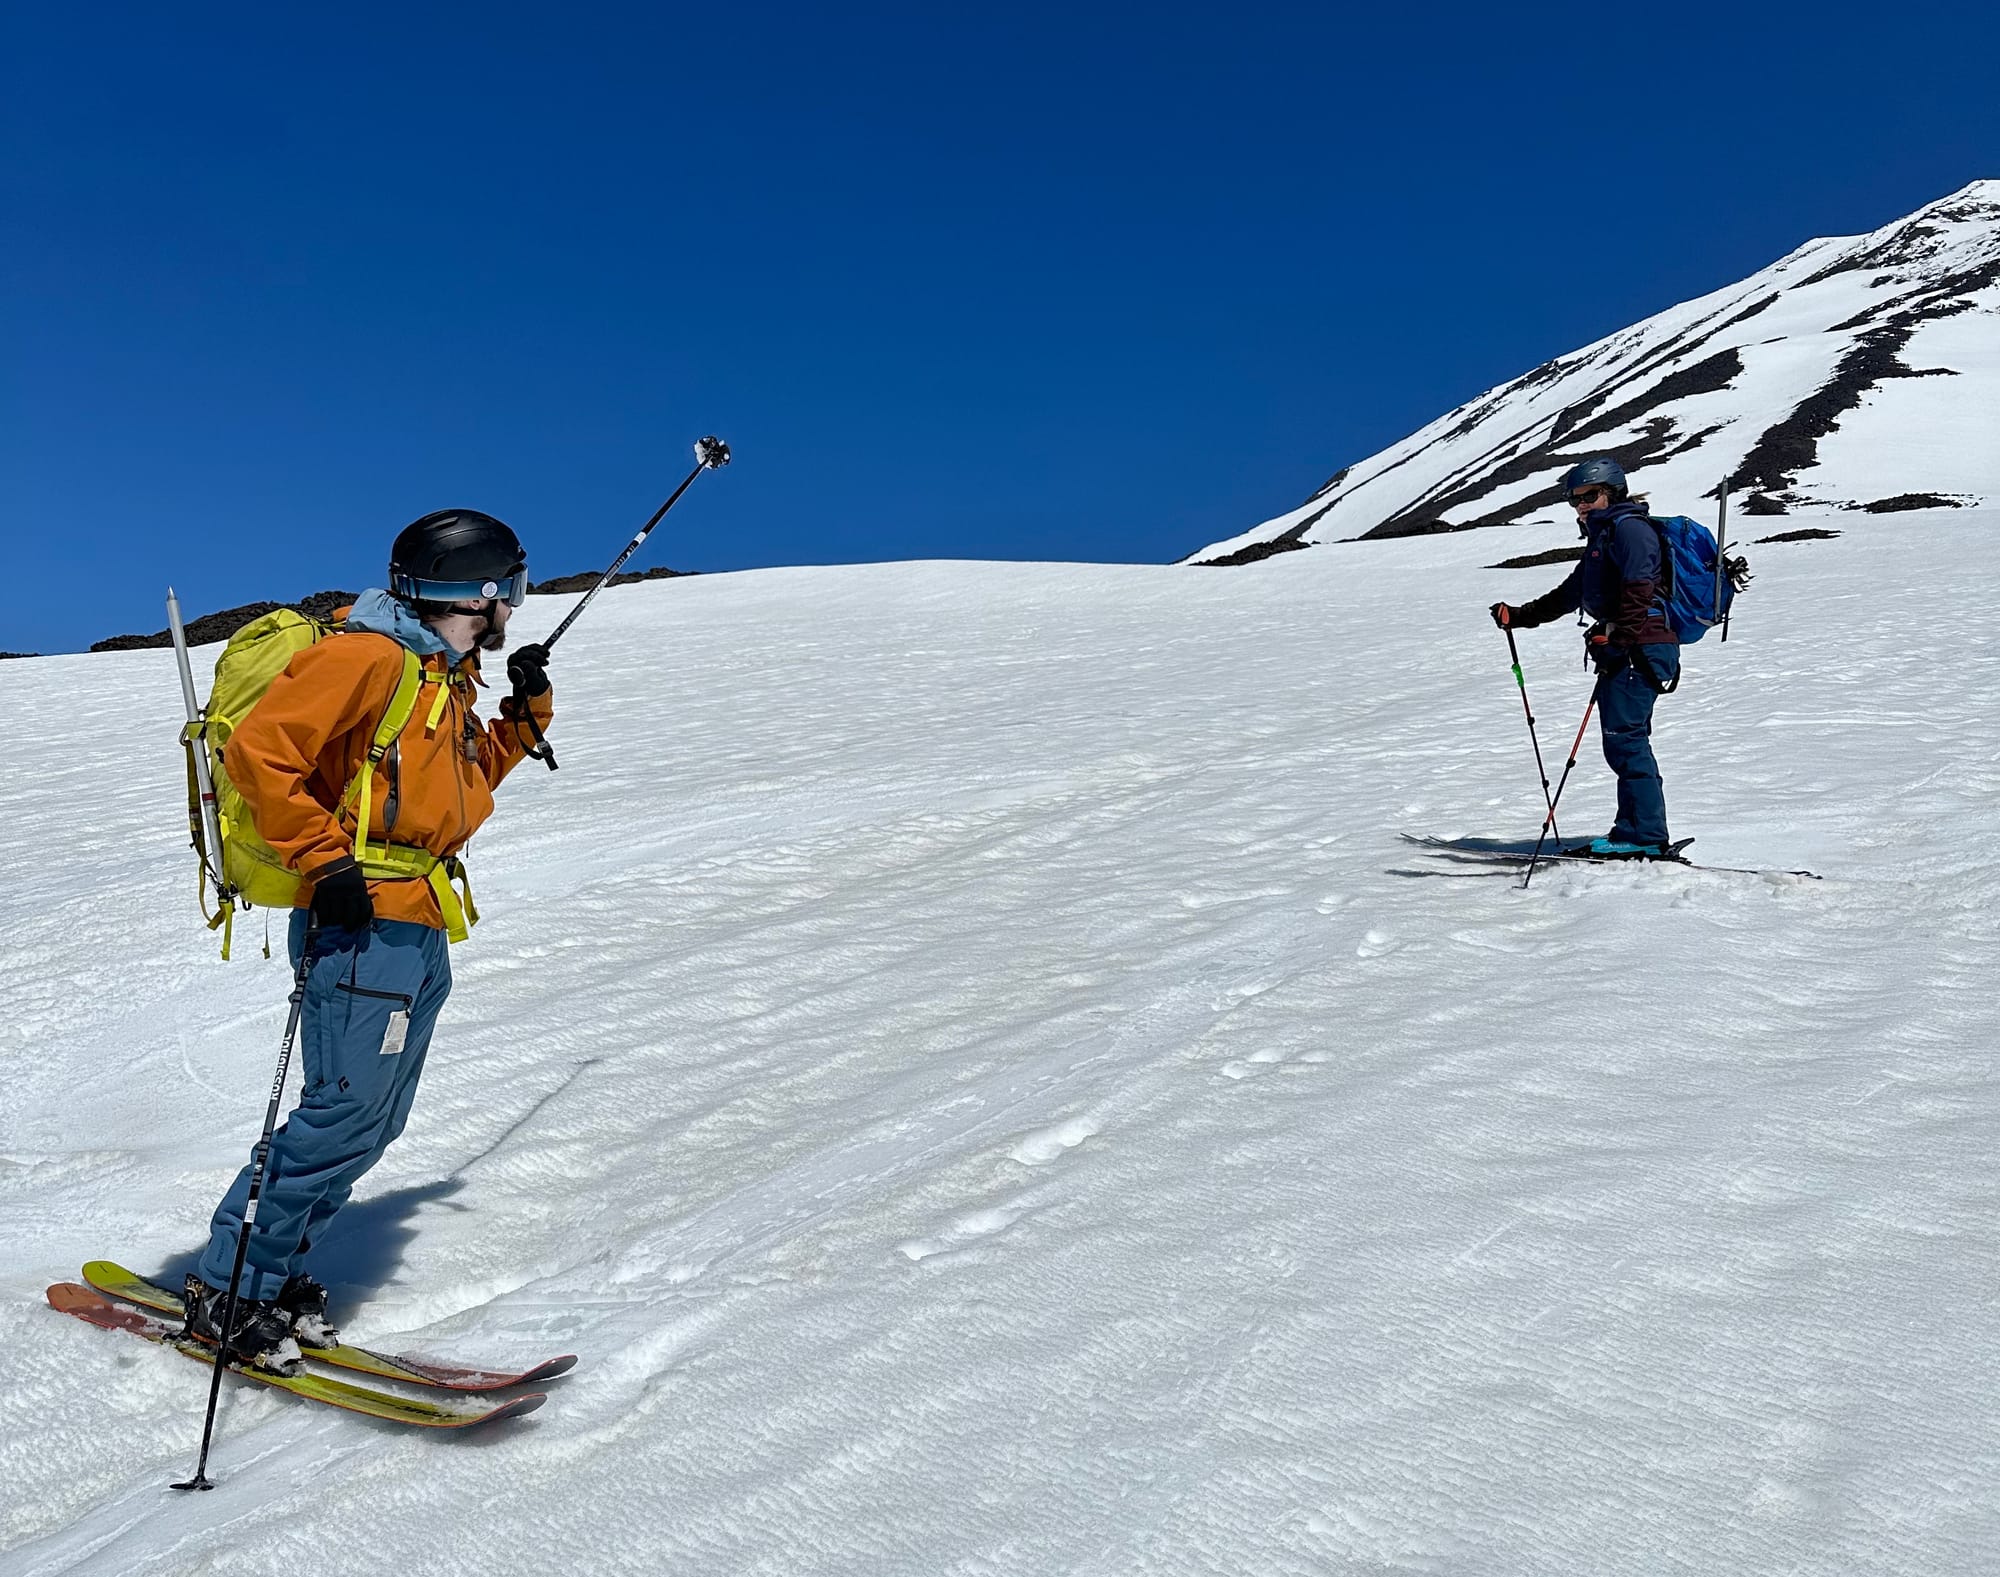
I trained my butt off through late winter to prepare myself for 7,000 ft of vertical gain. My recent transition into the ultra-fit world of mountain sports made a day that large feel lightyears beyond what I was capable of. I pounded laps into the Hyak face after the lifts stopped running, never managing more than 5,000 ft before I ran out of time, energy, or patience, but my friend was adamant I was ready, so I went for it.
When we arrived we found the South Climb Road still patchy with snow, more than any cars seemed to be able to handle, forcing us down to the Morrison Creek Campground, and adding 1,500 vertical ft to our start. Strike one for the day. We pushed through the set back, adding miles of dirt to the bottom of our ski boots. Around 7,500 where a steep bank rises up towards the Crescent Glacier, a member of the party slipped while skinning, sending them careening down the slope, just barely missing a rock on their descent. Strike two. They collected themselves and we continued, everyone now extra cautious. We made it to the lunch counter, the sun burning hot and the snow squishing below our skis. We were far too late to continue. Strike three, we're out.
The next year, unconvinced that I would make another attempt after a successful summit and ski on Mt. Baker, I found myself in the car with two strangers heading south on the last day of June. Another season of skiing behind me and I felt the trepidation fall away, I was properly ready to tackle the challenge.
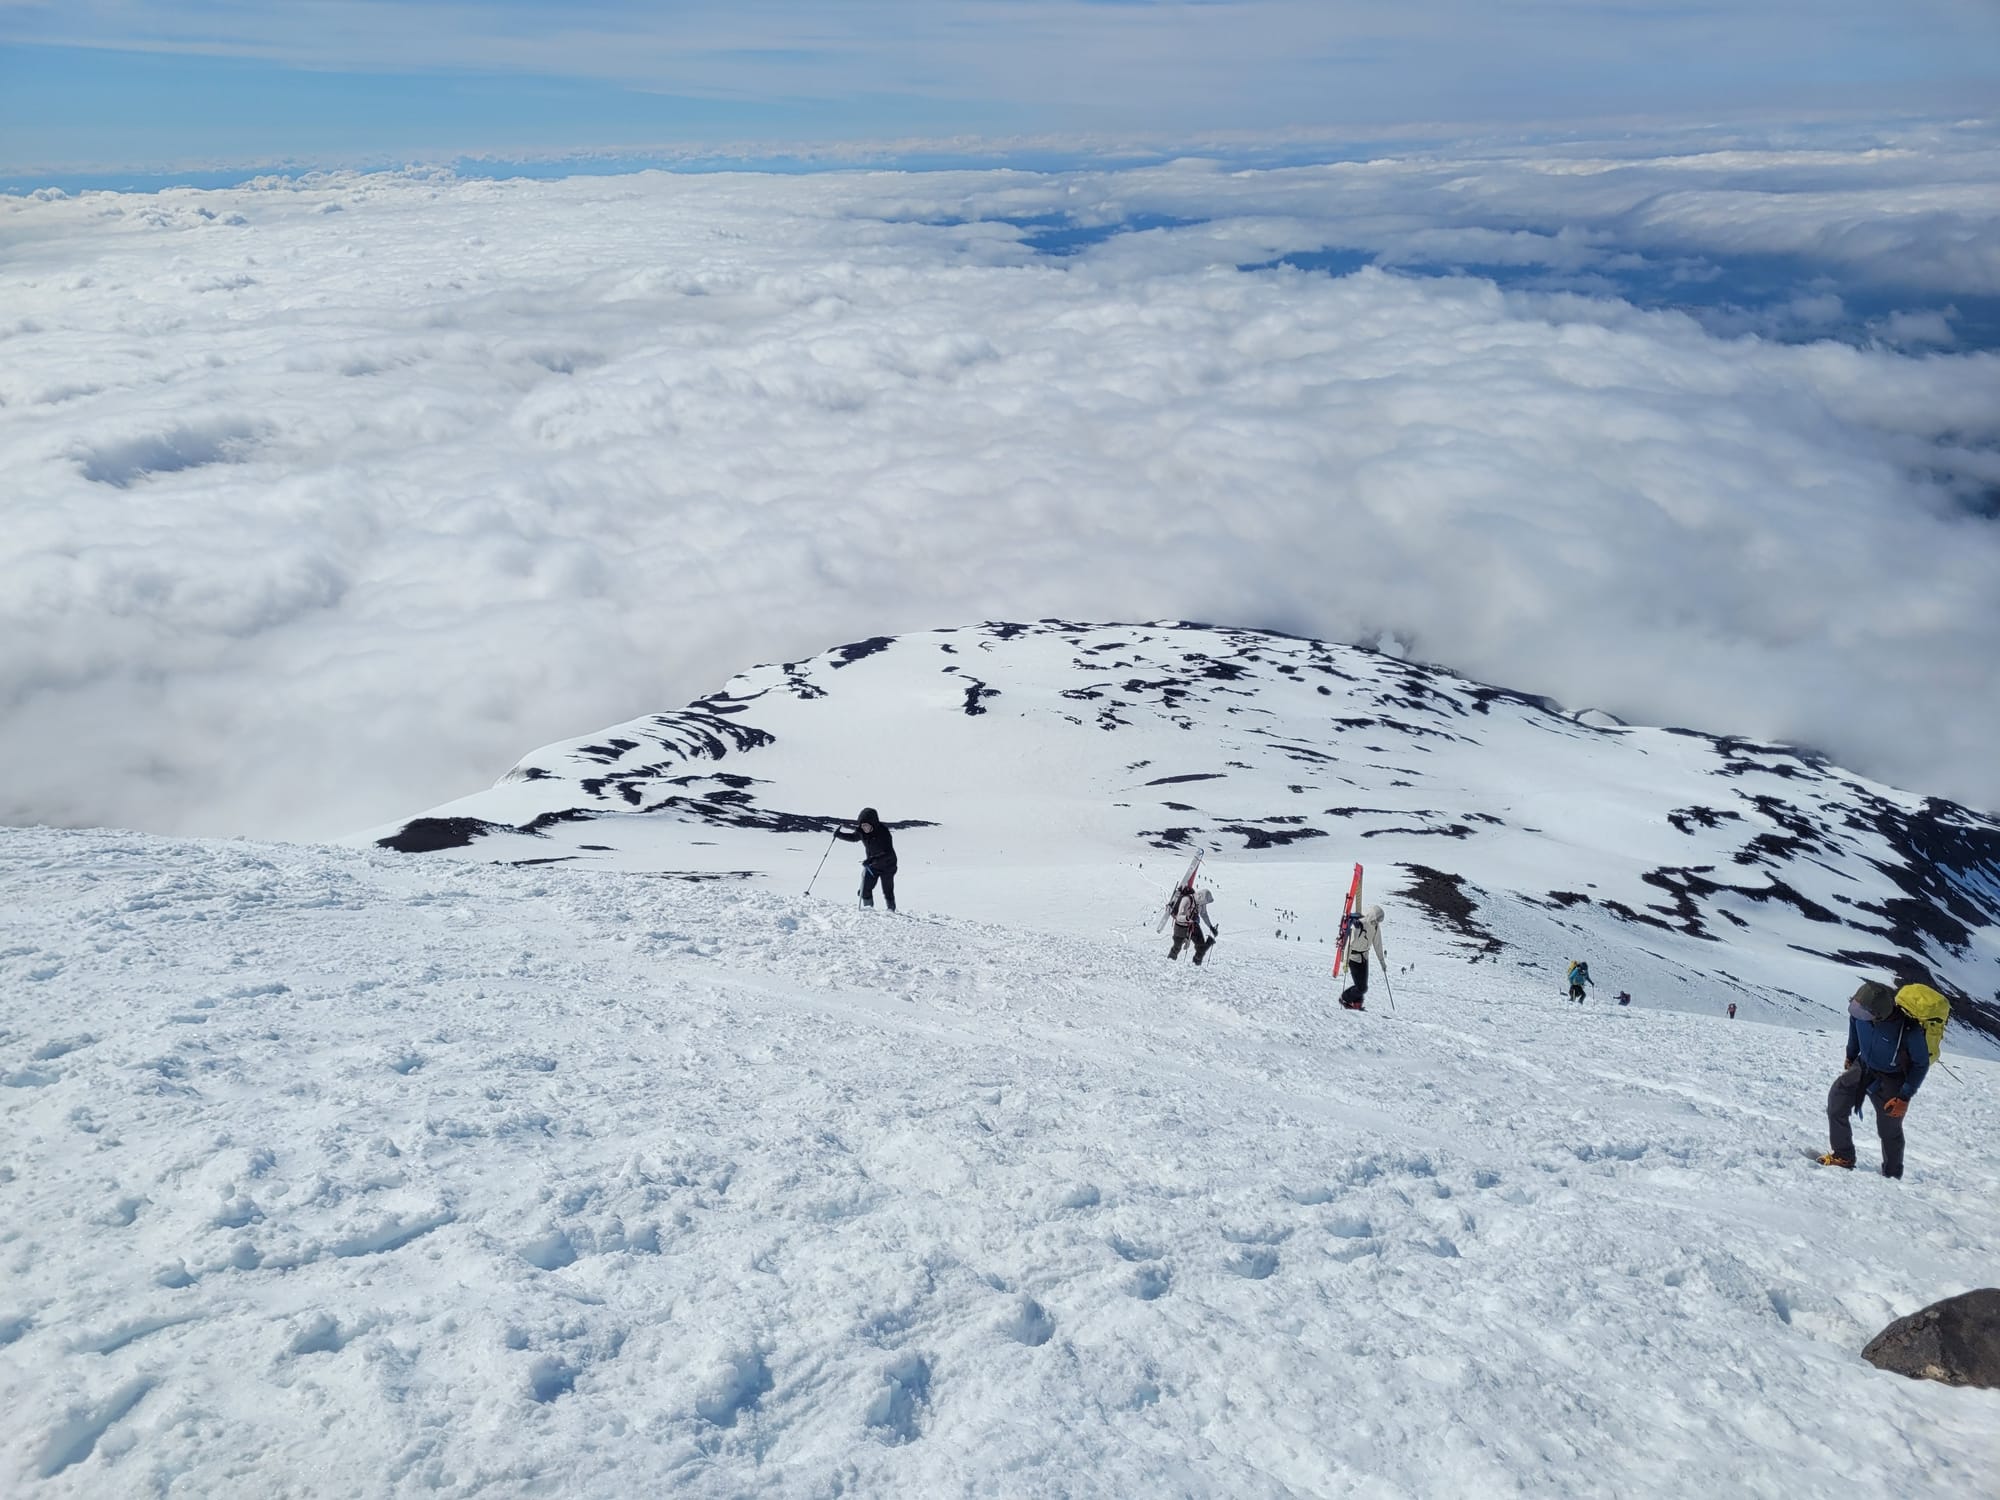
We made it to the top of Pikers Peak in less time that it had taken us to the lunch counter the year prior. Yet, as I brushed into the 11,000 ft range for the first time my heart rate spiked and my spirits plummeted. The altitude was fighting me tooth and nail, my head throbbed, I felt dizzy, my body was yelling at me to go down. Somehow I pushed through, taking breaks where needed, sucking down water, just barely making it to the summit. I stayed only long enough to snap a photo and transition my skis.
There is a curious mental space you can enter when you are pushing hard, (some people call it the "pain cave") you are so tired that you invert, looking in on yourself from the outside. Your subconscious starts to bargain with you, spinning stories about how incredible it would feel to stop, to go down. It does its best to convince you of the meaninglessness of your activity, and the hardest part is that it is always right. Overcoming that instinct, whether through brute will power or thick stupidity, turning your limbs over without thought like a simple machine, is the essence of endurance sports.
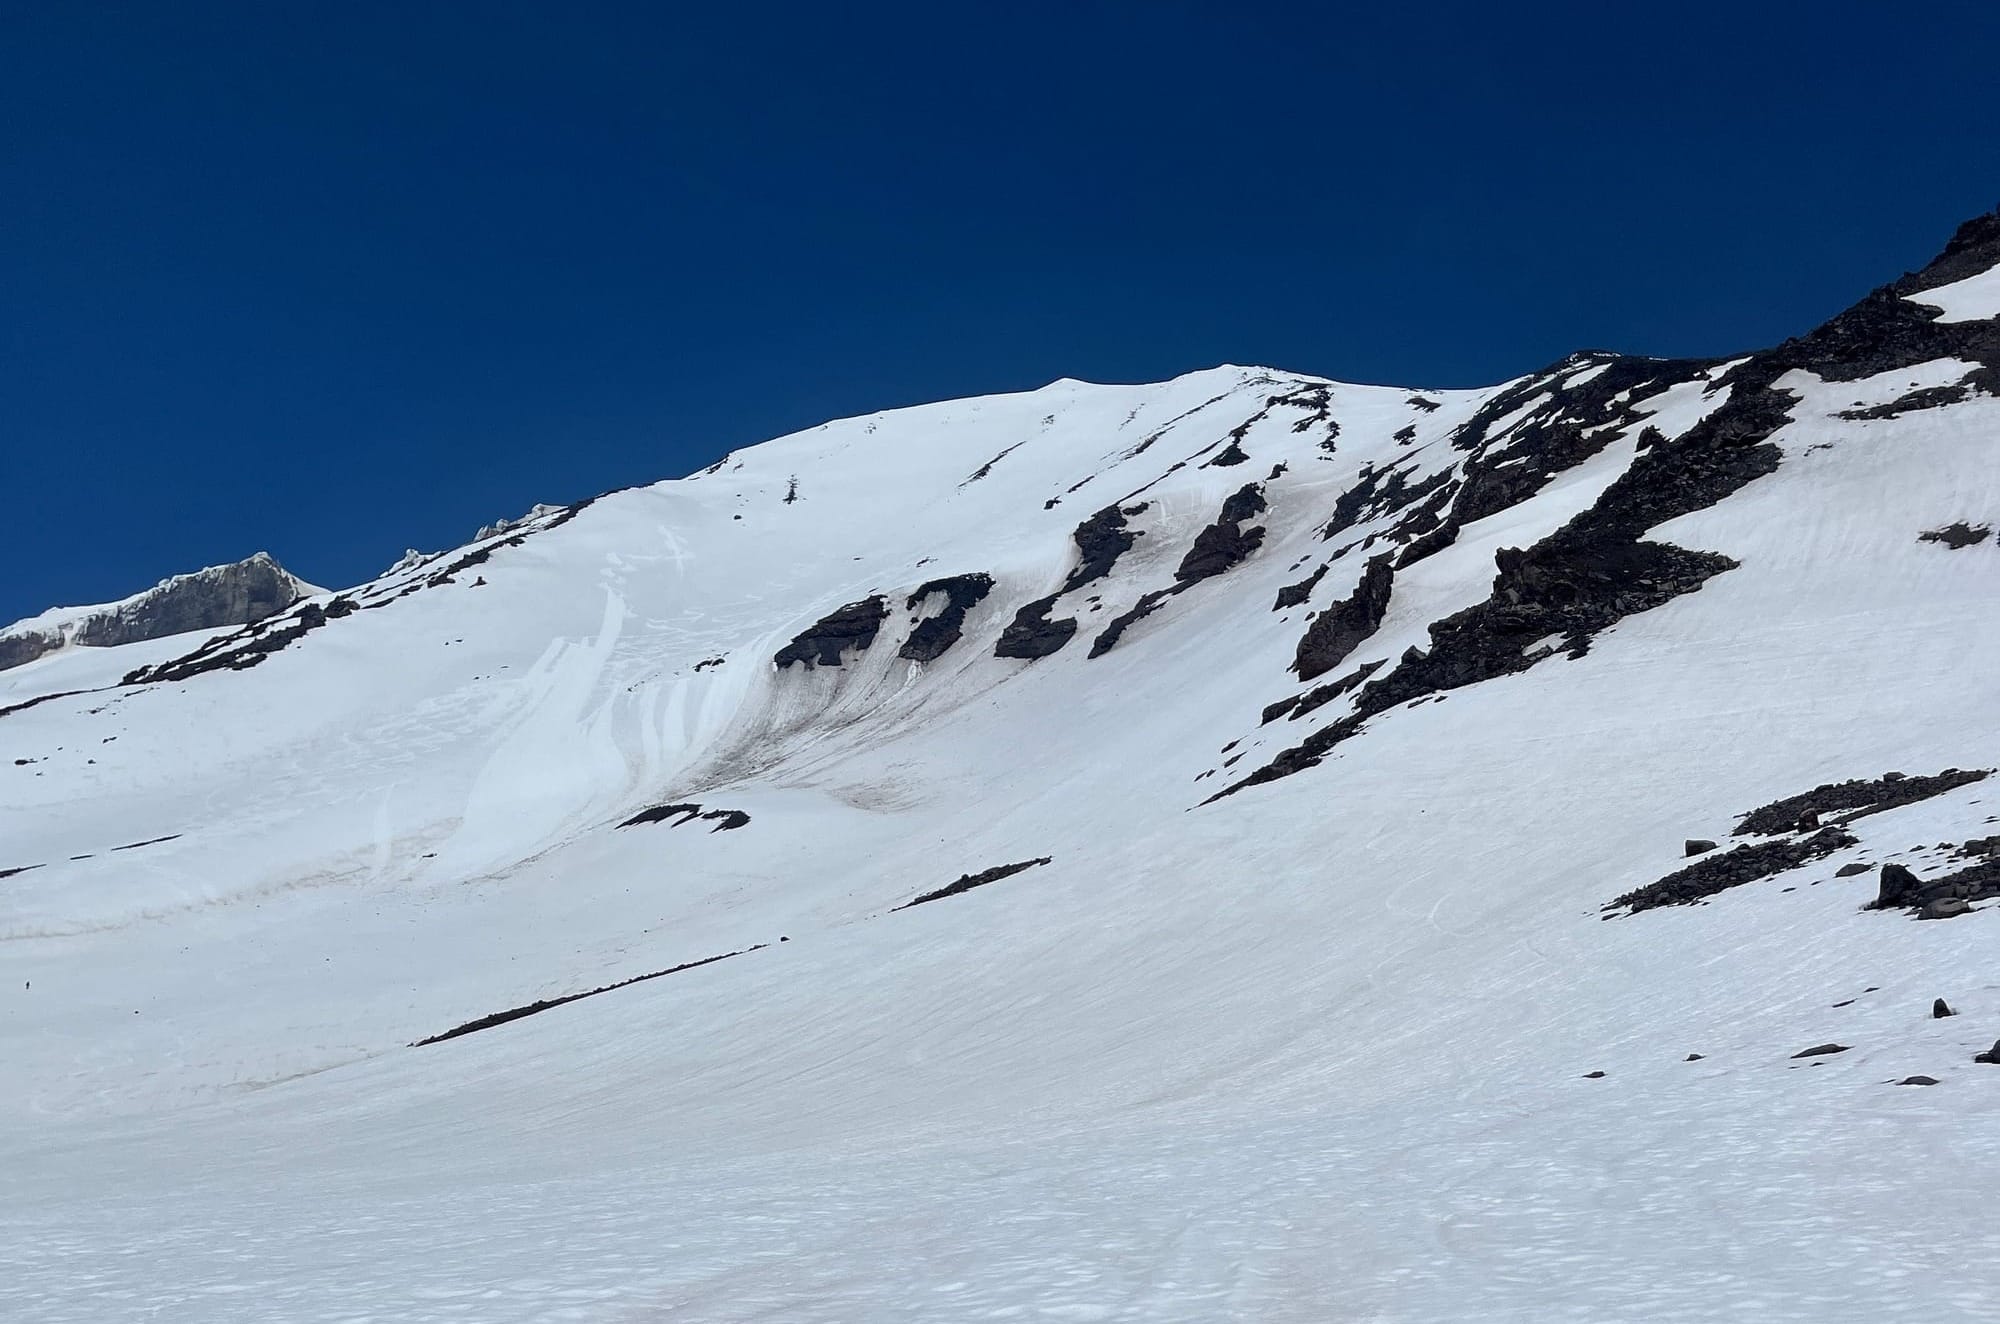
Once I retreated down below 11,000 and into the Southwest Chutes I came back to life. The snow at the top of the line was immaculate, we cruised through the steep snow, until I felt the snow suddenly shift beneath me. The slush turned to rotten mush and it pulled me to a stop, causing me to tumble a few dozen feet down the slope. I was luckily fine, skis intact, but the warming was severe, we could all tell we were in the danger zone. As we reassessed our surroundings, a group above us triggered a wet slide. It ran for well over 1,000 ft down the center of the line, slowly sliding right past us. Hardly a real danger given our position, but a severe reminder, we were locked in. We traversed around it carefully, finding our way to the exit, sweating under the overbearing sun. There had been some familiarity, and much more success, but it still felt completely novel, lacking in focus and execution.
The following year, after all of the danger and suffering of my prior experience I thought I had put Adams completely out of my mind. However, after a season of striking out on missions, whether due to poor weather, snow, or timing, I jumped when a prime window to ski the southwest chutes appeared. We sat around a table in Rosita's scheming, this year we wouldn't focus on the summit; we had all already been there, and instead attempt to time the chutes as best we could.
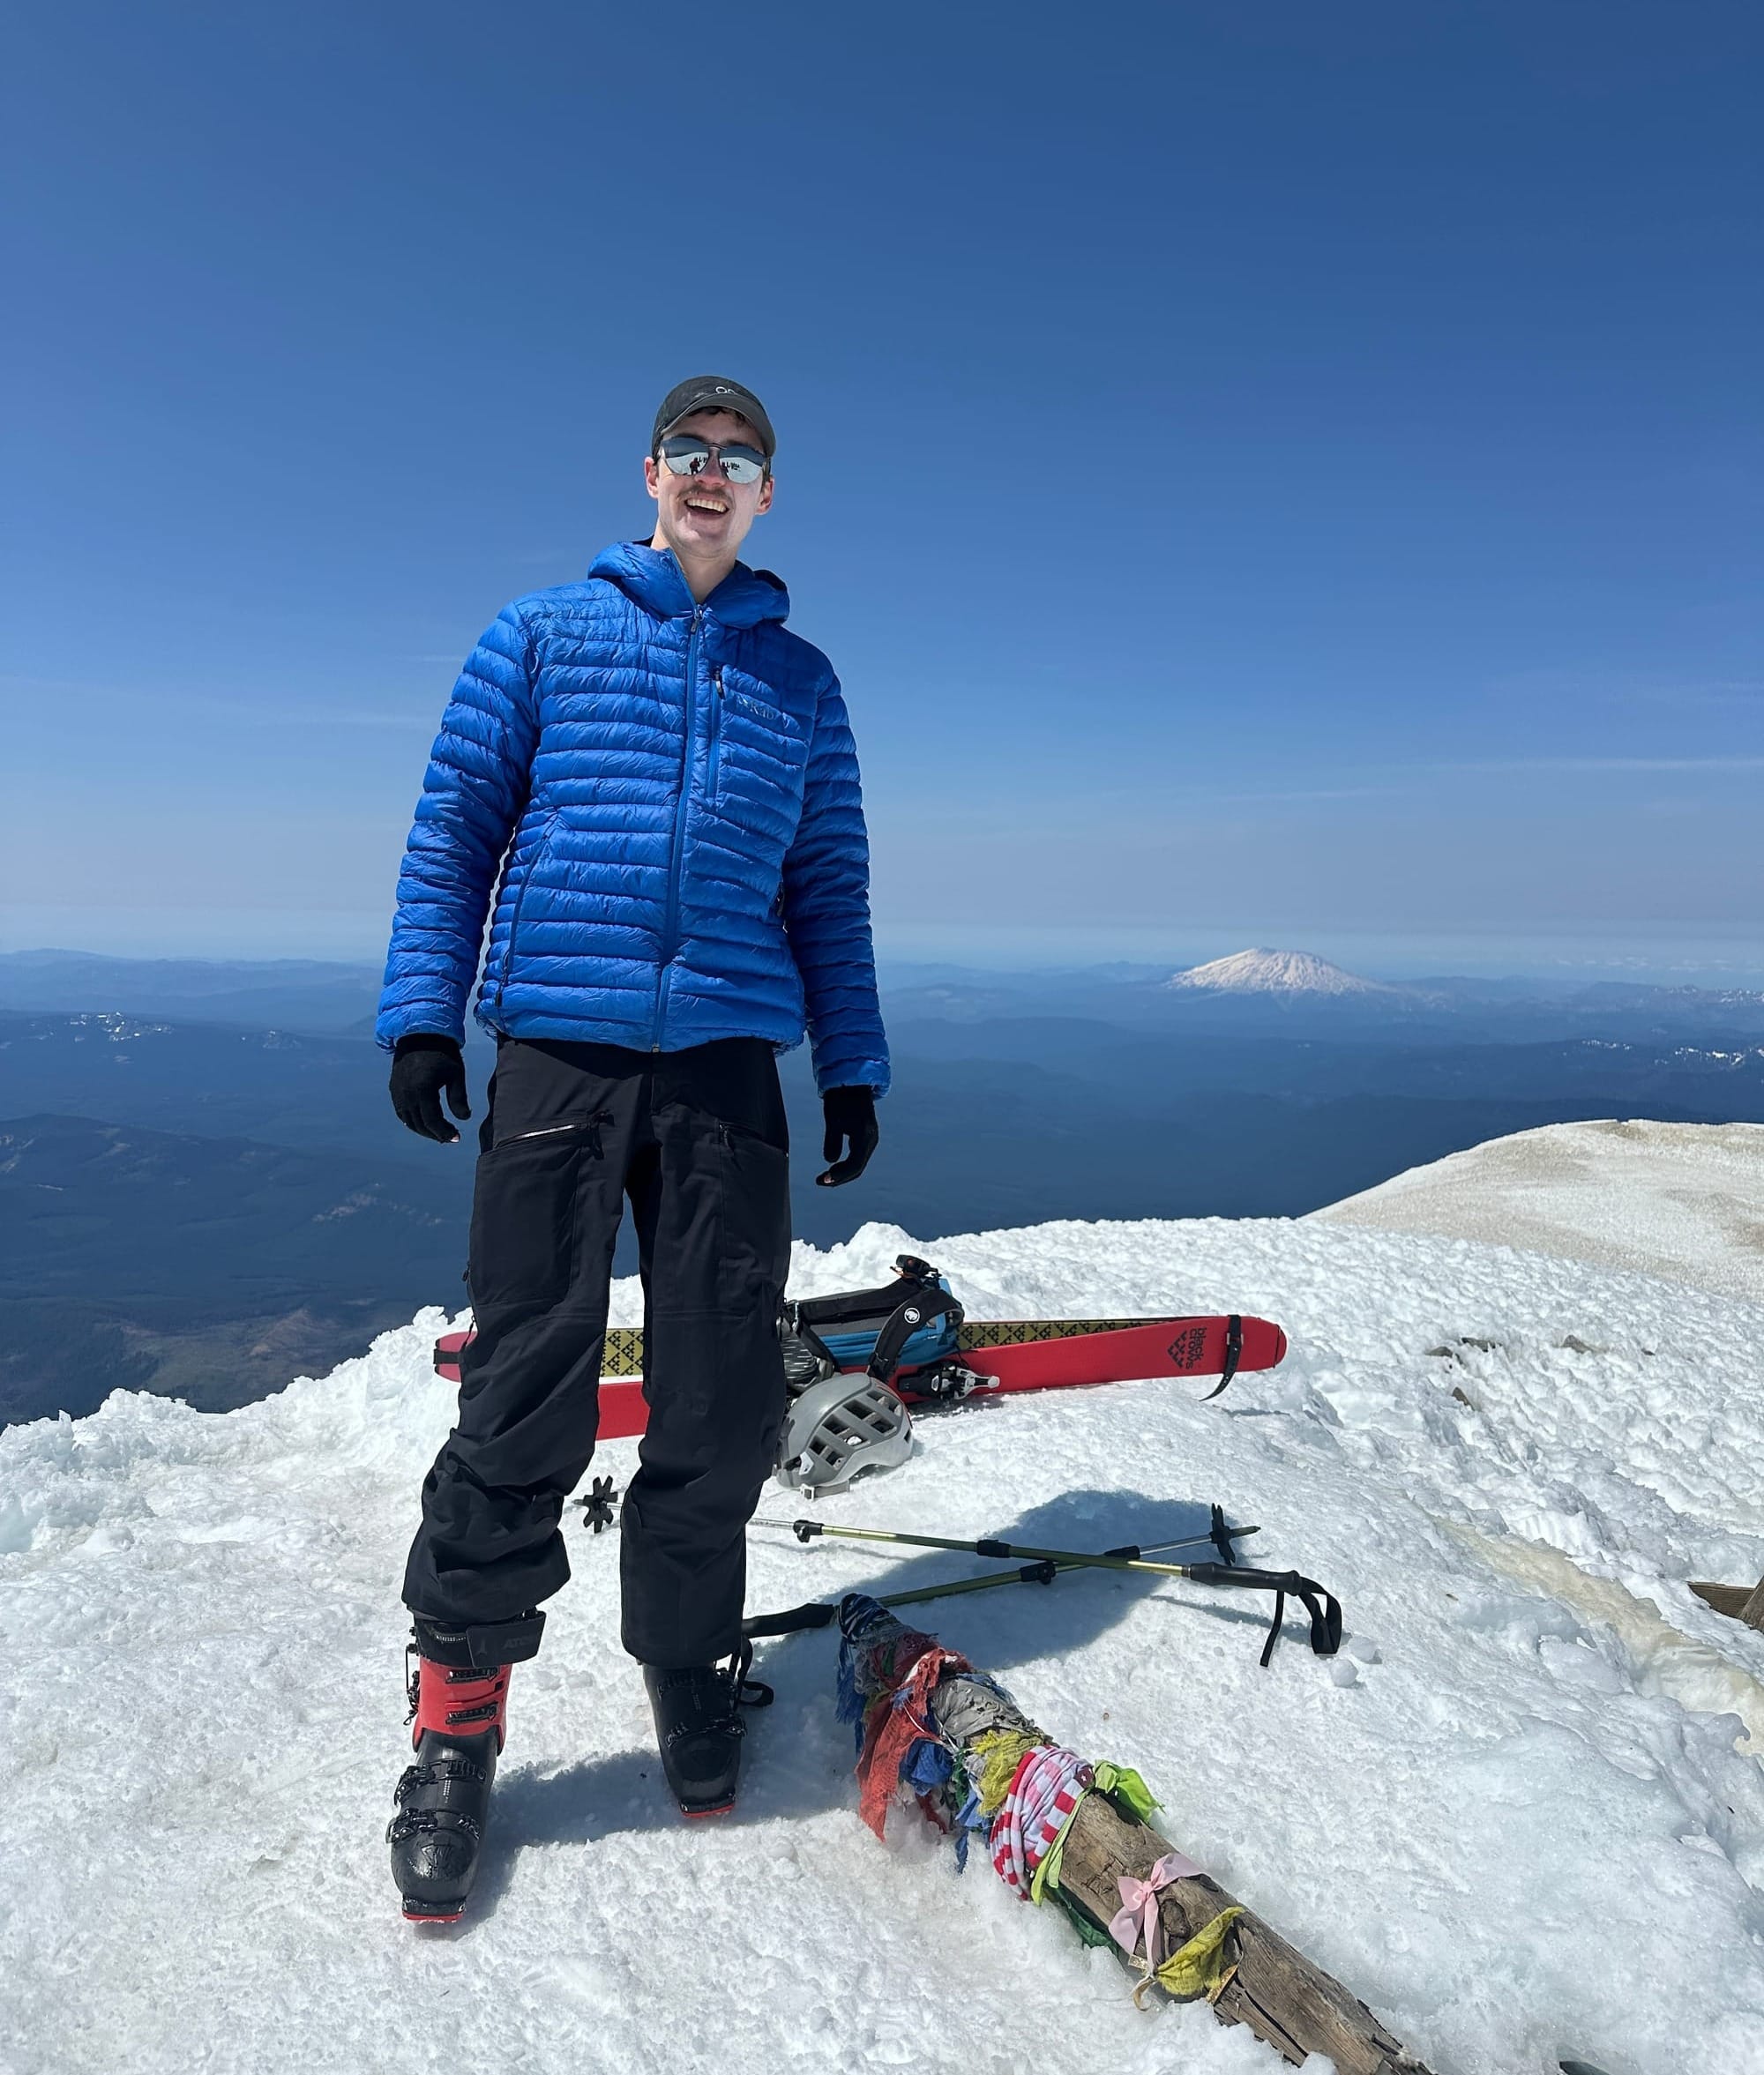
The snow level was even worse than it had been the year prior, despite being nearly three weeks earlier in the season. We went over pictures of line from our cars in the Cold Springs campground. The line would go, but the exit looked like it was in bad shape. Nothing we couldn't figure out though. When we started in the morning our friend who had brought his dog (with no intentions of bringing her on the chutes) decided to bail early due to the frozen snow hurting her paws with no booties. The remaining three of us quested onwards into the sunrise. We made quick work of the ascent until we were mid-way up Pikers. Jason and Hugo were bonking. I had been feeling great, so with their blessing, I continued to the summit to give them time to rest before we skied.
"Bonking" is a term, originally coined by cyclists, but now adopted by many different endurance disciplines, to denote when an athlete suddenly runs out of energy, typically caused by the depletion of their glycogen (glucose based energy) stores. You may have heard of "hitting the wall" in a marathon which is another term for the same thing.
Still, despite feeling great up that point, the altitude hit me hard at 11,000 ft. Maybe not as bad as the last time, but it was an unwelcome return visitor. I didn't need to be pushing past, but something in me was driving my legs forward. I wanted to feel that simple repetition of my crampons crunching in the snow, of my heartbeat thumping through my ears. It felt good, despite feeling bad. When I finally arrived the summit was full of activity. A group of a dozen or so guys were partying, one of them even smoking a cigarette. I must have looked haggard because they all cheered me on, welcoming me to the summit. The mountaineering community is wonderful, even if they are a bit humbling.
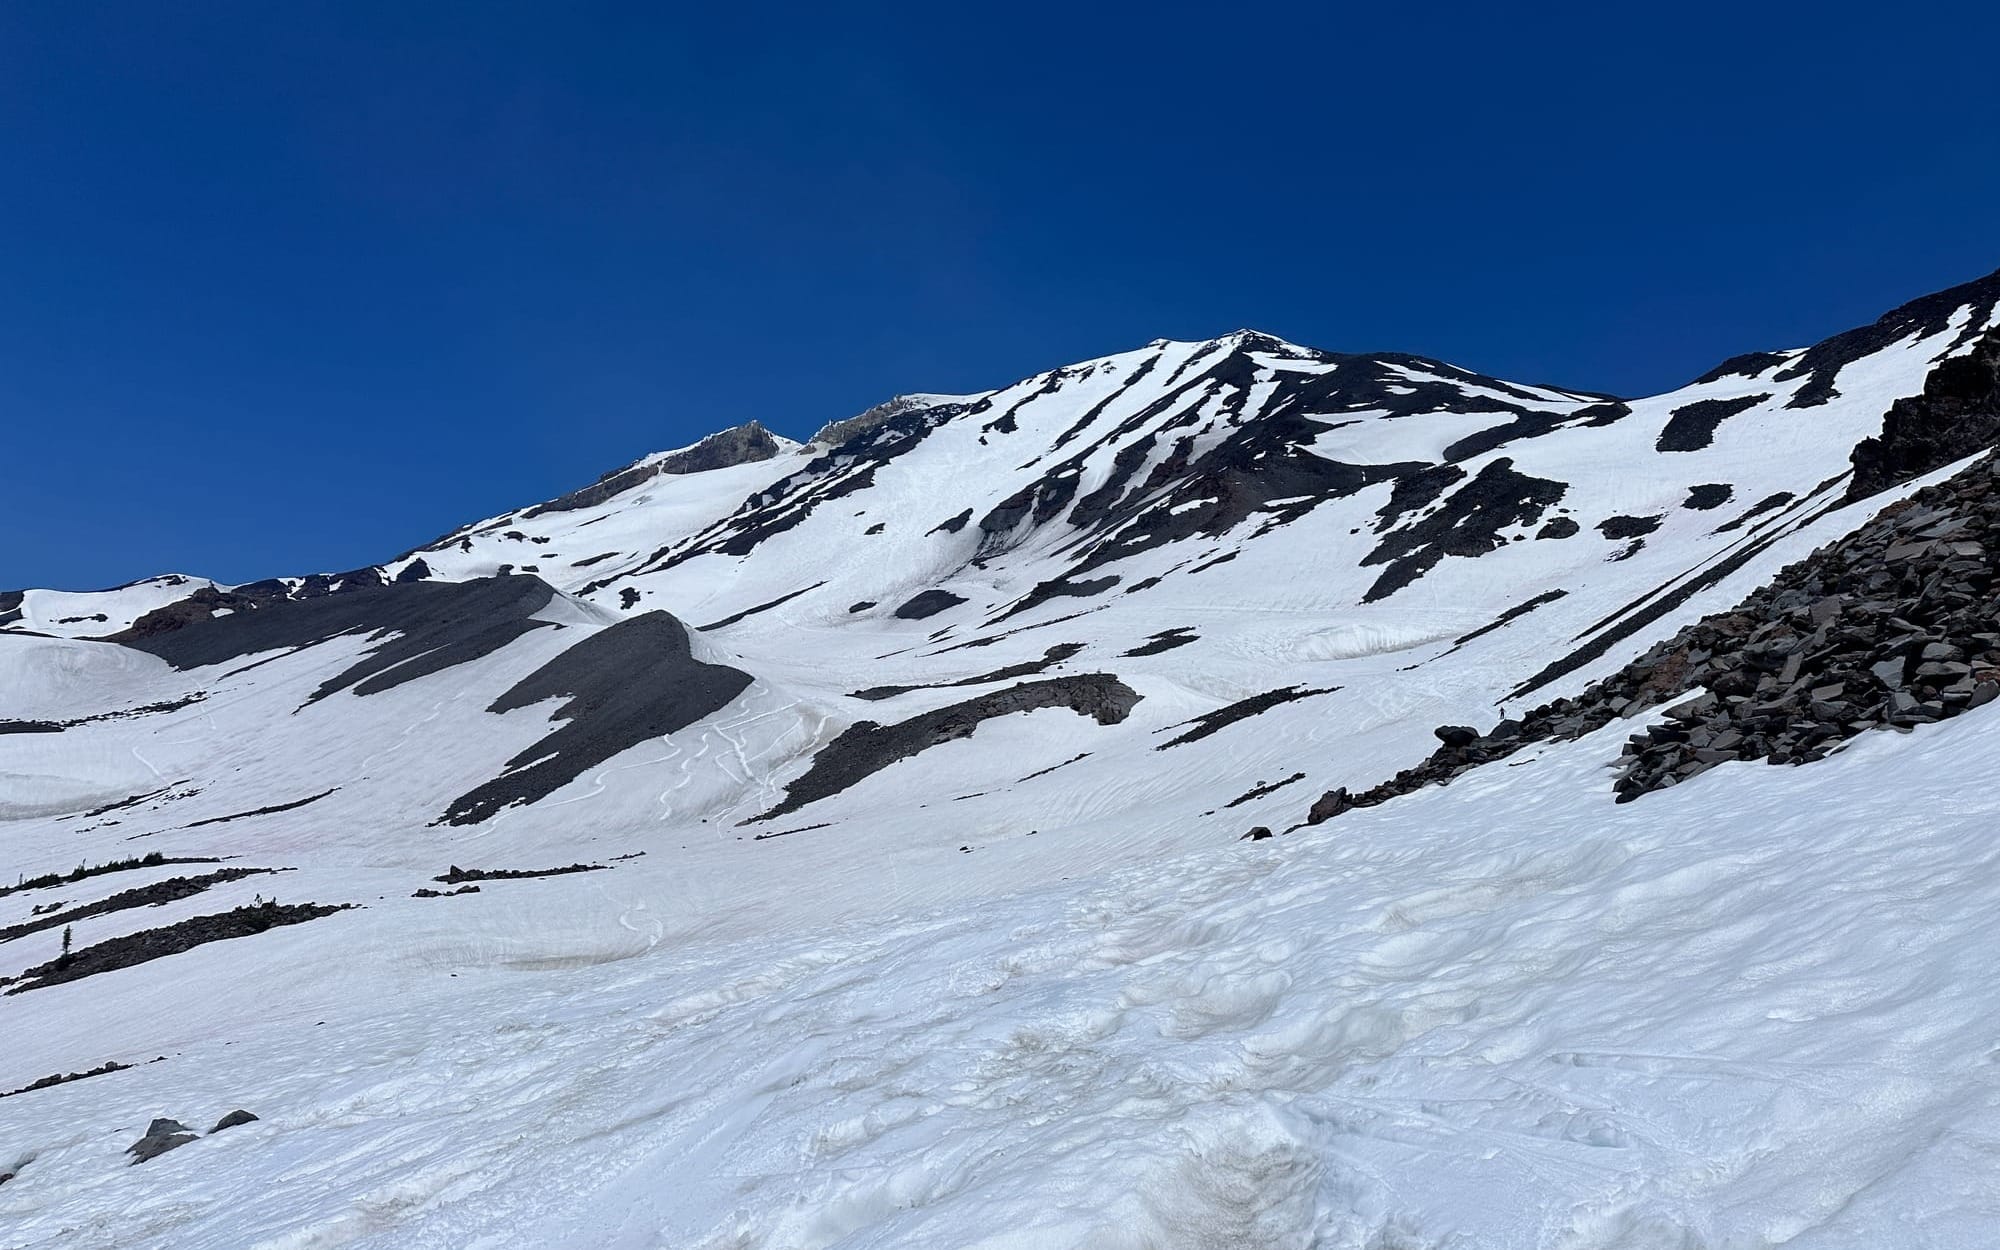
In the entrance to the chutes I hit a chicken head that held my ski down, sending me sliding for a dozen feet and sending my GoPro toppling. Everything after that was miraculous; stable, consolidated corn through almost the entire line. My legs burned, but we enjoyed every inch of it. At the bottom we danced around an archipelago of exposed rocks. Despite the sorry state of the traverse out we had stashed our shoes at the snow line, so, wanting to save our boots miles of walking we continued on the original exit. We skinned up, skied down, walked across rocks, skinned, skied, rocks, skin, ski, rock. Our spirits were broken when we finally decided to give in and drop down to the round-the-mountain trail, knowing we would have to reascend to find our shoes. We vowed never to do that exit again. Everything had felt so close, like we almost did it correctly. I could feel it in the back of my mind, the possibility of properly sending it coming into focus.
When this year came around, despite the type 2 memories, I knew I had to go back. It was a tradition now! I was far stronger than the years before, after having completed both Mt. Hood and Rainier only a month prior. I needed to find a way to do it without it becoming a slog. We had our plan. No traverse, we would carry our trail runners, simply drop down the line until we couldn't ski anymore, and hike the trail out.
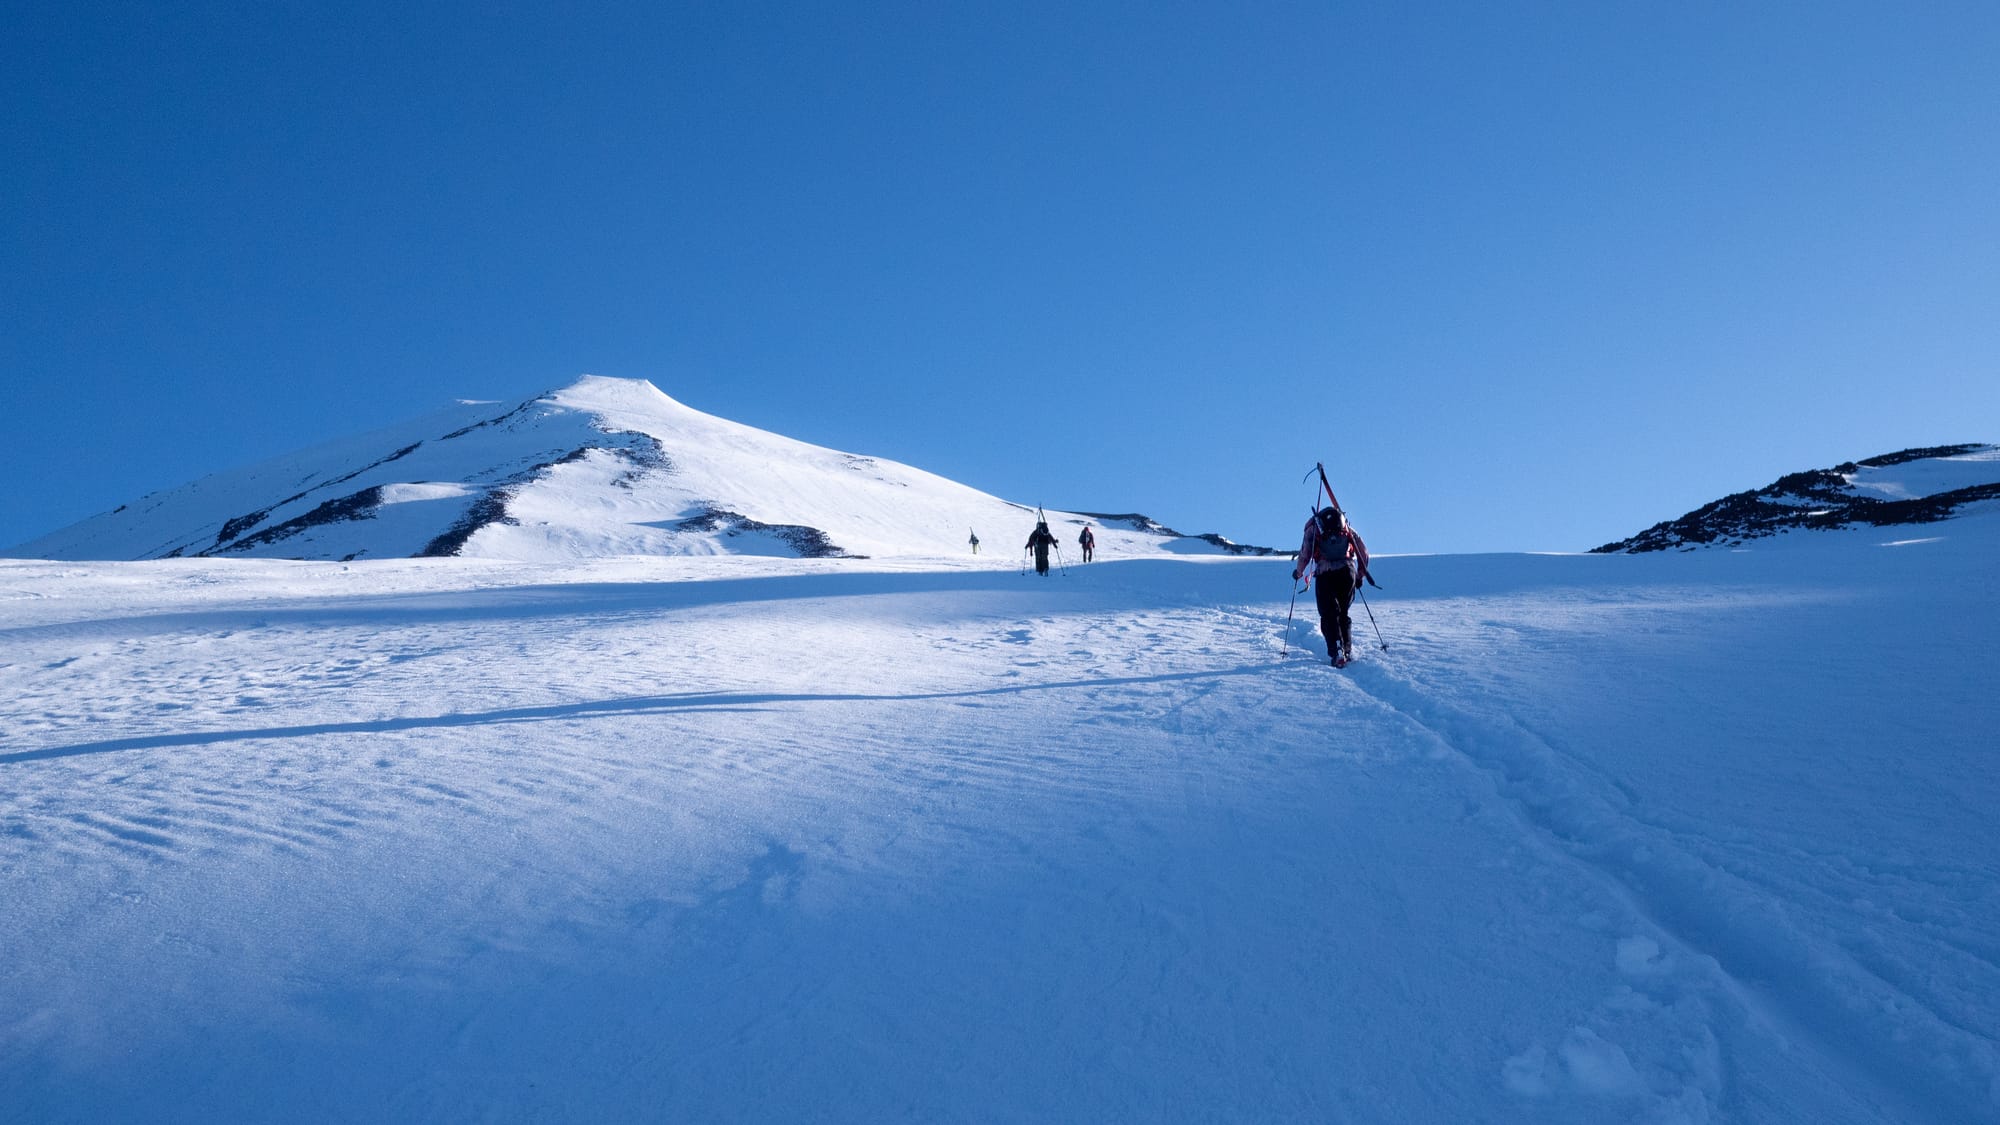
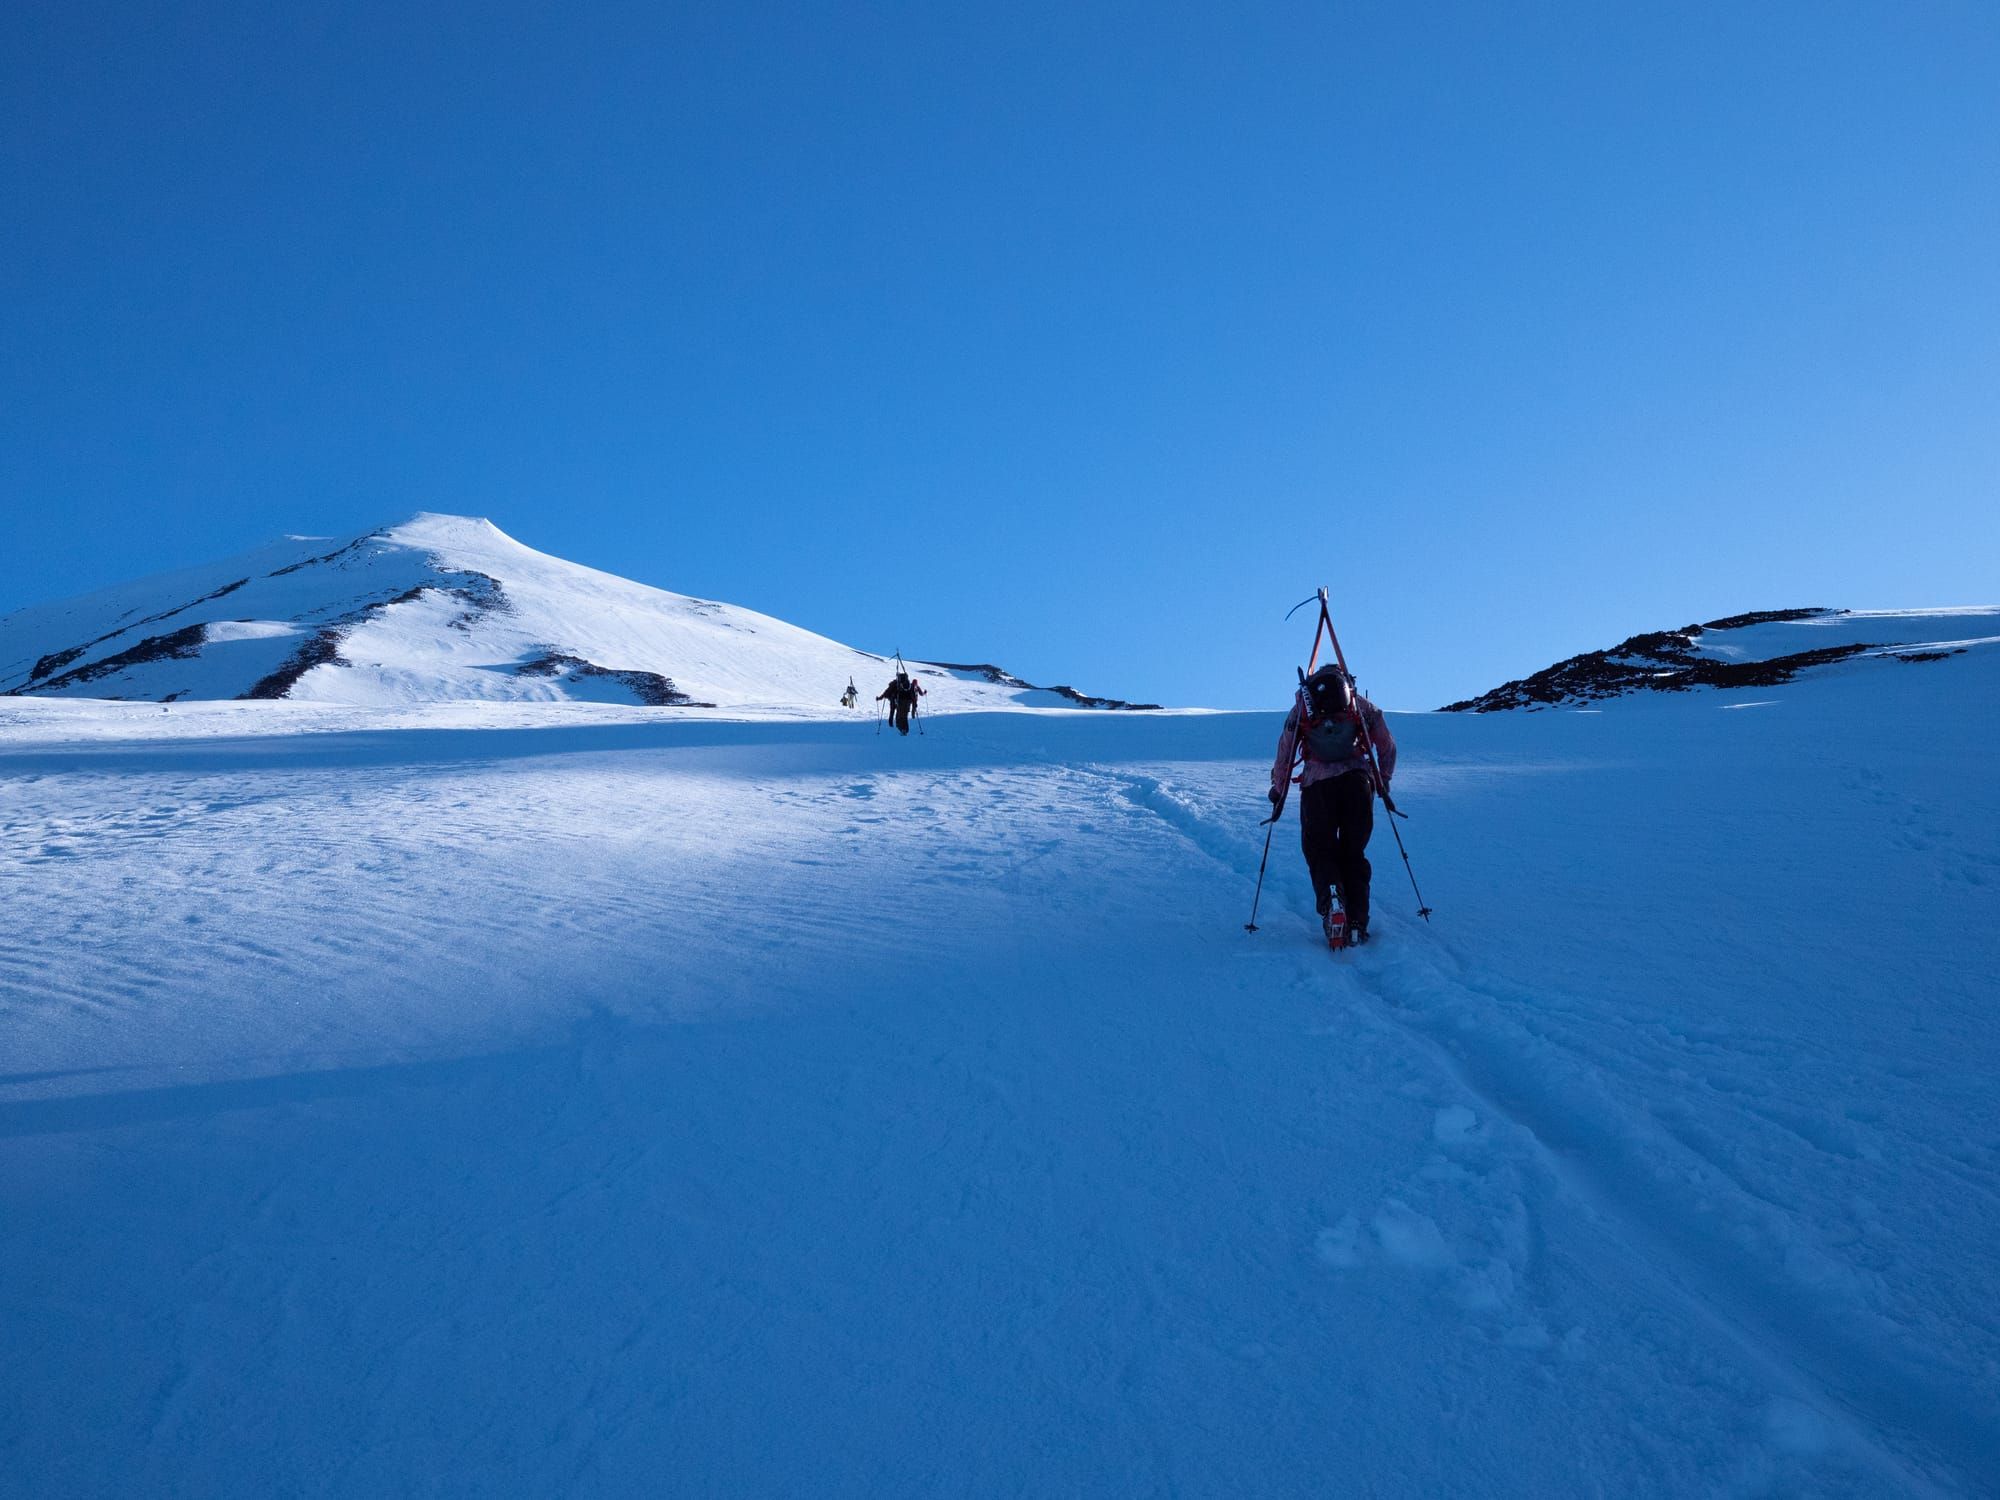
The snow line was even higher this year, we hiked quickly up the south climb trail, reaching continuous snow around 6,700 ft. Most people chose to continue walking, but we switched to skinning. We made it to 7,200 ft where the same steep slope that had knocked my partner down years ago rose up. It was gnarled by rocks, so we threw the skis on our back and booted up. I returned to skinning around 7,800 ft and made it to the base of Pikers before switching into crampons. We were flying, over an hour ahead of schedule. I had aggravated a repetitive back injury earlier in the morning, but a quick break and some Advil managed to keep me moving, soon we were side stepping up a still-hard Pikers face.
At the top of Pikers a crowd had gathered, the dozen or so pilgrims who had come to worship on the slopes of the chutes were waiting for conditions to soften, for the corn to sprout. We moseyed on by, stopping for a moment to let Jason nap off the vert, and headed to the summit. I felt incredible as we climbed higher, my sea-level body finally didn't crumble under the weight of the altitude, I reached the summit humming along to the music in my ears—"c u in da ballpit" by Camping In Alaska.
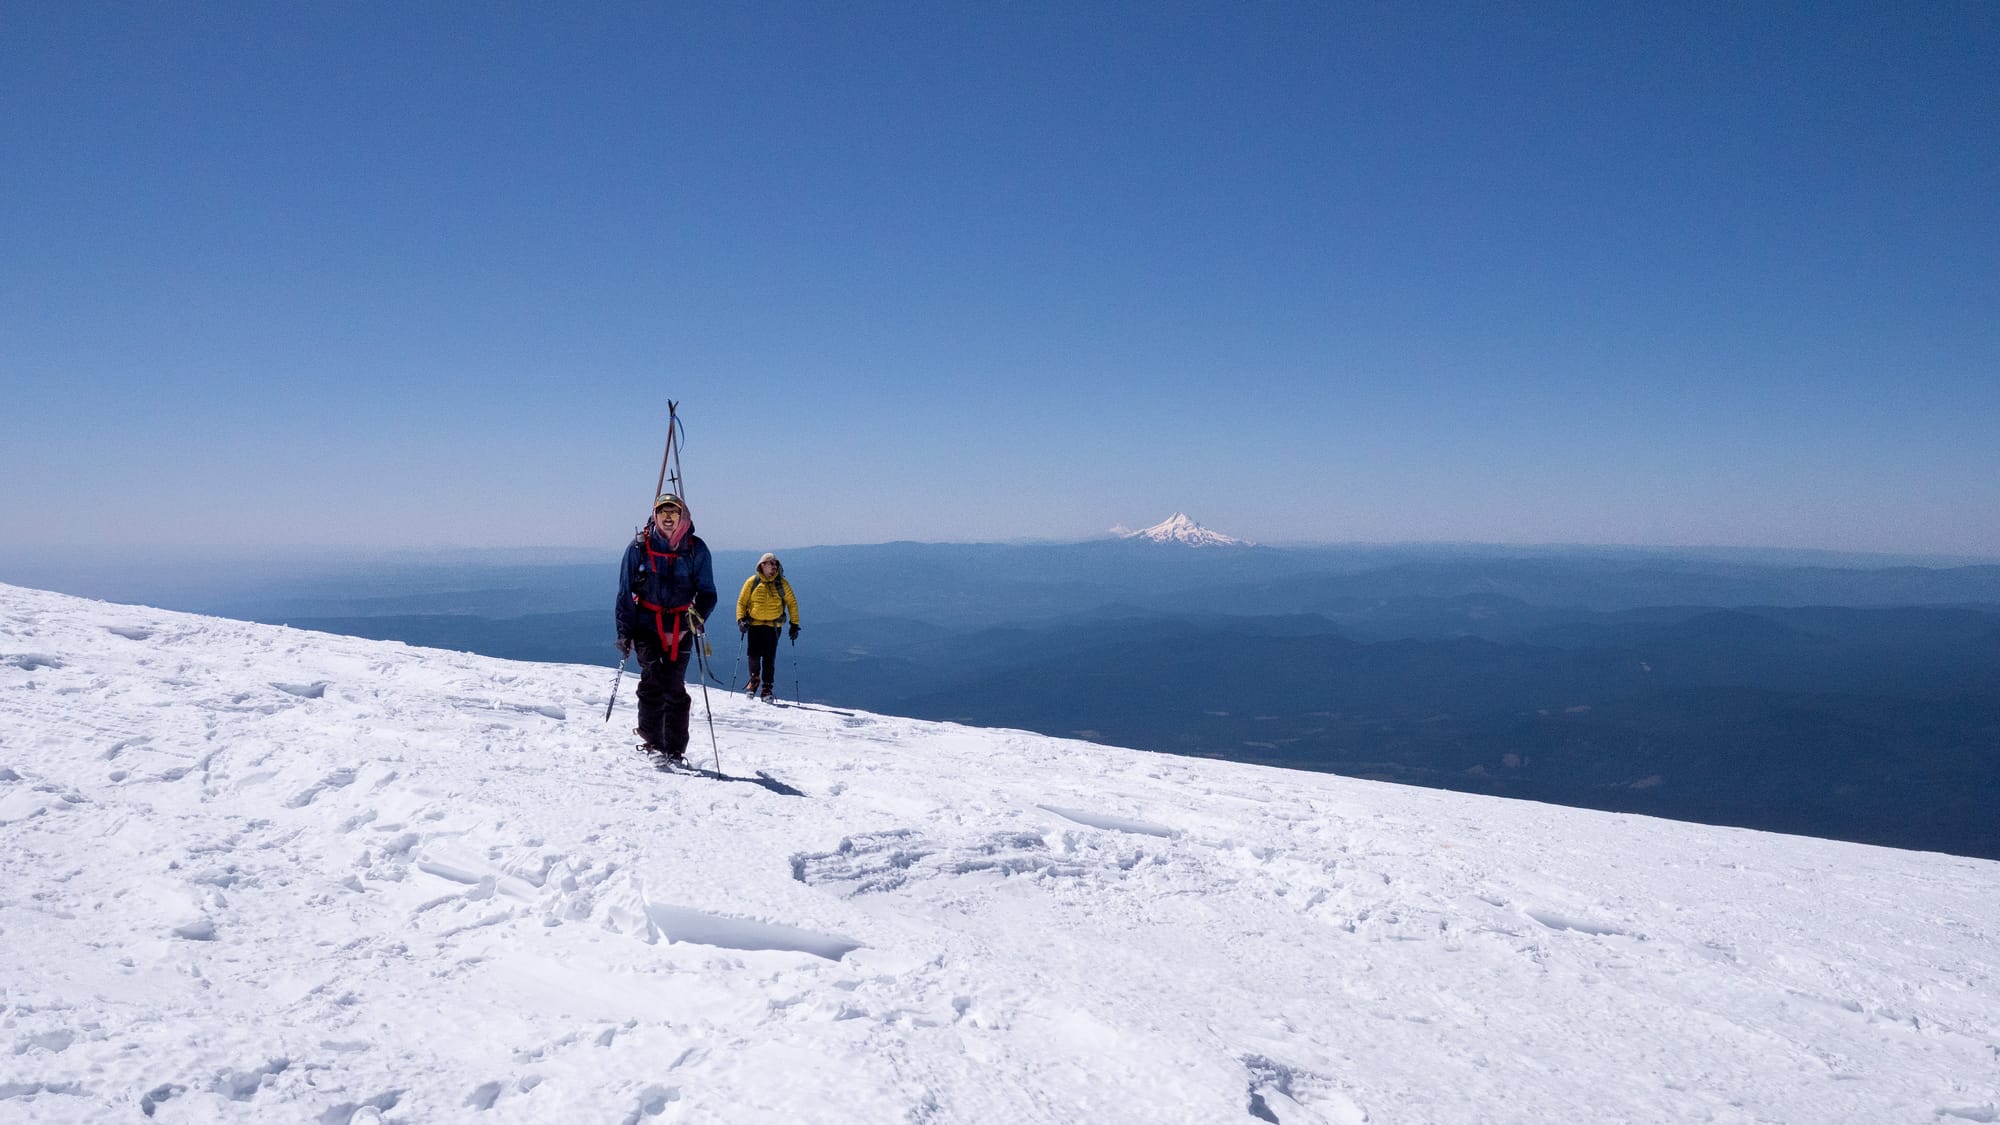
We spent over a half-hour at the summit, taking in the views, snapping photos of various parties, and scarfing down gummy candy. By the time we descended to the chutes, already managing the best turns off of the summit I have ever had, it was ripe for harvesting. The line was perfect from top to bottom, we ripped yo-yo turns down with another party, taking videos and reveling in the sheer pleasure of skiing something that prime.
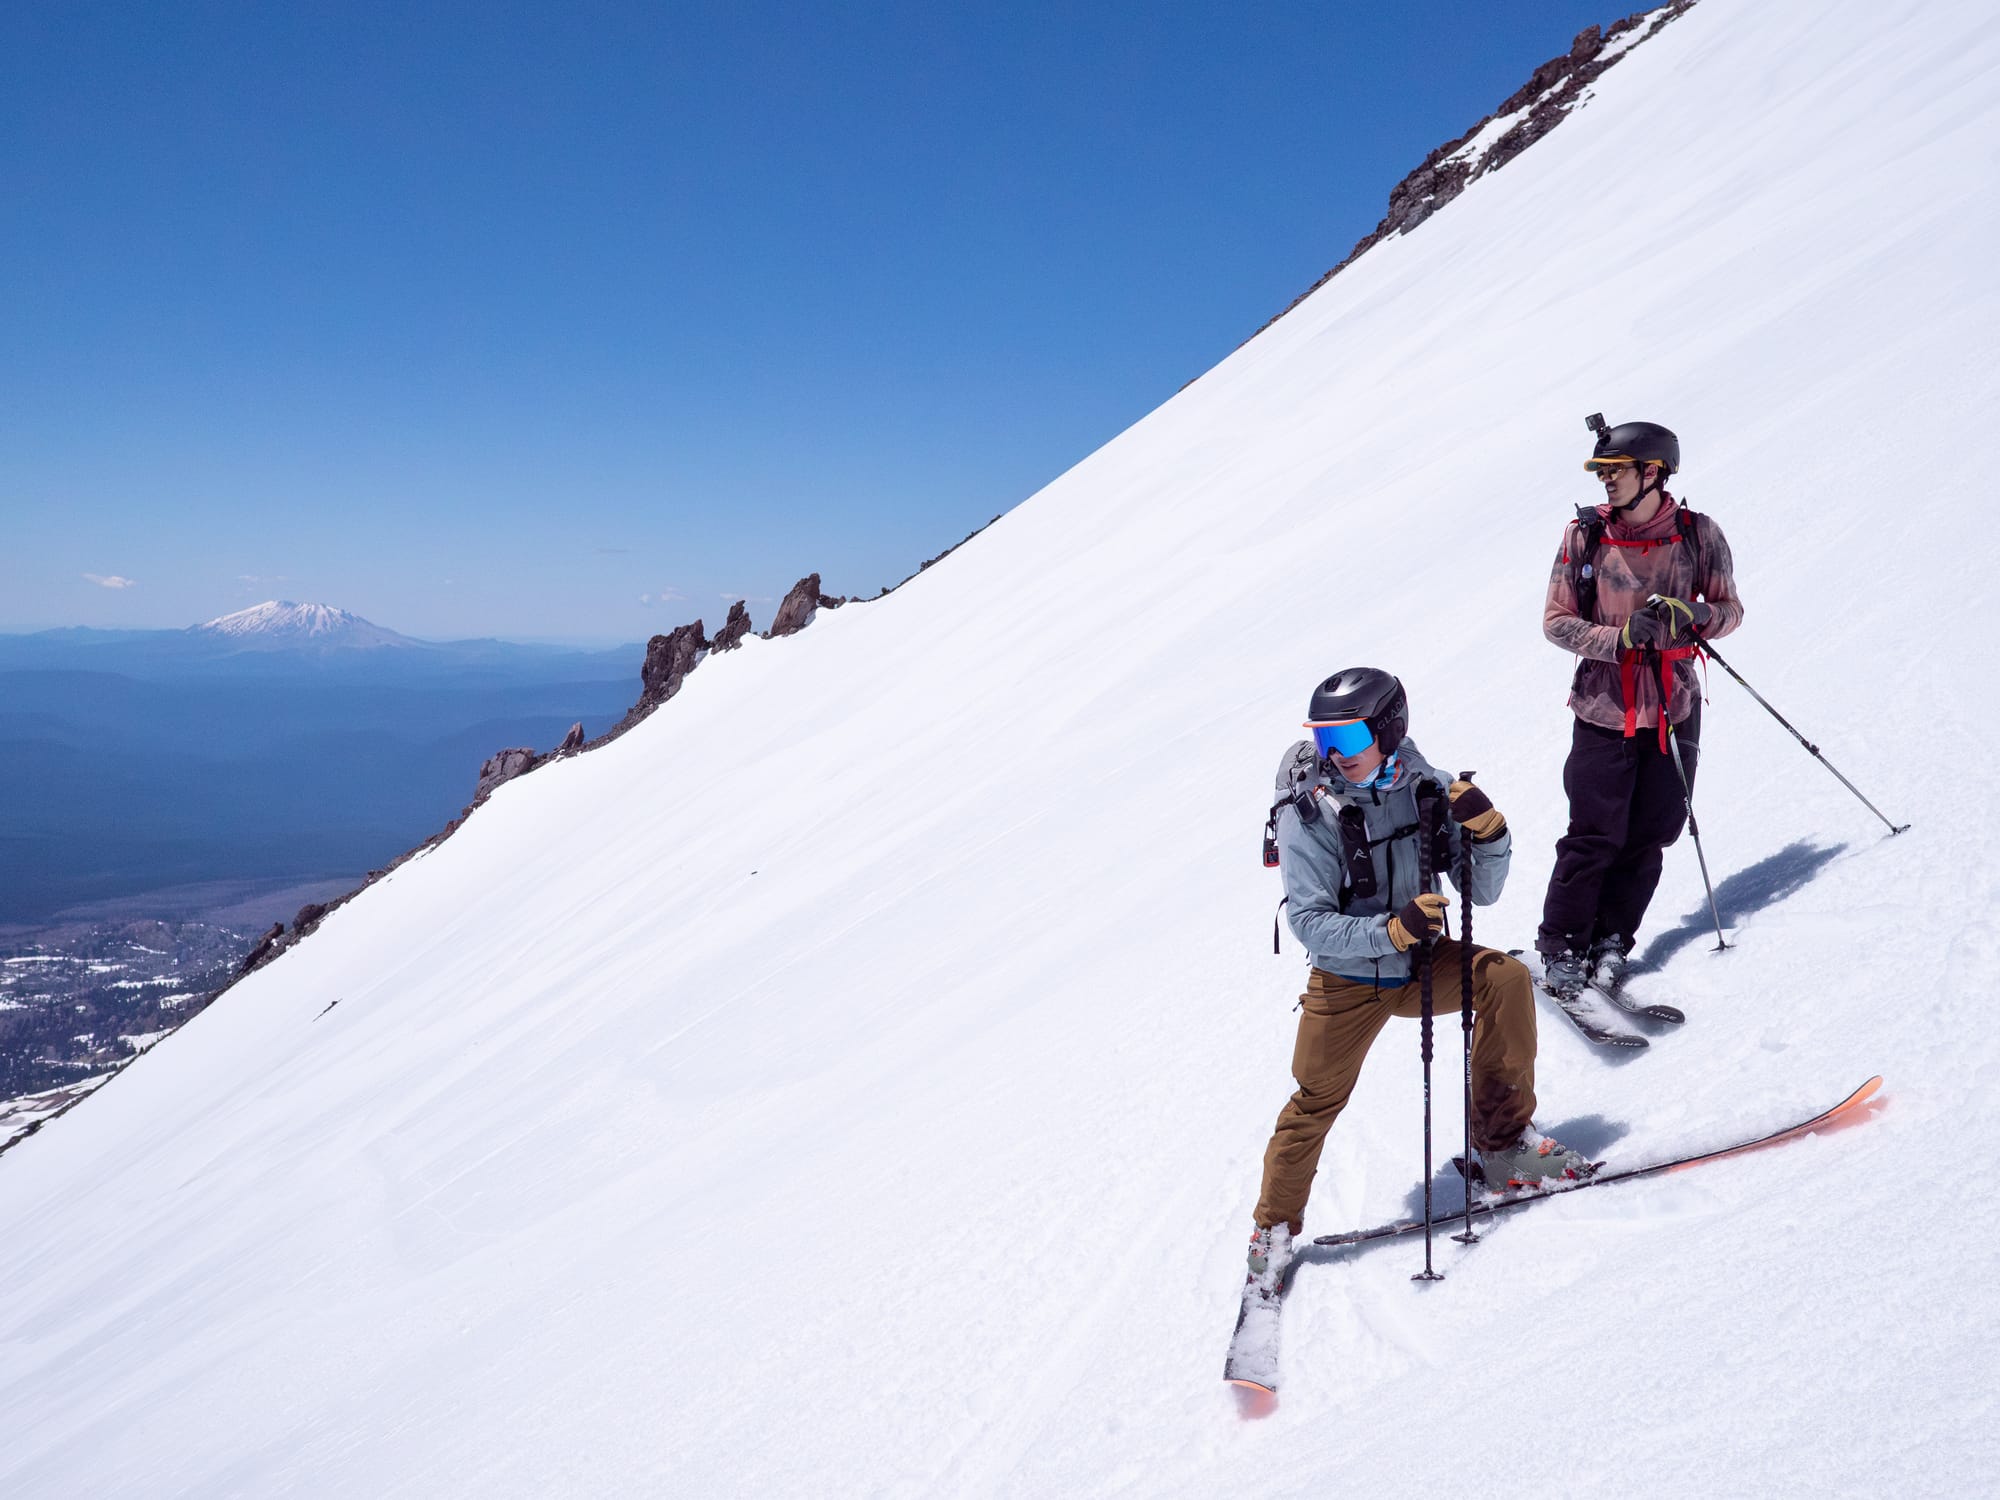
This time we parted with the new friends we had made at the bottom, continuing as we had planned "into the unknown" of the descent to the round-the-mountain trail. Just as we had suspected this was far easier than the constant transitioning of the standard exit. Perhaps it was different in past years, when the snow line was more consistently low, but we found easy travel through the dry forest and a nearly flat walk back to the Timberline camp junction. We ended up beating our new friends down to the car by nearly an hour!
That was a lot of backstory for a post called "A Dummies Guide to Ski Mt. Adams". I feel like an online recipe writer, adding my whole life story before giving you the ingredients list to chocolate chip cookies... but I hope that seeing my history, my nudging refinements will help someone out there glean insights into what become familiar with a line like this means. You don't need to get there overnight, all you need is continued experiences, practicing the motions until the feel fluid. Until you find yourself out there sending it.
So, What Do You Need To Know?
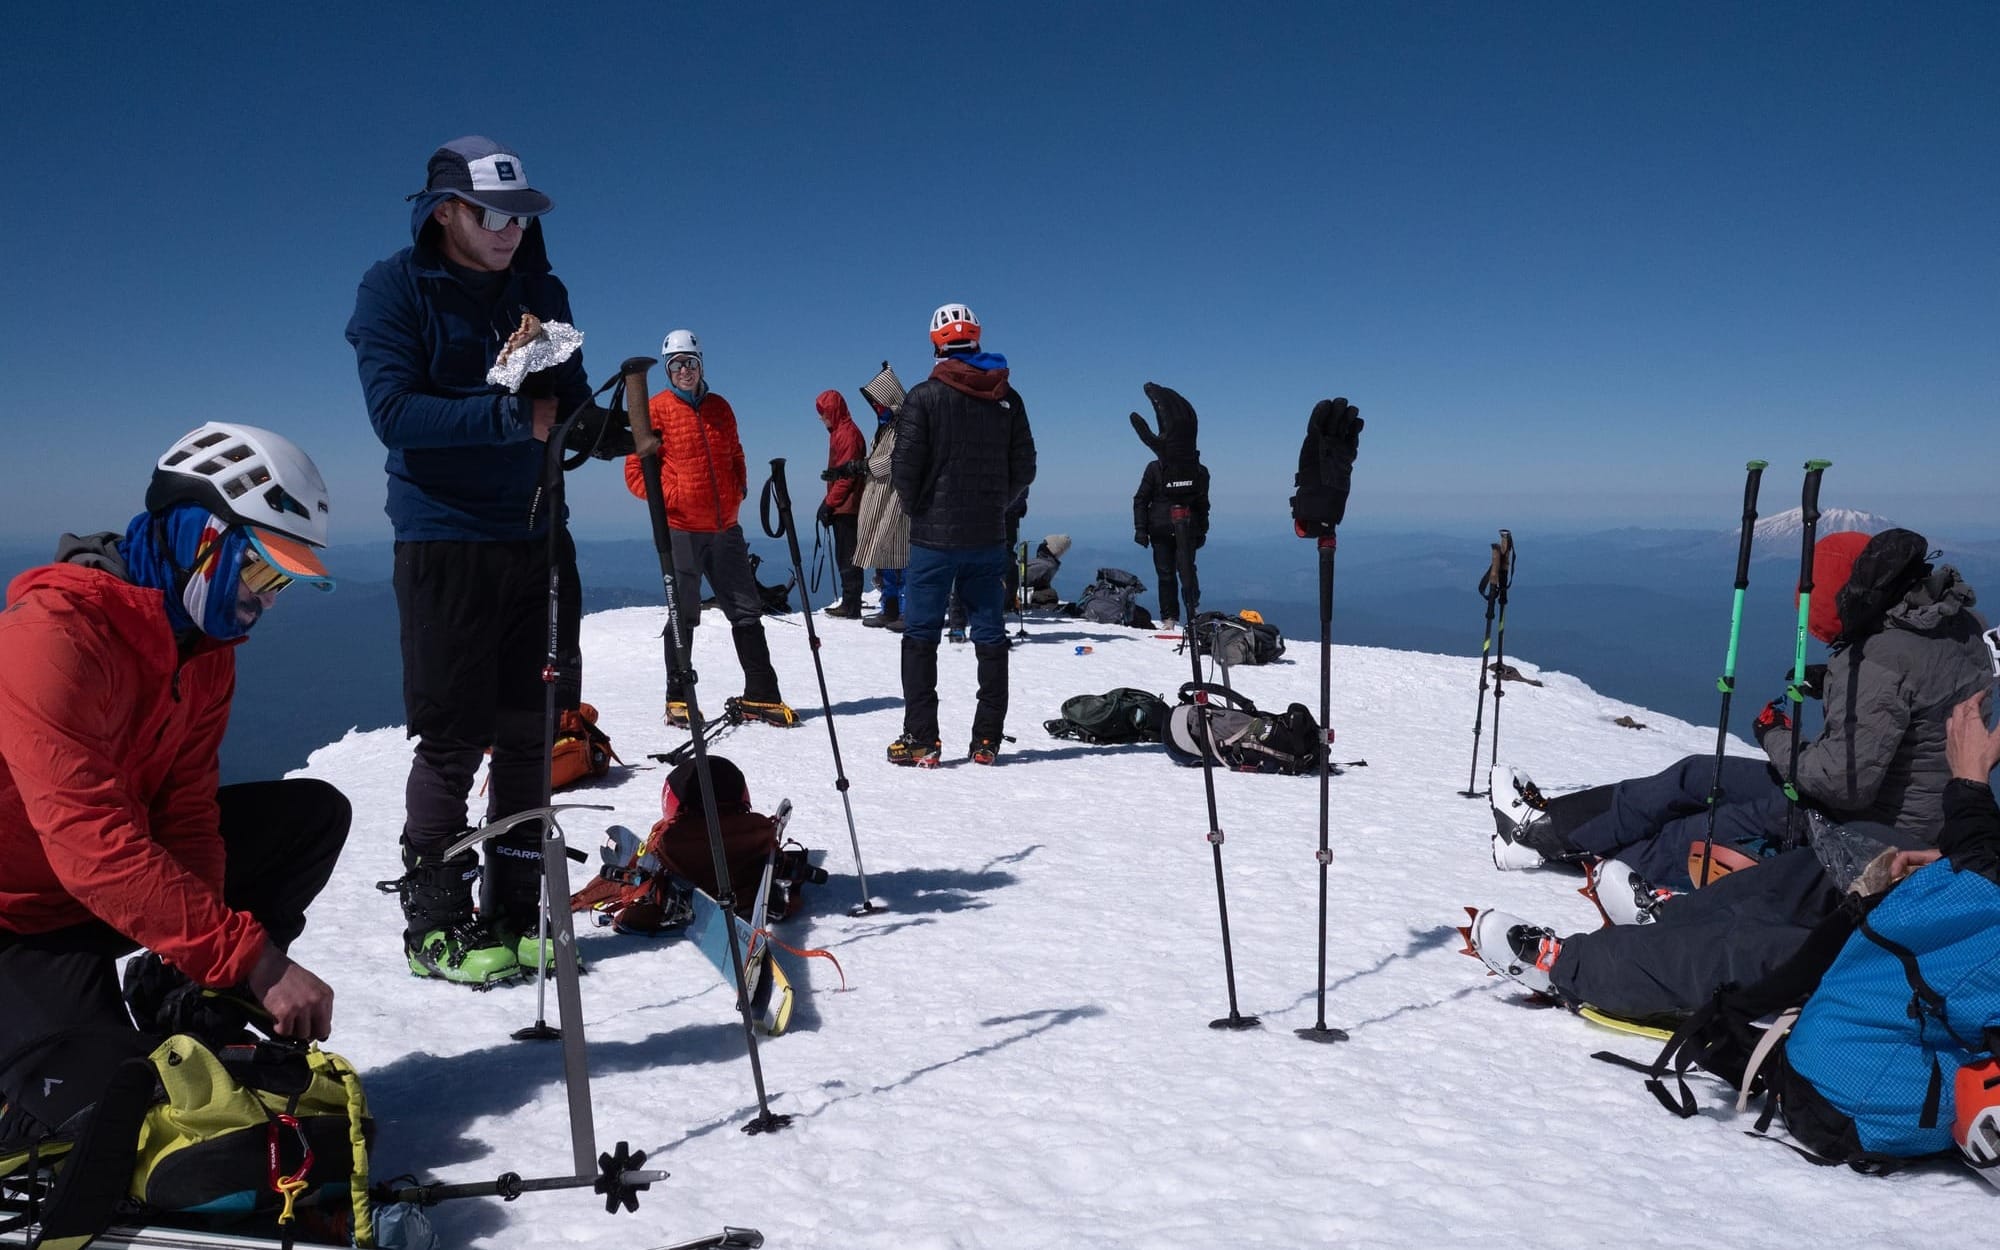
The first important question to ask is: when do I go? Typically Mt. Adams south climb is accessible by the late spring, usually sometime in May depending on how far up you want to be able to drive. The two roads you need to monitor for access to the South Climb trailhead are NF-8040 and NF-500 which lead to the South Climb Trailhead. These can be monitored via Gifford Pinchot National Forest Service site, or by contacting the ranger stations.


If NF-8040 is open but NF-500 is still showing blockage you just need to account for additional mileage added to your day. Many people ski Mt. Adams earlier in the season, sometimes even when there are multiple miles of skinning or walking required to reach the south climb. Determine what kind of experience you are looking for, and plan accordingly.
The next question to ask yourself once you have committed to attempting the mountain is, how early do I start moving? This requires some careful calculation, and insight into your own fitness. If you are attempting the mountain in a single push, or leaving your camp halfway up, you want to work backwards from the time you want to be descending the mountain which requires yet another question, when do I want to descend?
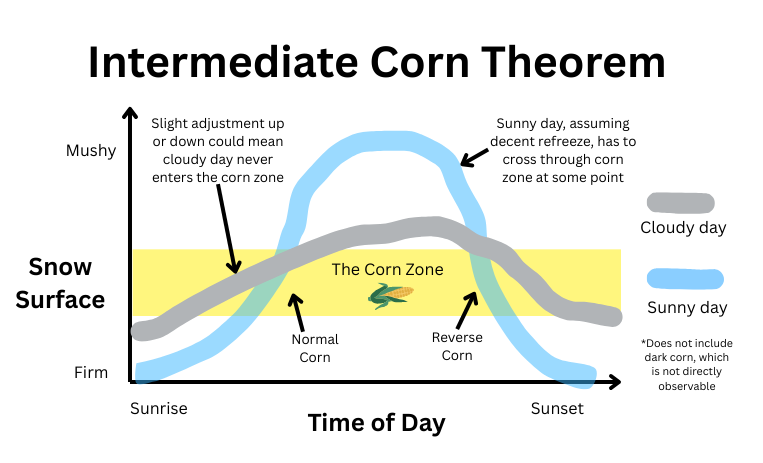
One of the things most people are looking for when skiing any volcano is CORN! Corn snow is a magical concoction providing just enough support to give you smooth, edgeable skiing better even than premium in-bounds corduroy. During the spring when the nights are cold and the days are warm, a cycle begins, causing moist snow to rise up off the ground as it freezes overnight forming knobby crystals that resemble corn kernels. These kernels thaw as the day warms providing a shallow soft surface to ski on. Getting into the exact theory of how to time corn perfectly could take up an entire novel of its own, but there are a few basic tips I have found, especially for the specific SW aspect of the chutes on Adams, to be helpful:
 kyle
kyle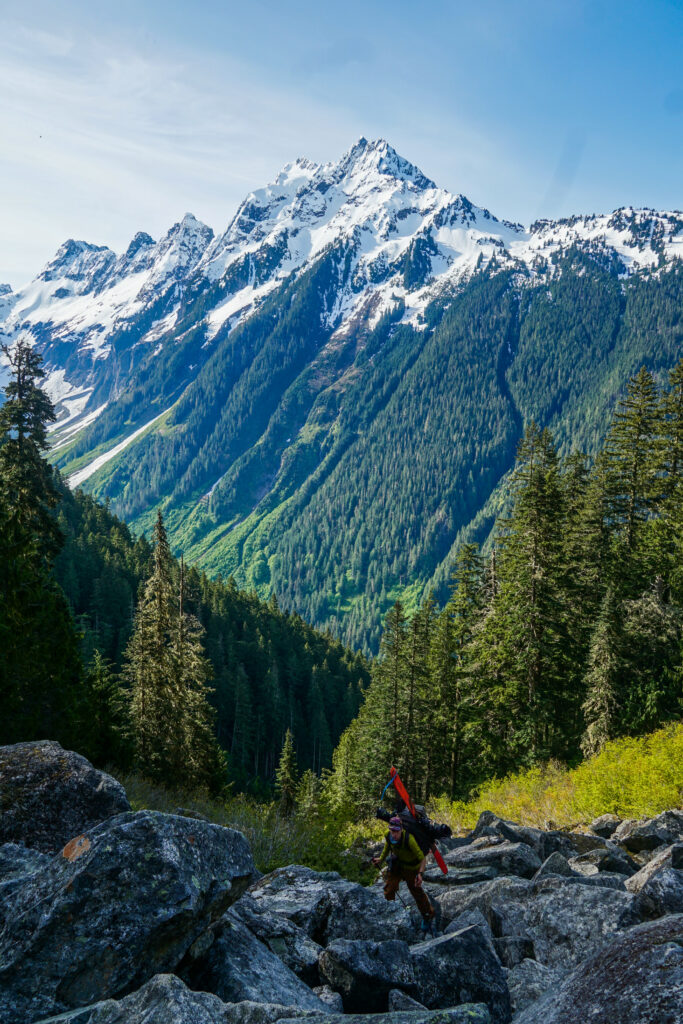
- The snow needs to refreeze overnight to produce true corn, watch both the nighttime and daytime temps, and pay close attention to the freezing level.
- Look for clear nights and sunny days, especially when this repeats for an extended period of time, at least a couple of days since any precipitation or cloud cover.
- Always be checking the snow beneath you as you climb, you want to see compact icy snow on opposing aspects and the formation of corny kernels on similar aspects.
- The refrozen snow needs time to warm up, ideally underneath a bit of sun, so don't hit your line until the sun has had time to warm up the snow. Once this happens the race is on, wait too long and it will get wet and slushy.
- While very specific conditions are required for "true" corn, there are plenty of enjoyable spring surfaces that can feel pretty corn-like, so don't worry too hard about getting it exactly right. Not all weather windows or snowpacks will provide.
I have found when skiing in "spring/summer" conditions this can be anywhere from 10:30 AM to 3 PM (or it can not happen at all) depending on the conditions you have. No one can figure this out exactly for you, but you can practice the skill, and always ask others for recent info. Its all in the preparation!
The next question to answer is, what gear do I need to bring?
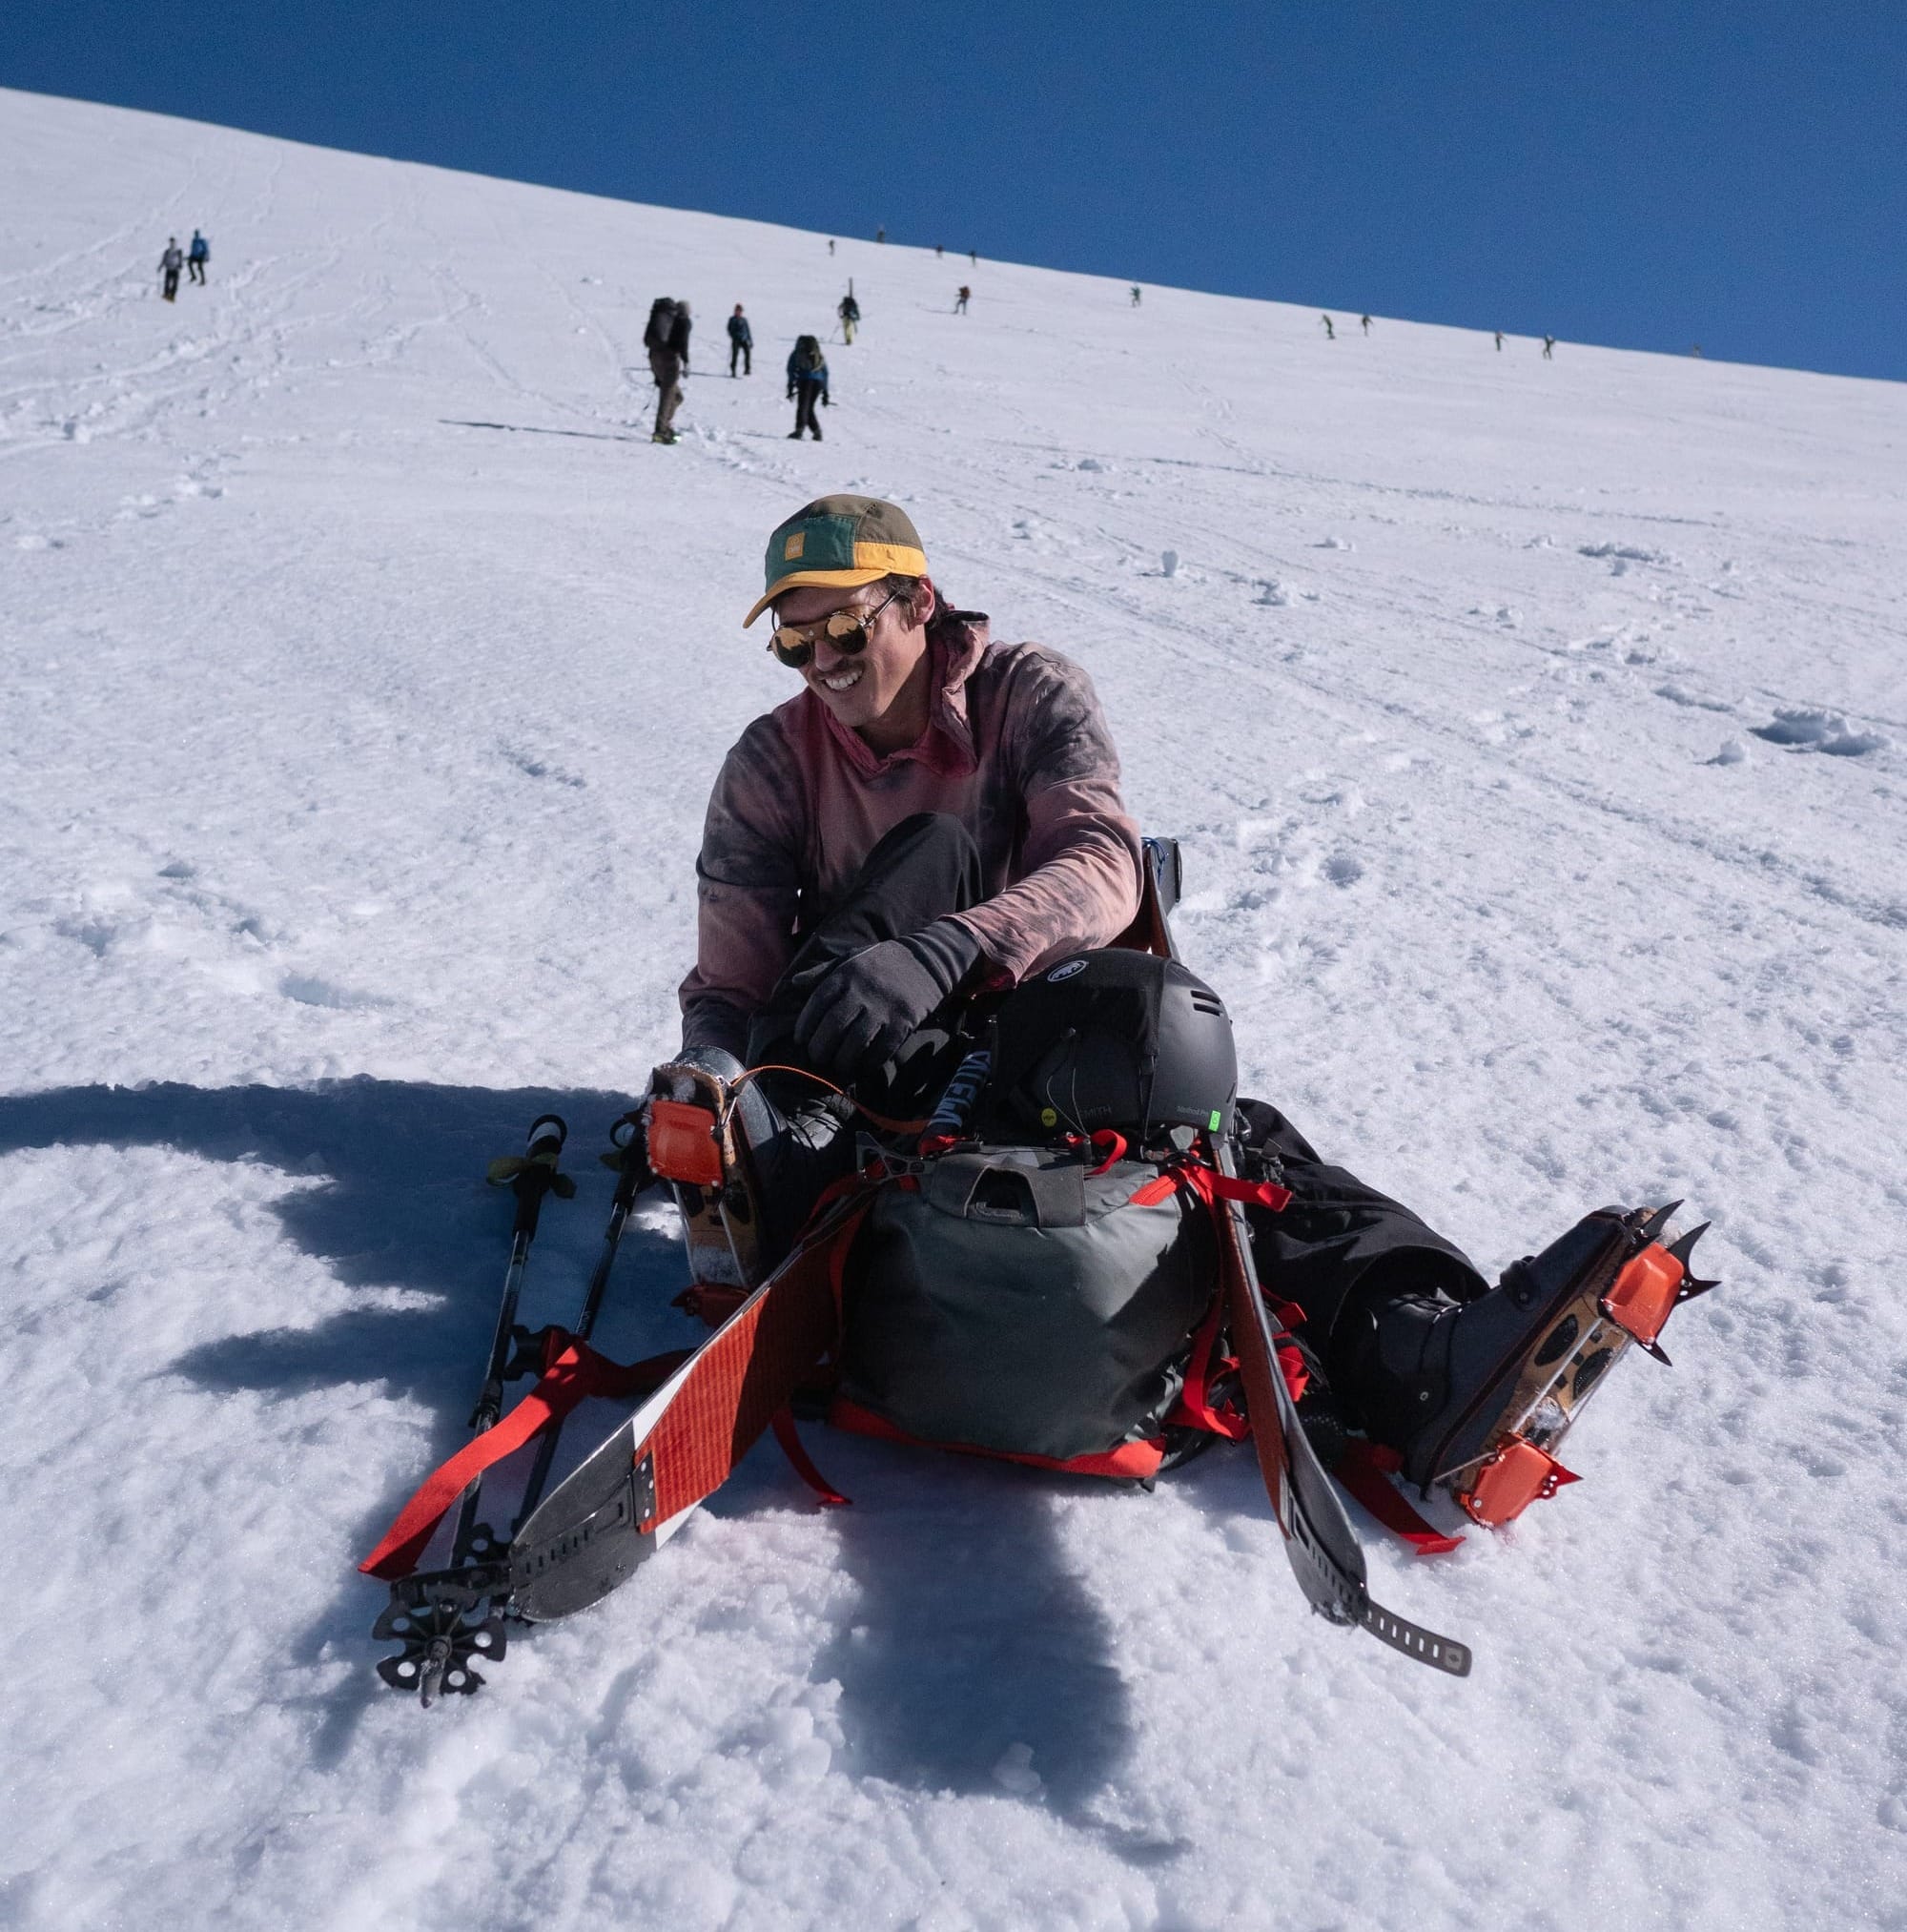
Mt. Adams is a pretty straightforward volcano for skiing, there aren't any glacier hazards on the south route so, as long as you don't get way off route, you can leave the rope and glacier kit at home. I have a few pieces of gear for volcanos in general that I prefer, though I've seen people without them, or with things I don't carry, it's all personal preference so take these recommendations how ever you want.
- Helmet (duh)
- Melting and warming can bring open up rocks that where once held together by snow or ice, bringing rockfall in the spring and summer, watch your noggin!
- Skis / Skins
- I highly recommend if you plan on attempting the chutes. While many people forgo skinning on this mountain, I find it much more comfortable to be able to change around where the weight is on my body. With good technique skinning can use much less energy than booting, but may not always be quicker!
- Ski crampons
- Some people love them, some don't, but for me they definitely speed things up in the early morning when the snow is its hardest. It's a pretty light piece of kit to add and I like the ability to do less switchbacks on firm snow.
- Boot crampons
- I've seen plenty of people get away without boot crampons, Adams is popular and there is a pretty consistent good booter set. For me personally they add a confidence to my step that keeps me moving fast and falling in a busy spot feels like a huge disaster, so I keep the spikes on.
- Ice Axe
- If you are unfamiliar with steep snow climbing this will provide valuable reassurance and insurance in case you fall somewhere you would slide for thousands of feet... In my most recent trip I had one and never pulled it out just due to the way the snow felt, I was still glad I carried it!
- Plenty of water
- Unlike other spots in the cascades we found very few running water sources on the approach or descent. It gets hot at 7,000 ft when you are timing for corn at 10,000, so don't be dumb like my first trip and run out of water well before the end.
- Warm Layers
- No matter how hot it is at the start or at the end, bring a puffy layer and a shell layer for changing weather and summit wind. It is often 25+ degrees colder on the top that on the bottom, don't get caught without being able to sit through those temps.
Finally, once you are successful in summiting the mountain, we can start to look towards our descent! So, how do we get into the Southwest Chutes? Overall it is quite straightforward, but I have seen people take the wrong exit before so don't get complacent!
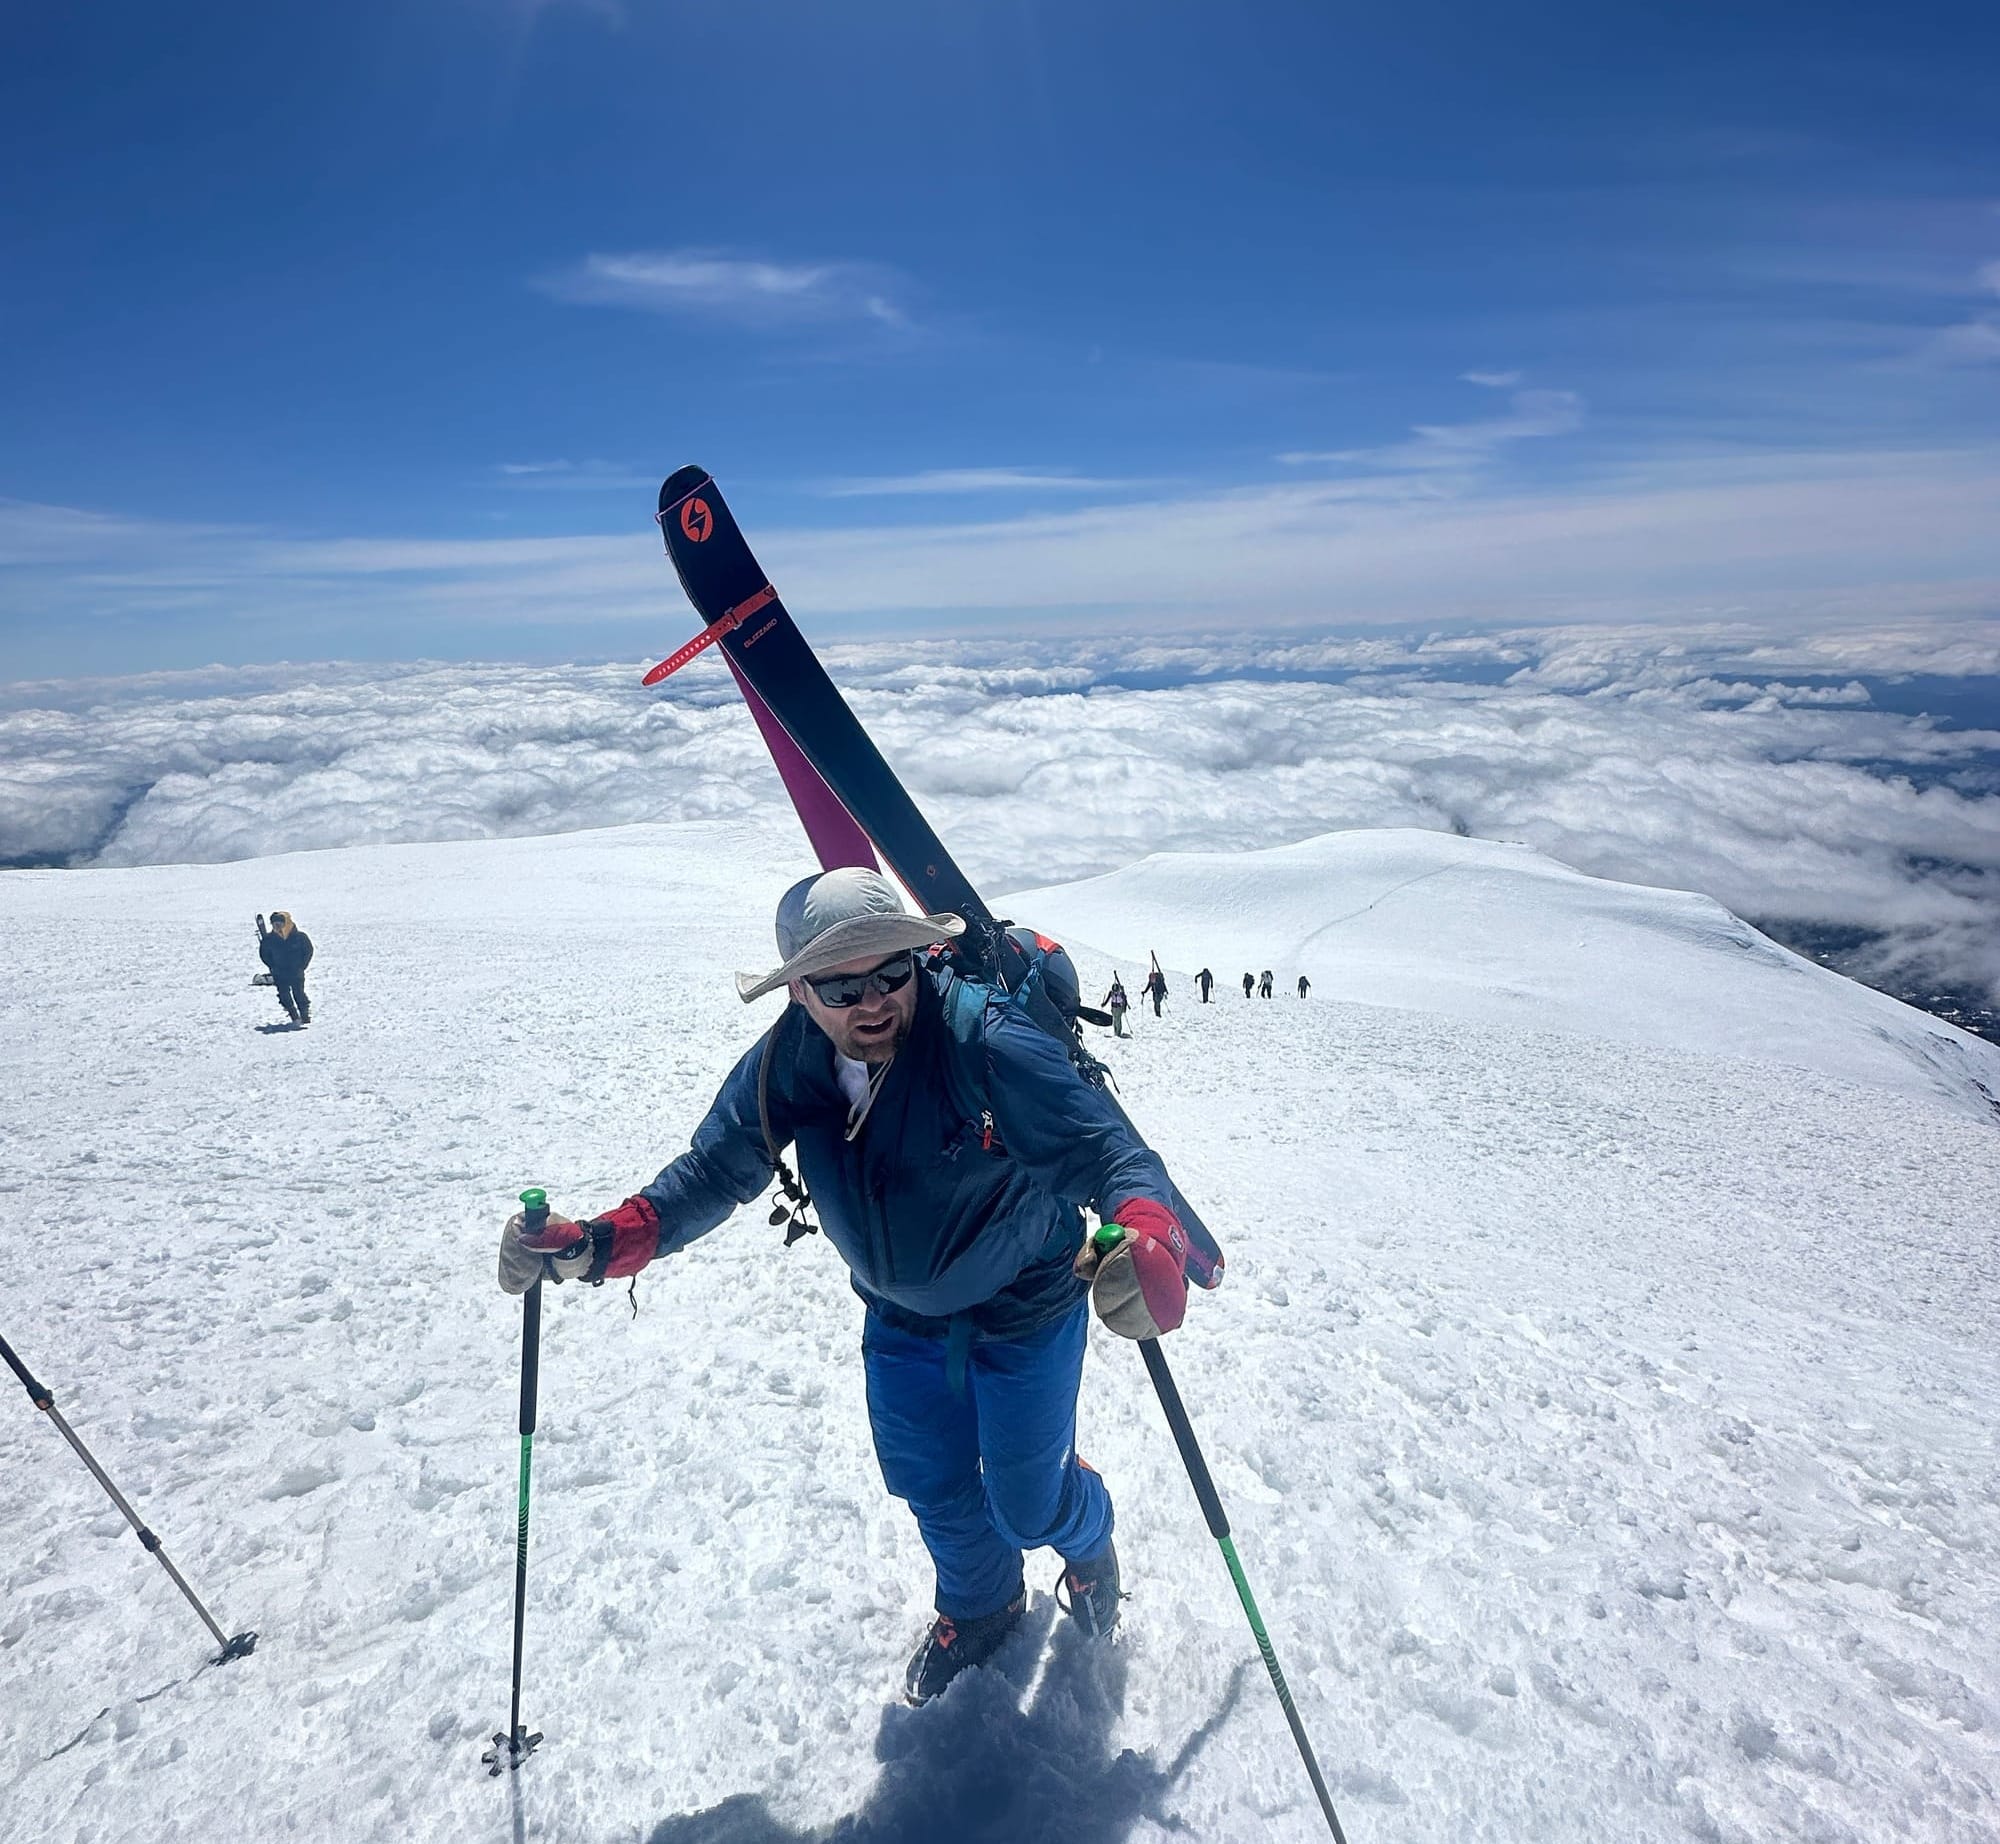
When leaving the summit you will be able to see Pikers below you as you look back the way you came. Its the large hump skiers right of the Pikers Peak high point as you make your way down down.
Follow the approach trail traversing the flat spot, and just before you would crest the ridge to return to the south climb trend further skiers right into the obvious funnel. There will be multiple entry points—though conditions may cause these to appear joined or split further—no matter what you see if you want to ensure you don't end up on Avalanche Glacier skiing a more technical line, so always trend skiers left until you are certain you are at the left most funnel, it will be a good amount of high traversing, but shouldn't require you to transition.
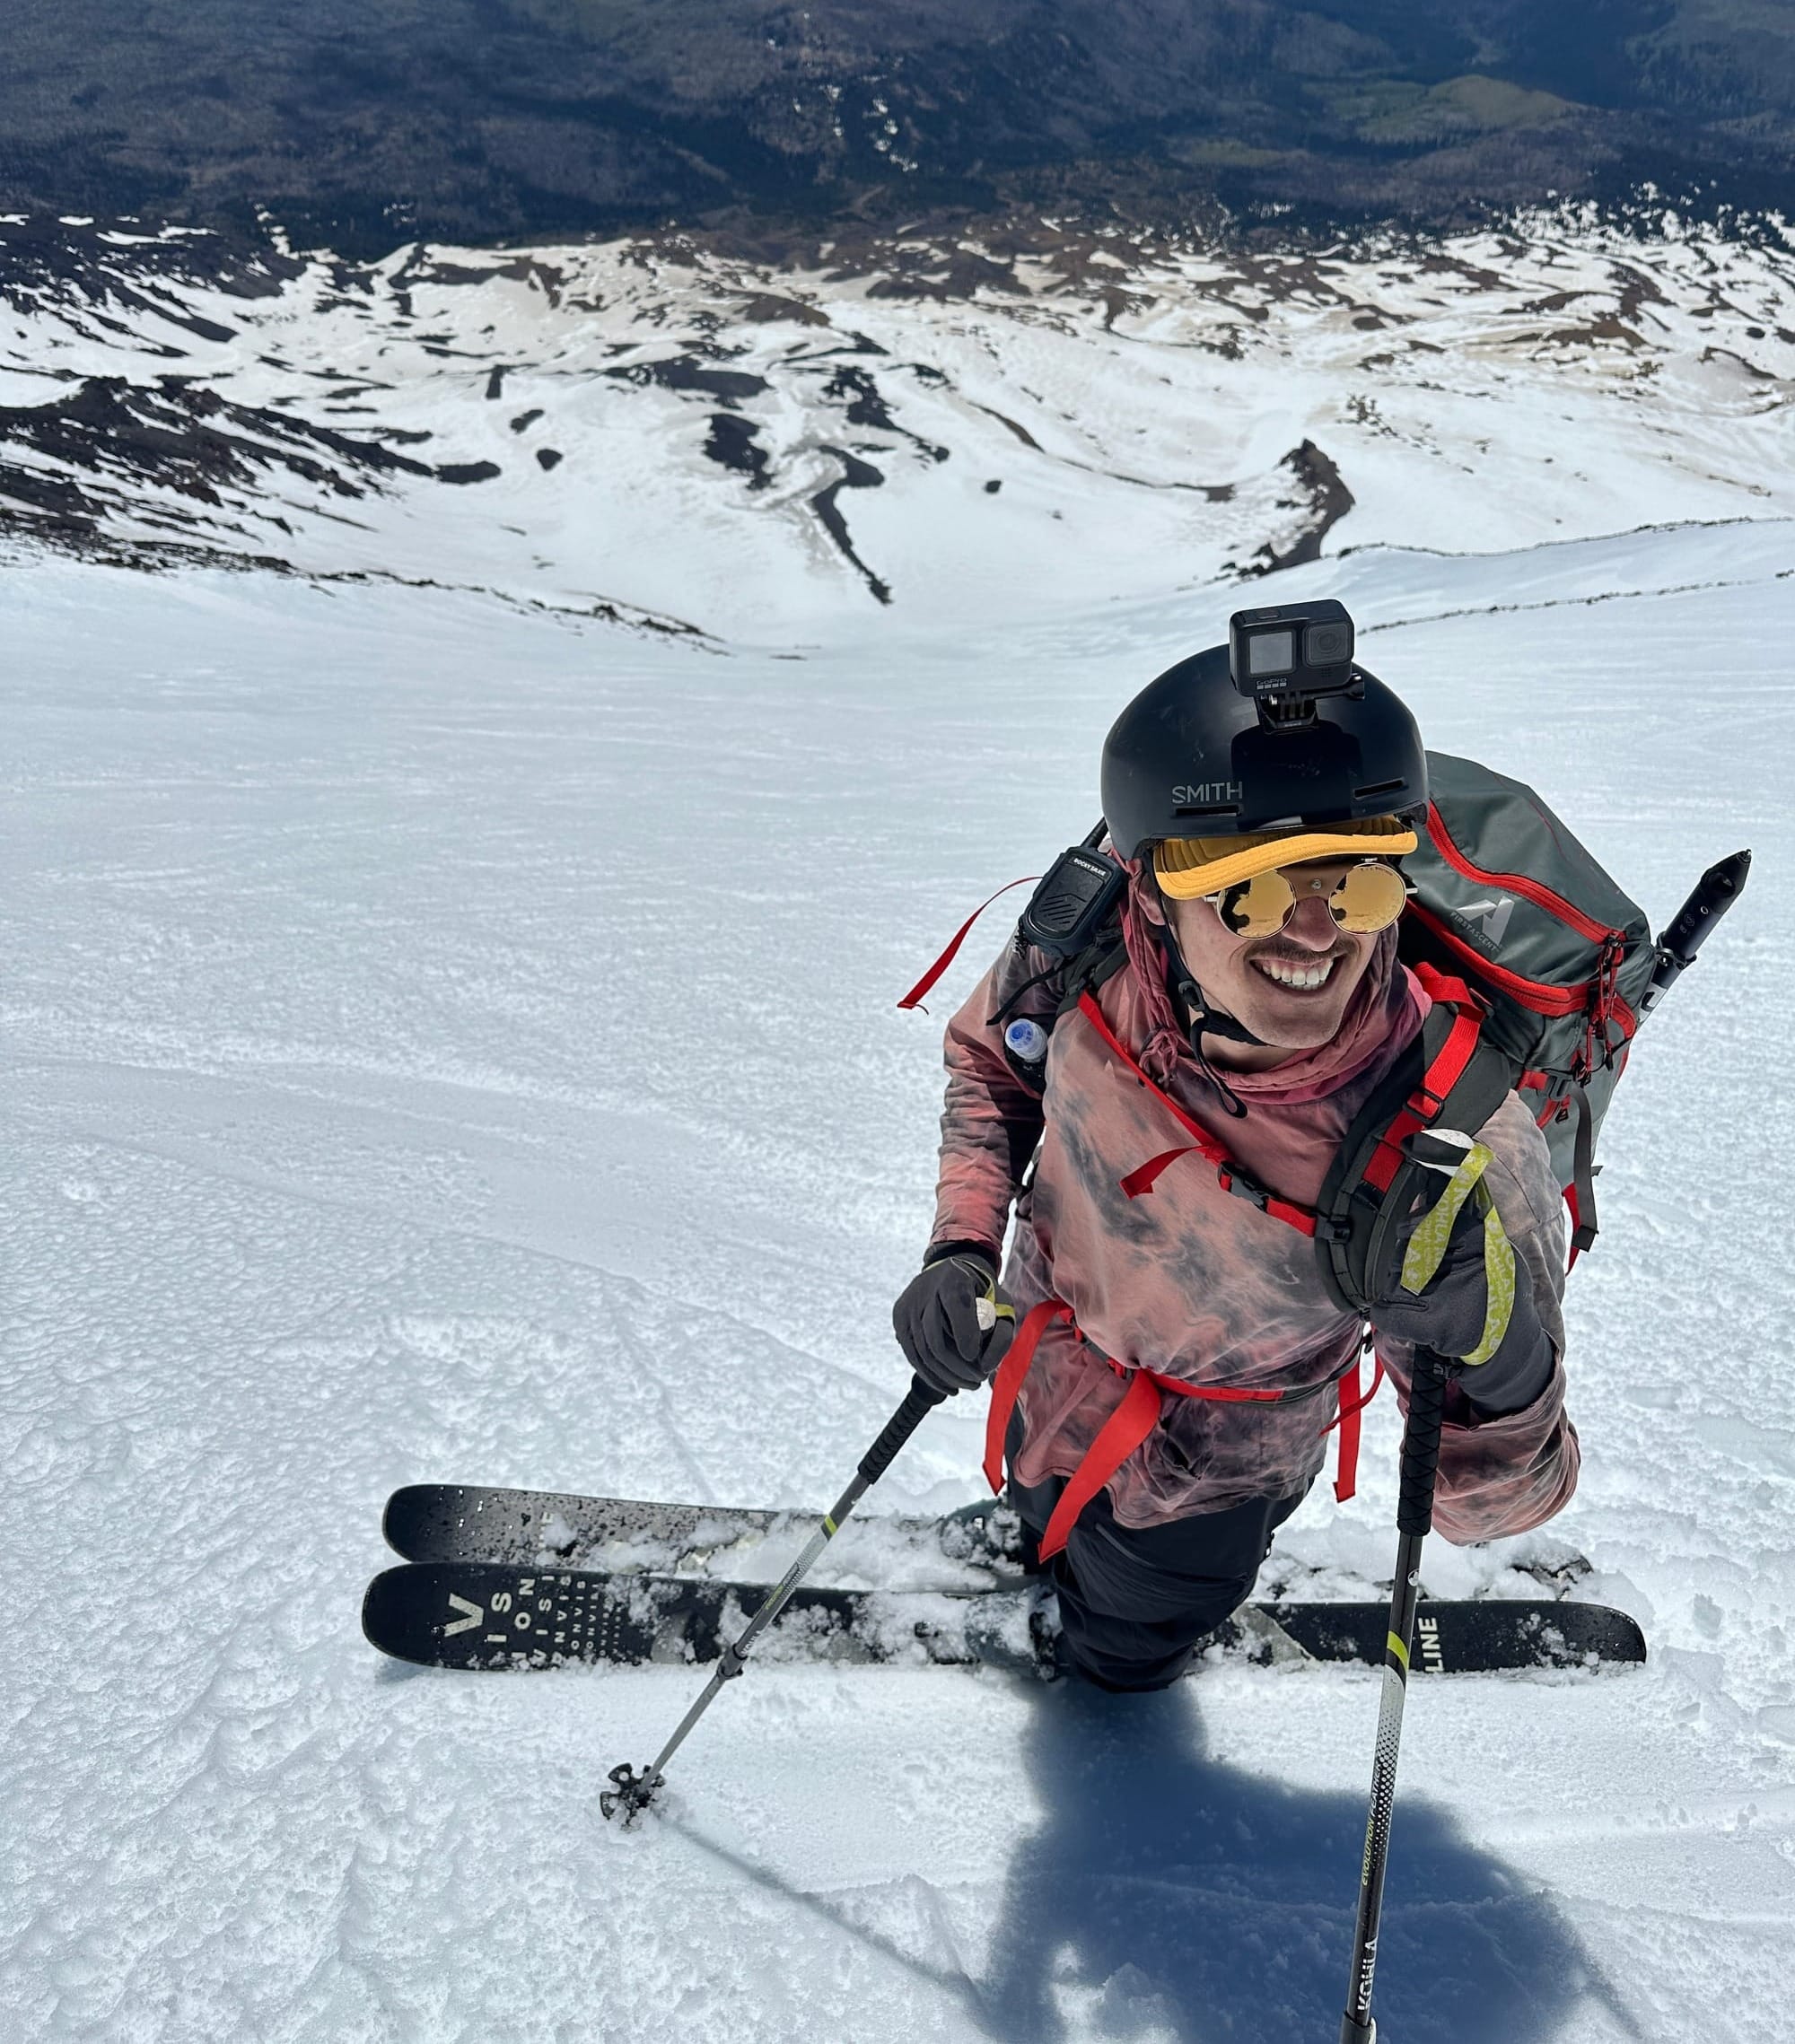
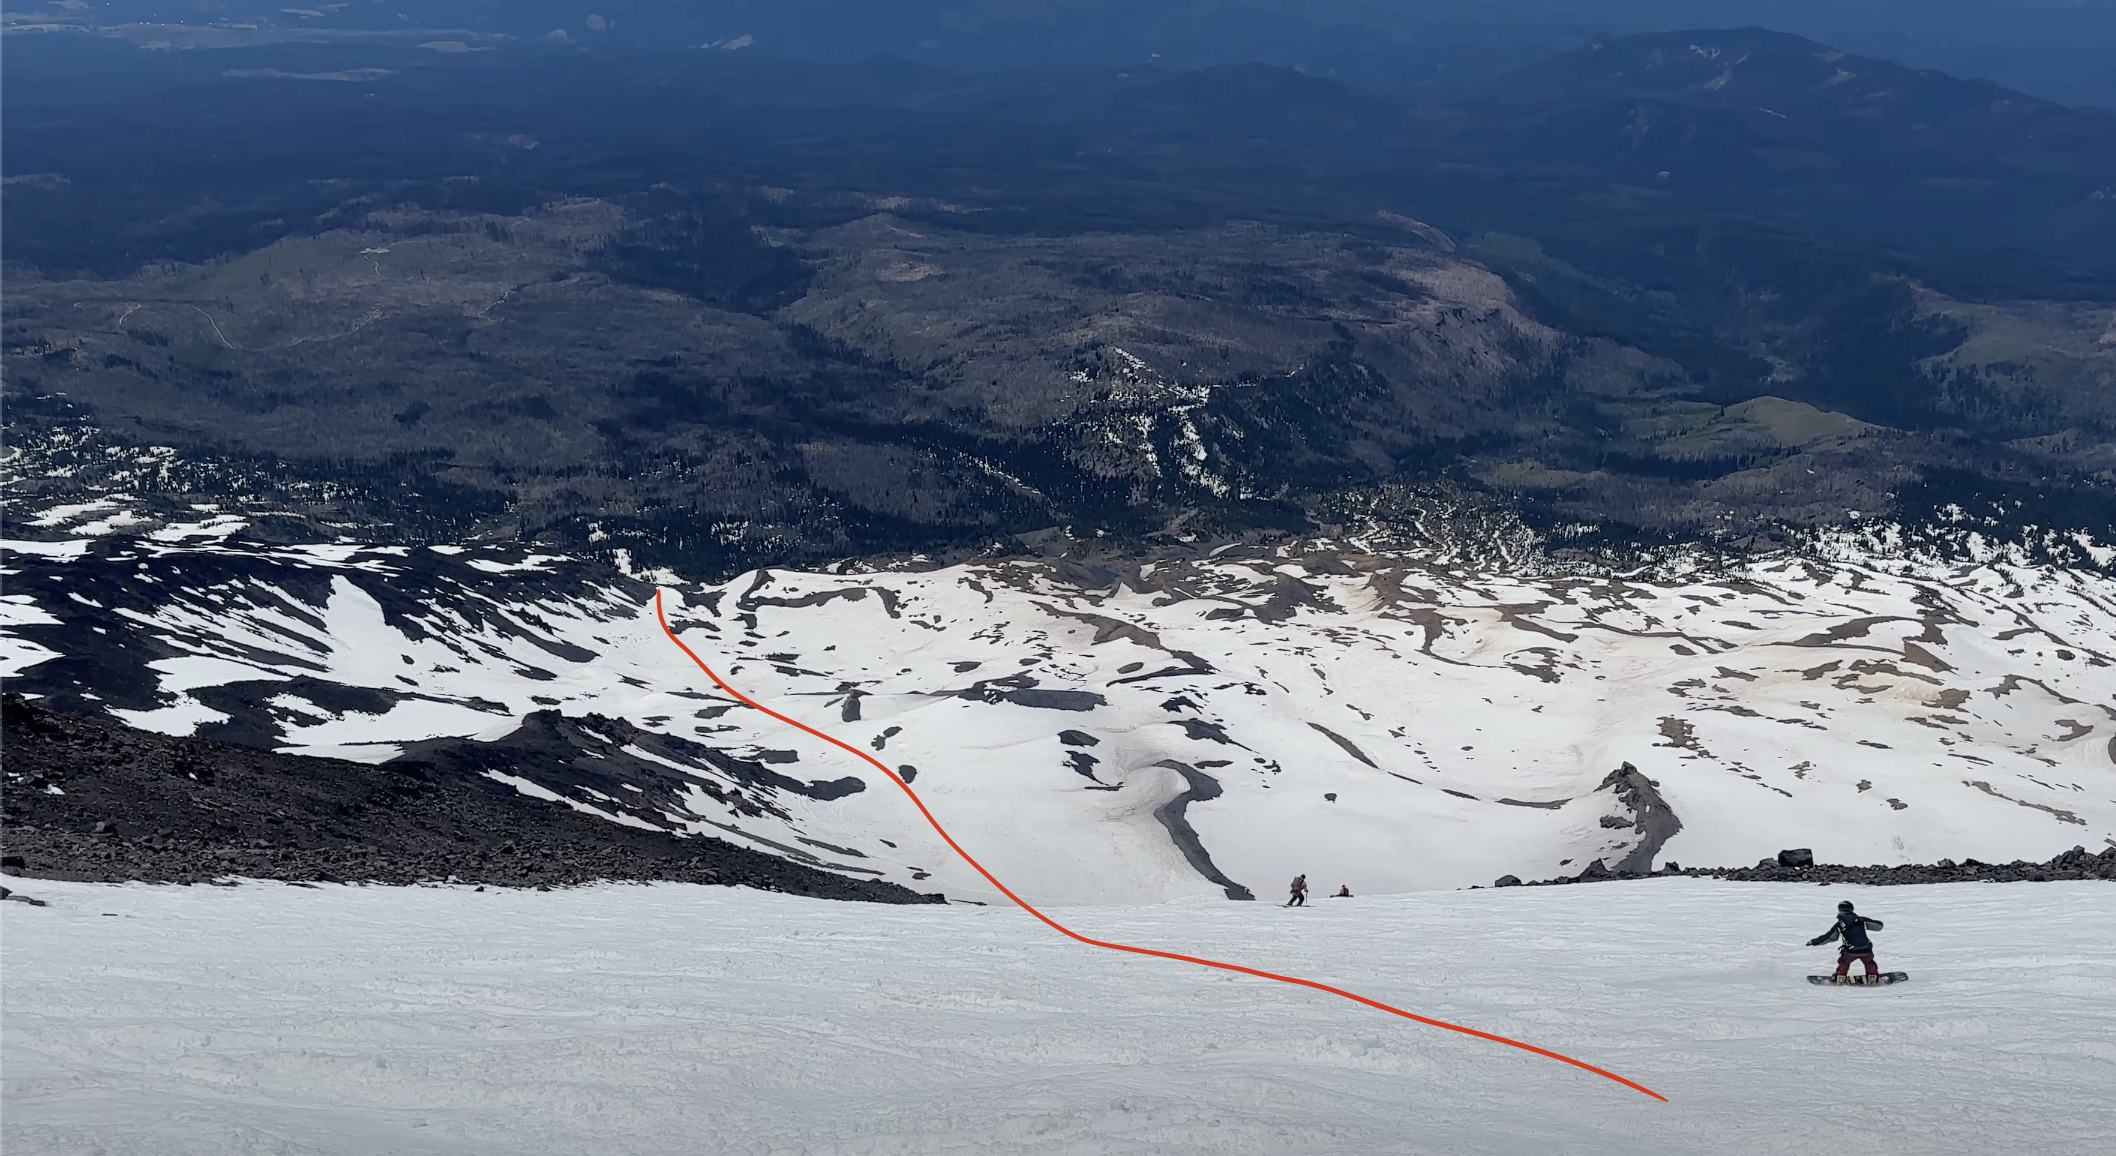
Once you are in the chutes you will be able to see the entirety of the line, thanks to the steepness of the mountain. Depending on how you entered the fall line may draw you towards a slightly different drainage. There are a few main chutes all divided by thin rock bands, any of them go as long as when you hit the bottom of the steep portion you trend skiers left. By 8,000 ft you should be fully traversing to the left-most rock band where you will continue down a mellow slope to the exit of the line, around 7,200 ft.
Here you will be able to decide, which route off the mountain should I take?
A hard left around the end of the rocky ridge will allow you to begin traversing the mountain. You'll reach another drainage where you will have to transition, and skin back up to ~7,400 ft where you can traverse back to the south climb. This is the line I took on my first trip. You need to continue staying as high as possible, even when this means skiing for a few hundred feet to the next rock band, taking off your skis, walking over, repeating again and again. If you manage to stay above 7,200 ft you will eventually connect again with the south climb trail by the Morrison Creek Drainage where you can ski down to the Timberline junction.
If you instead continue down the fall line, you can ski for another 1,000 ft (or until the snow runs out) until you eventually reach the "Round the Mountain" trail at 6,200 ft where you should transition and start walking back to the junction. Roughly plotted on a map this is +/- a two mile walk to the junction. If you are going to take this way expect to pack up your skis and walk this distance, so carry your trail runners unless you really hate your ski boots. This route has proven to be faster for me, and I highly recommend it depending on the snow level, but each has their merits.
I've included the complete GPX tracks from all of my successful trips here, you can see that they follow slightly different lines both on the up and down, depending on snow conditions and decision making on the day, so don't blindly follow them, use them as guides and always trust up-to-date information over outdated stuff.
I hope the information this dummy (me) has provided will be helpful to someone, I know I will be returning to it in the years to come to plan my trips. Let me know if you use these tips, or if there are any I should add.
I hope to see you out there! Send it!